The Sauna Build
The full process of me building a sauna in my backyard.
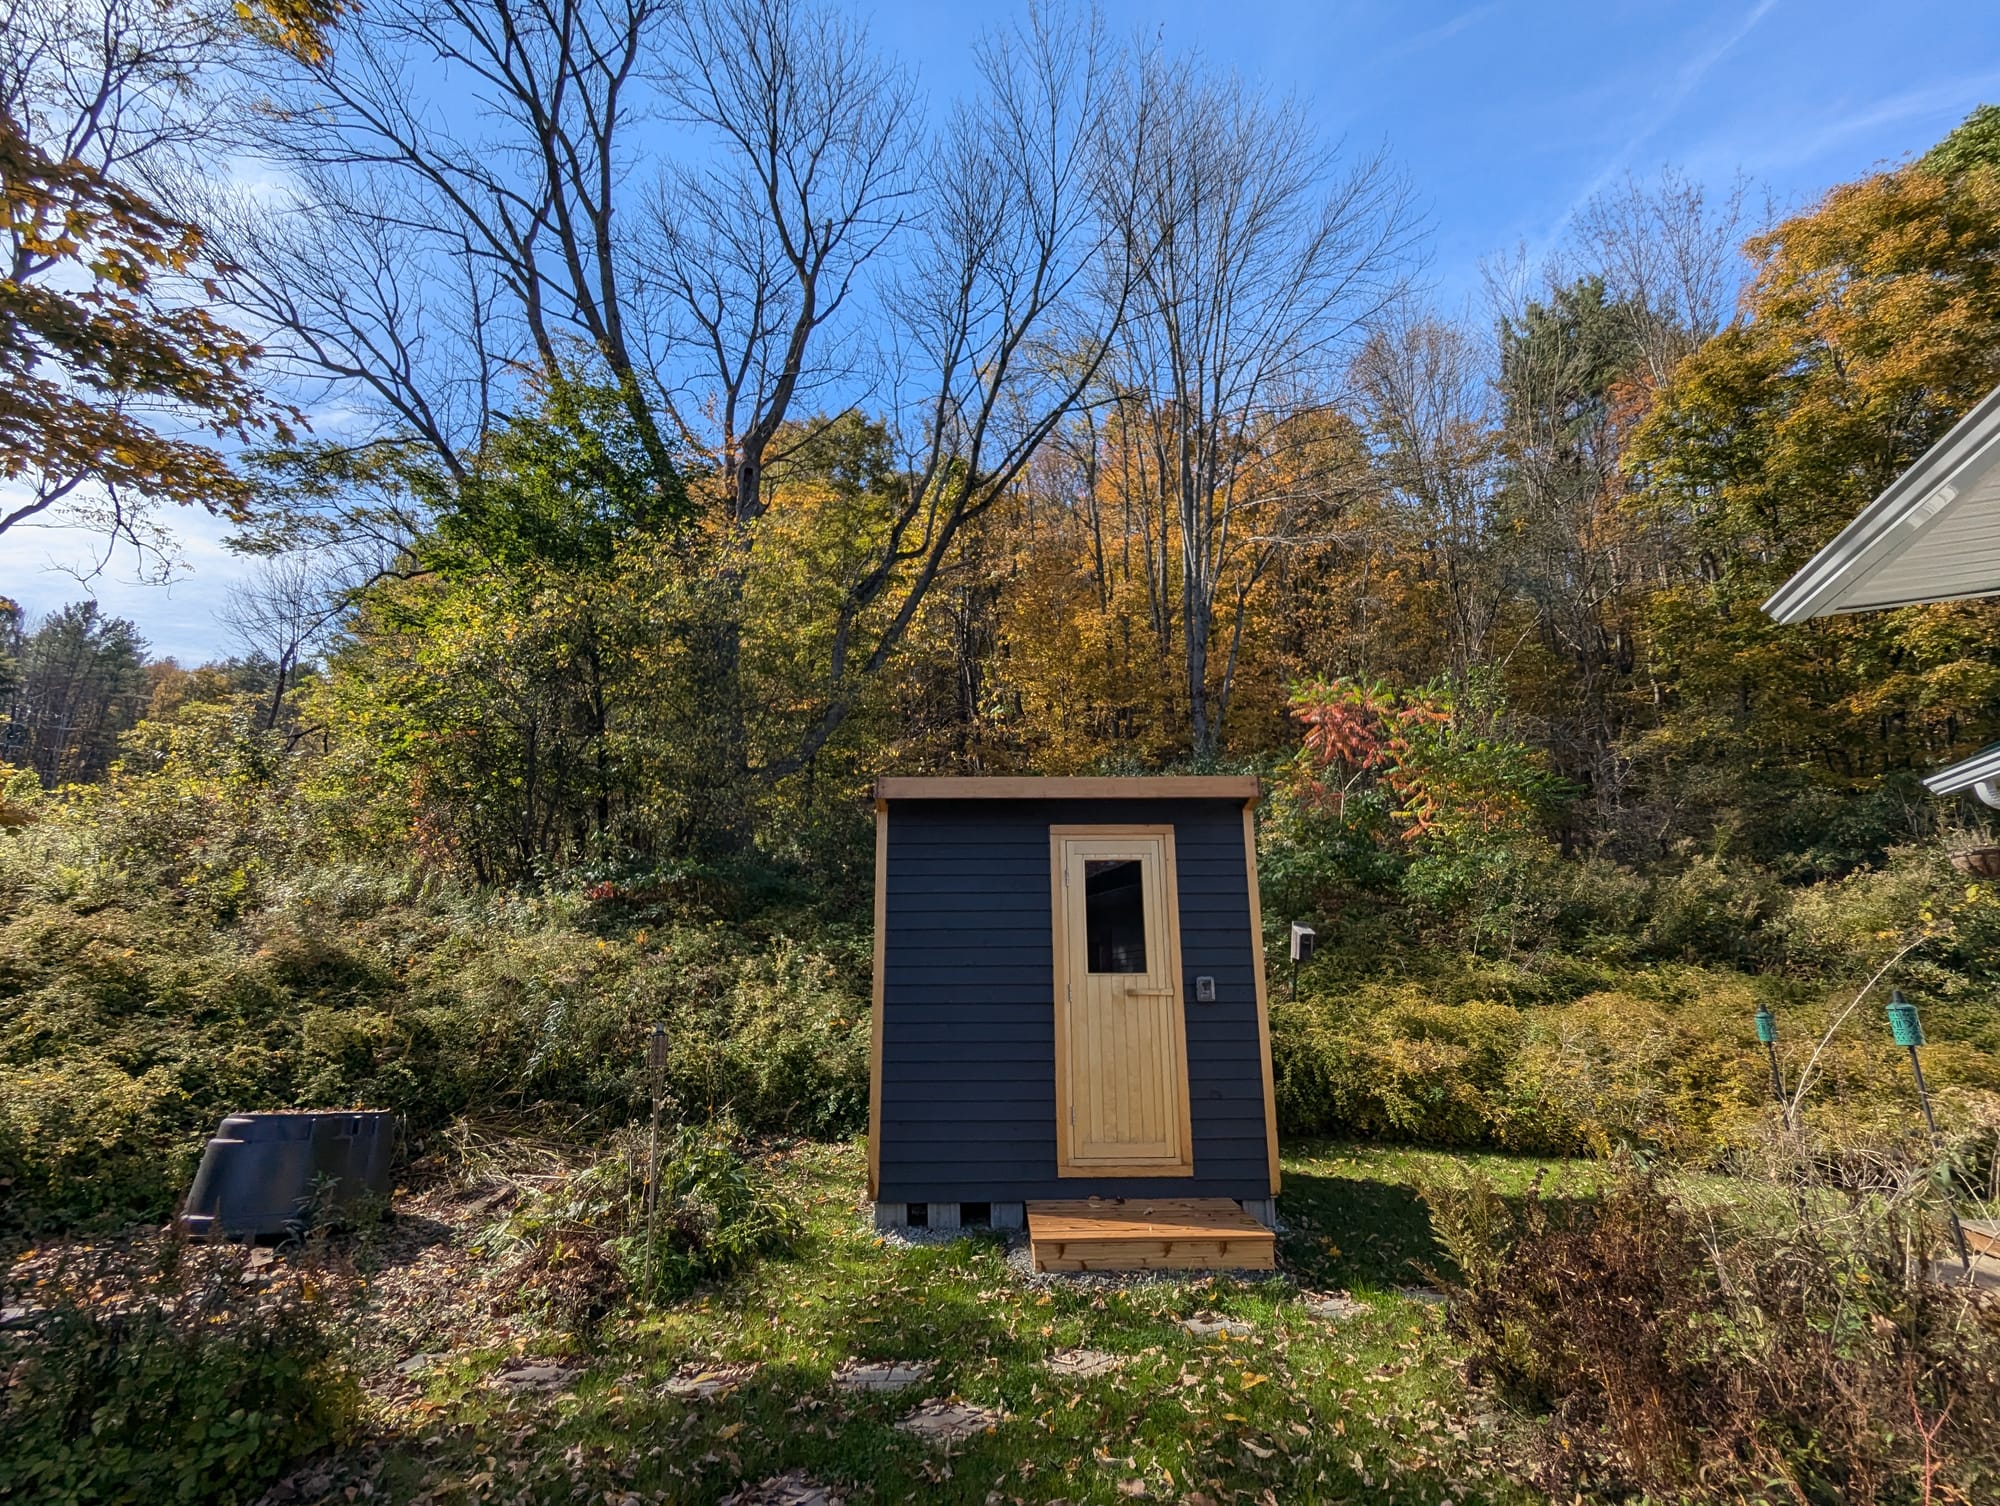
I built a sauna in my backyard. It was one of the best decisions I've ever made. This article goes through the process and the cost of the build.
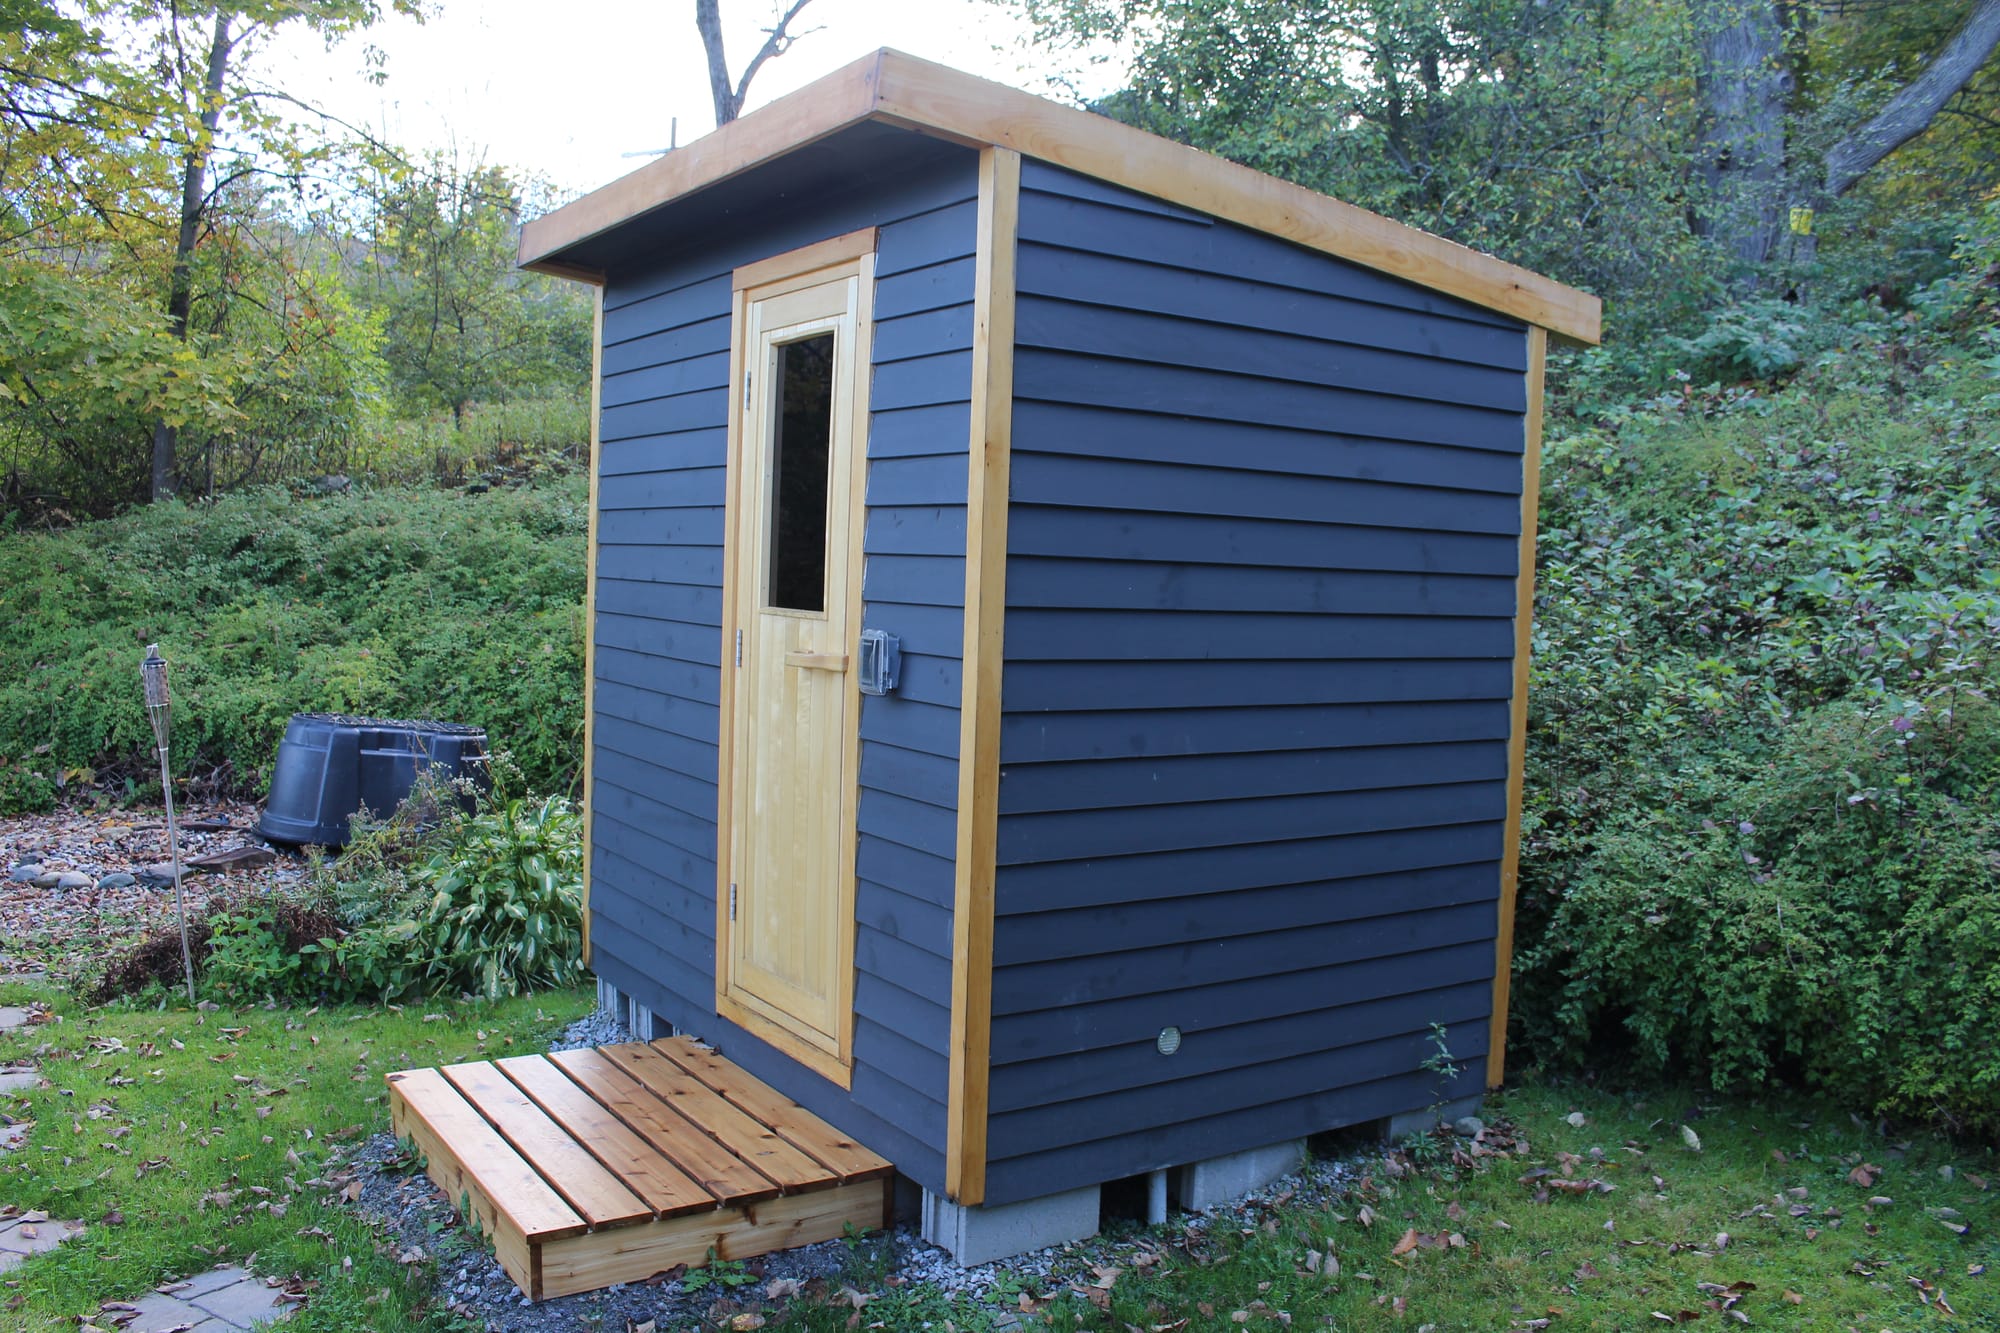
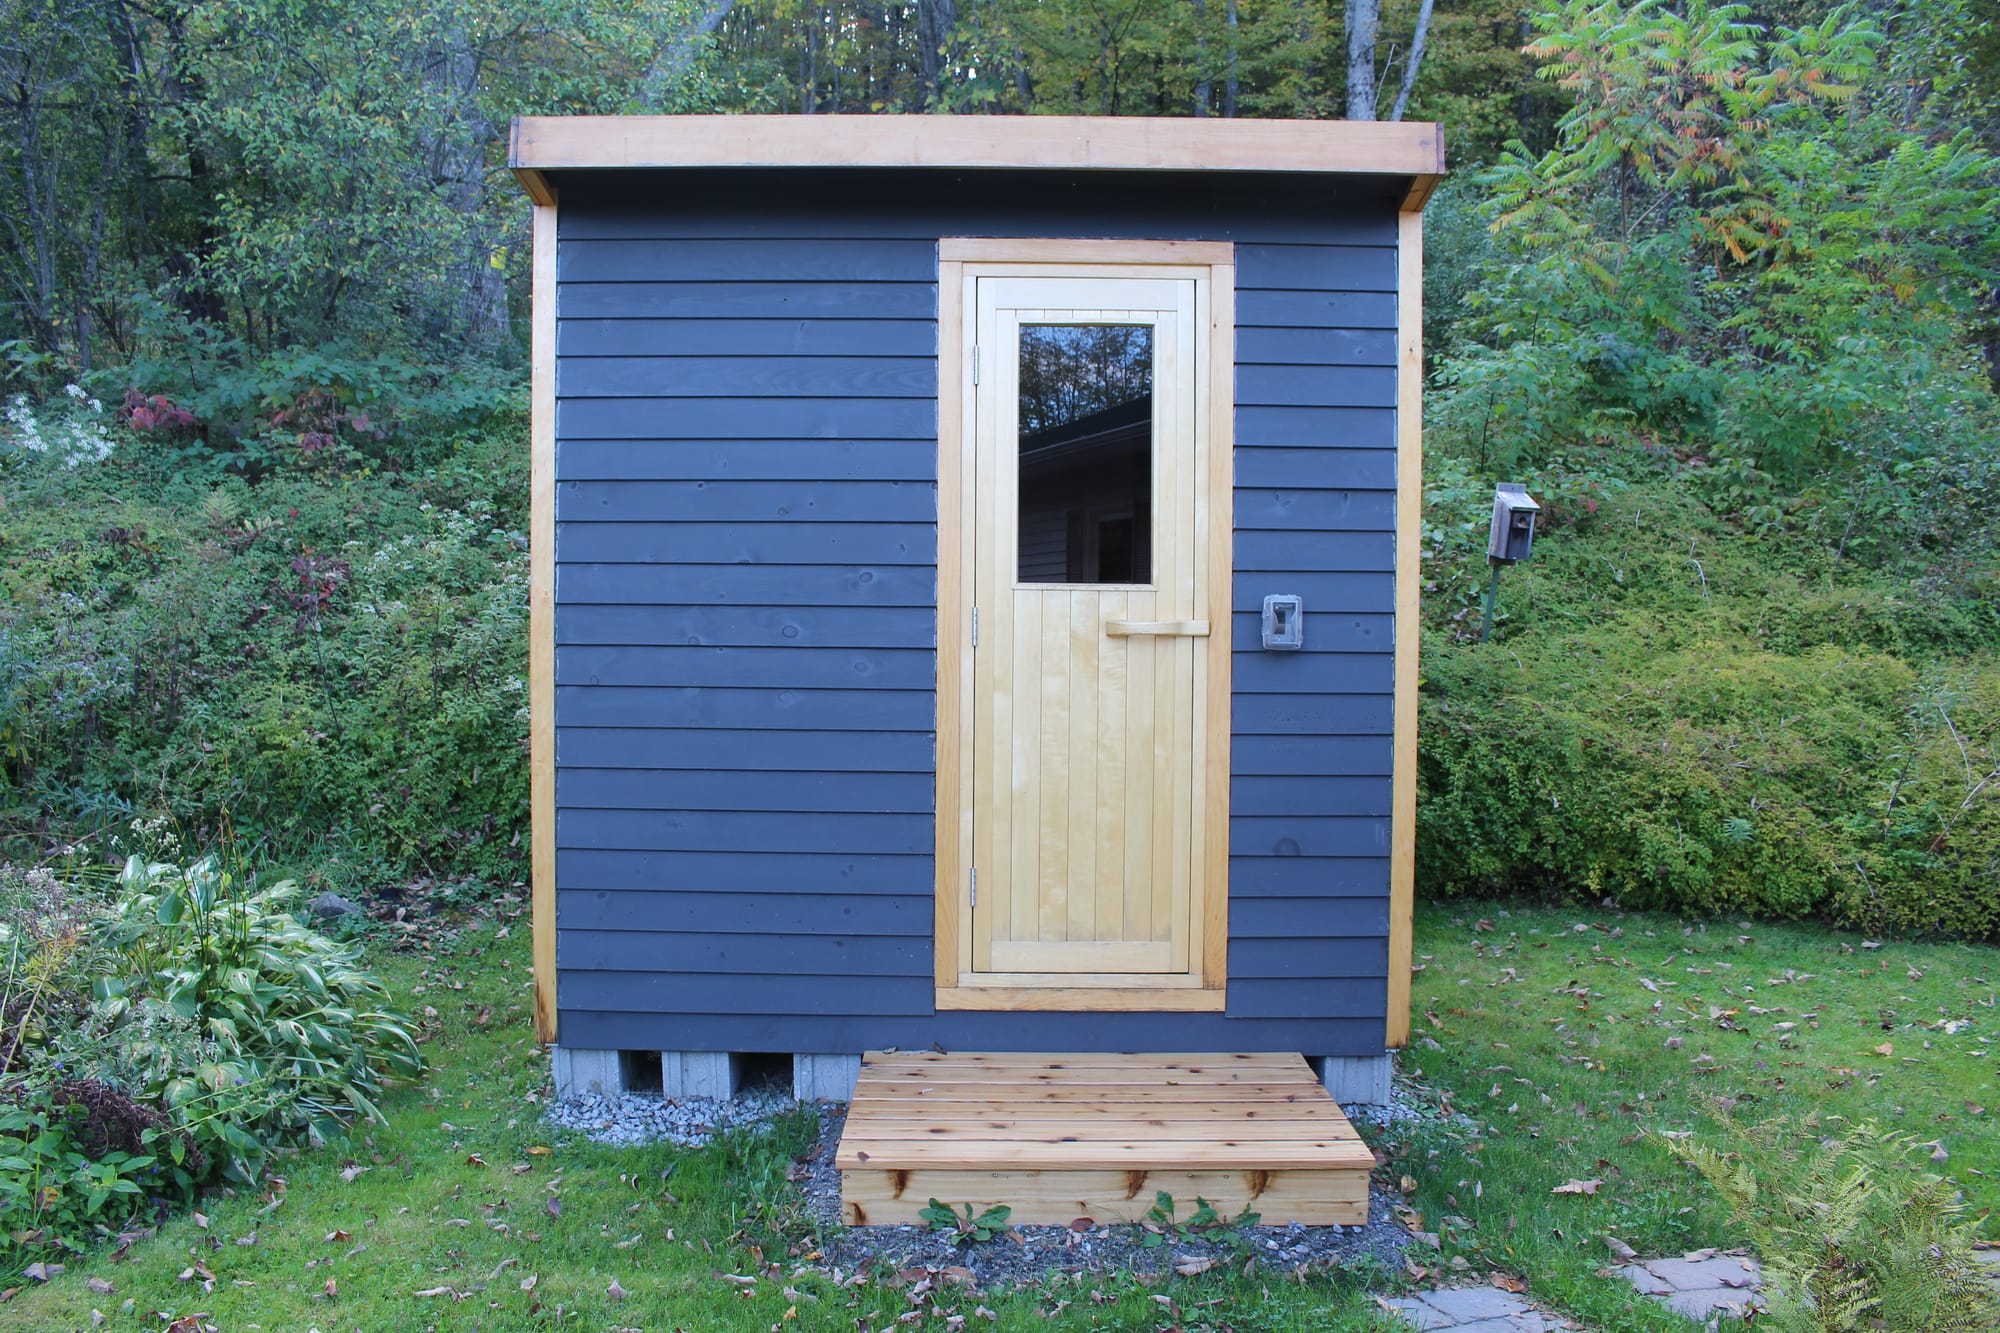
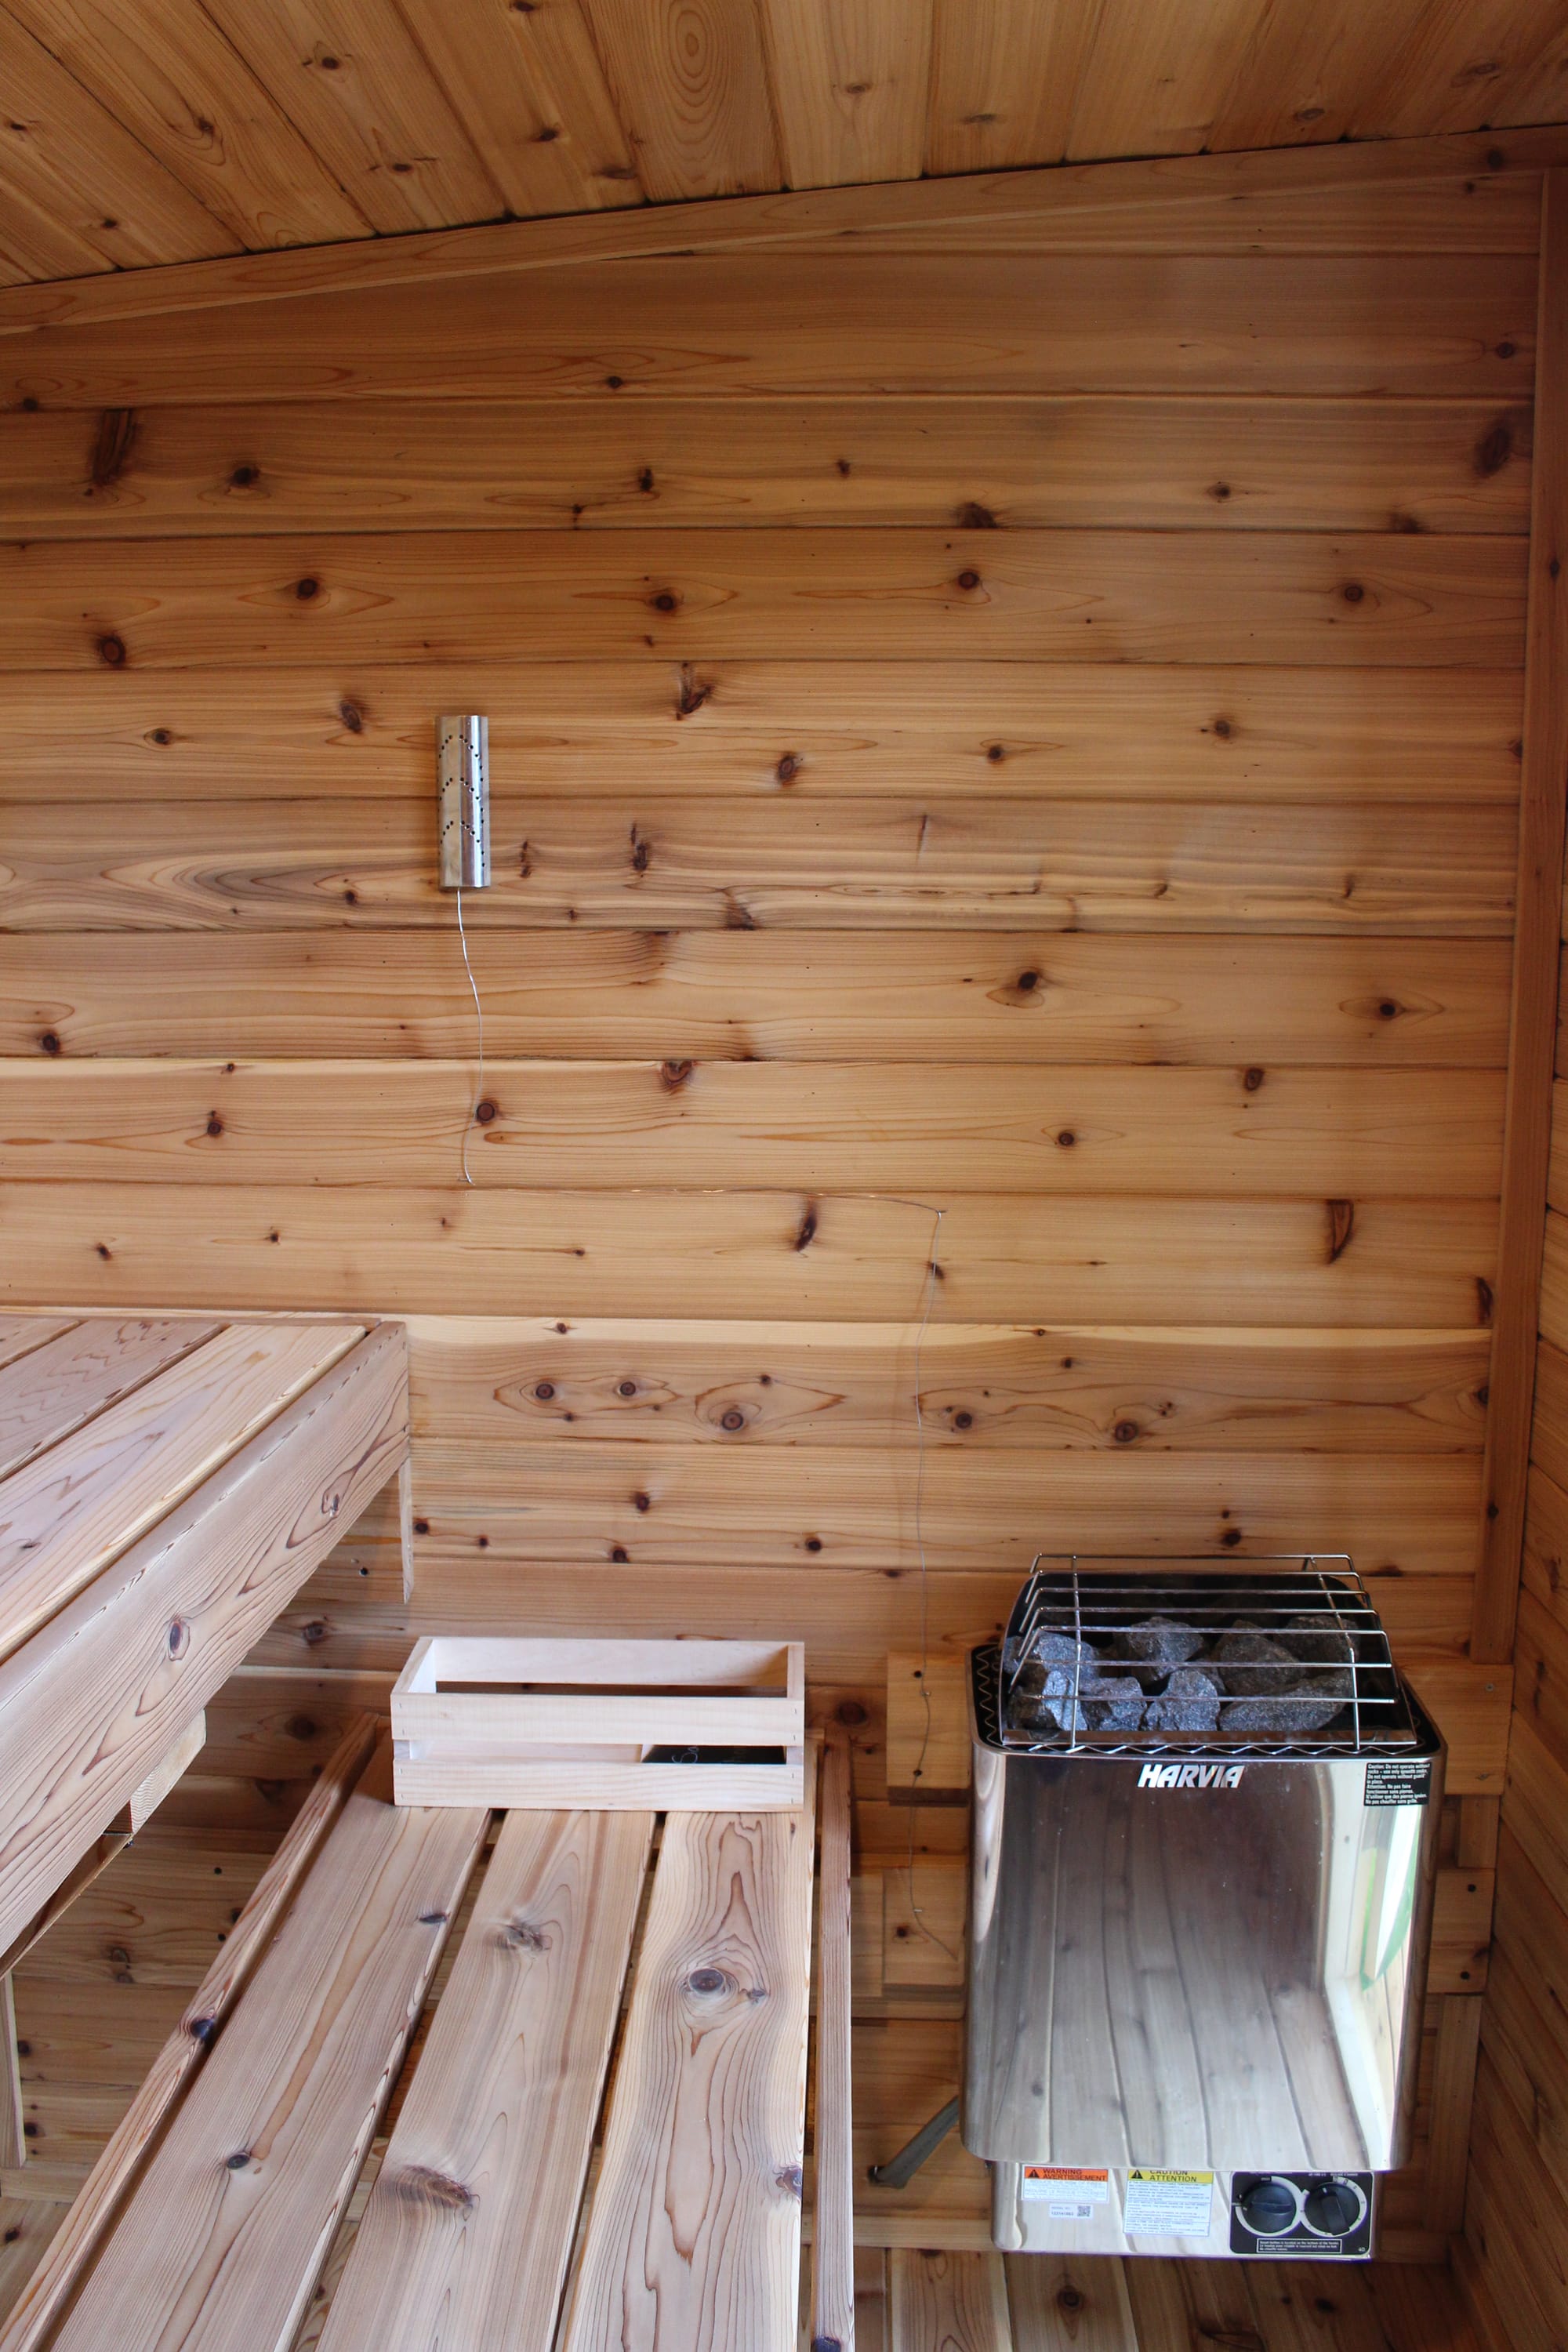
Key Takeaways
- Size: 8ft x 6ft. Two benches. Fits 6 people sitting comfortably.
- Heater: Harvia KIP80B 8KW (https://finnishsaunabuilders.com/)
- Cost: ~$8,500 (I break this down at the end)
- Time: ~ 2 months, mainly on weekends.
- Lots of good sweats!
The Process
I learned a lot through the process of building a sauna and I most definitely didn't do it alone. I heavily relied on Glenn Auerbach's (https://www.saunatimes.com/) Sauna Build, From Start to Finnish ebook as my main source of instructions. Though I did deviate a bit! I also was fortunate enough to have a friend who is a general contractor help me with the framing which sped up the process significantly. If you're unfamiliar with framing, I highly recommend getting help because we had the foundation and framing done in one weekend!
Below are notes and photos that I took along the way. Writing this all up, over a year later, I will probably have missed some details, but I hope this gives you a mostly complete picture of the work. Feel free to reach out if you have any questions!
Foundation and Frame
To build the foundation, we first ordered some gravel. About 1.5 cubic yards.
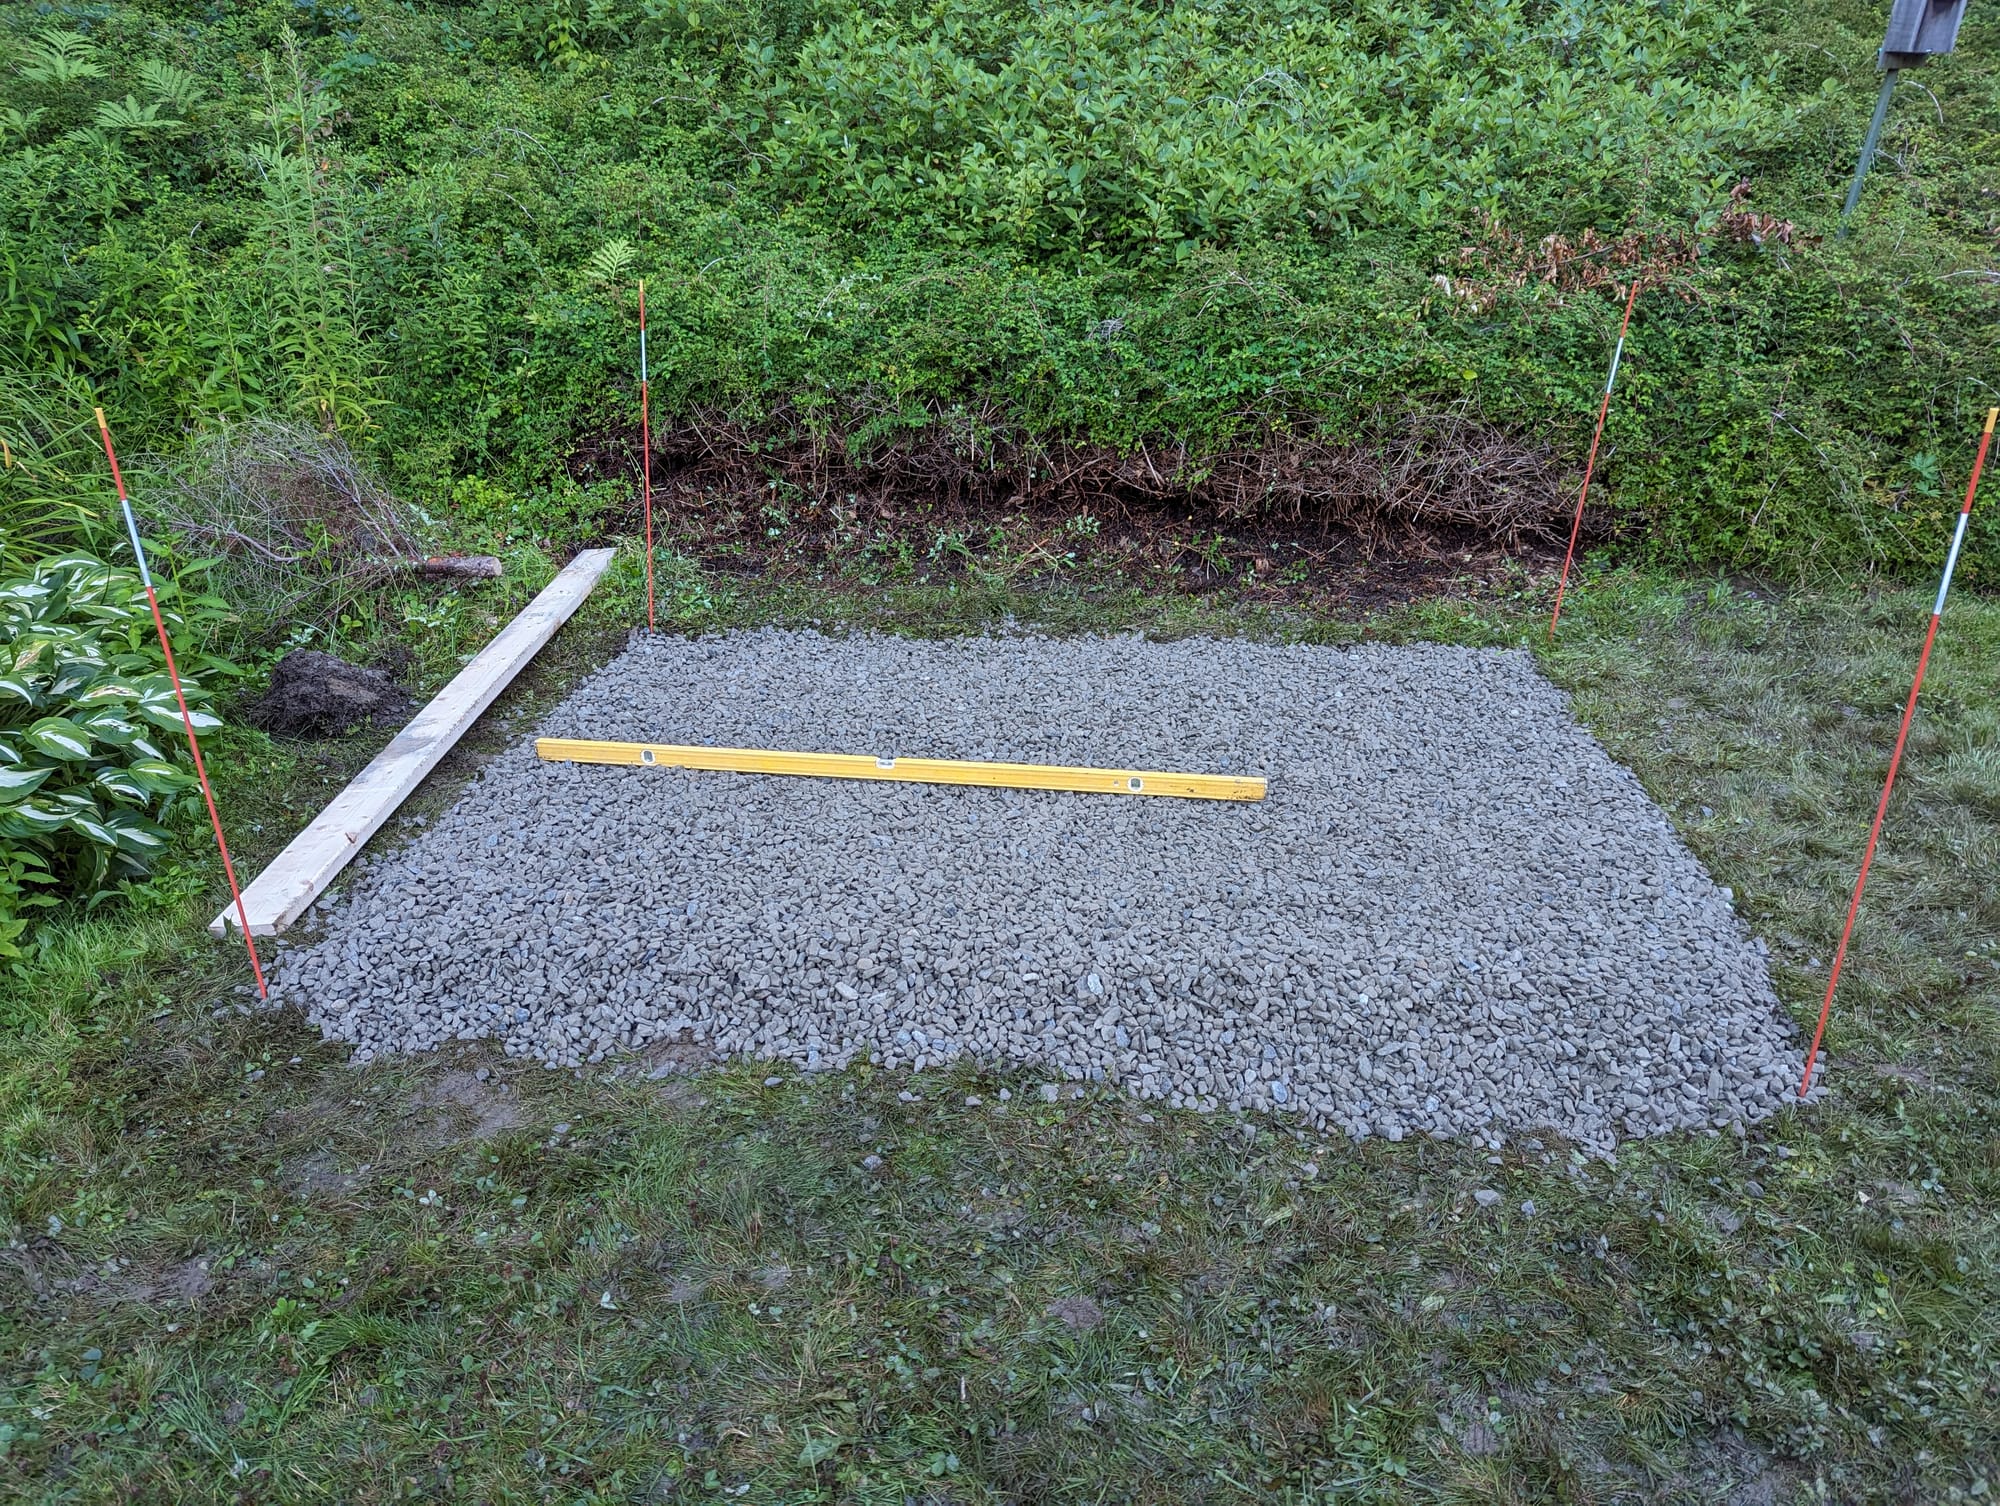
We dug into the sloped lawn and made a relatively flat surface before we poured in the gravel. The slope comes toward the viewer in the image below, so there is less gravel in the back than there is up front. We leveled the gravel the best we could before continuing. Note, we didn't compact the gravel.
After adding the gravel, we added (21) 6"x 12" cinder blocks to serve as the base.
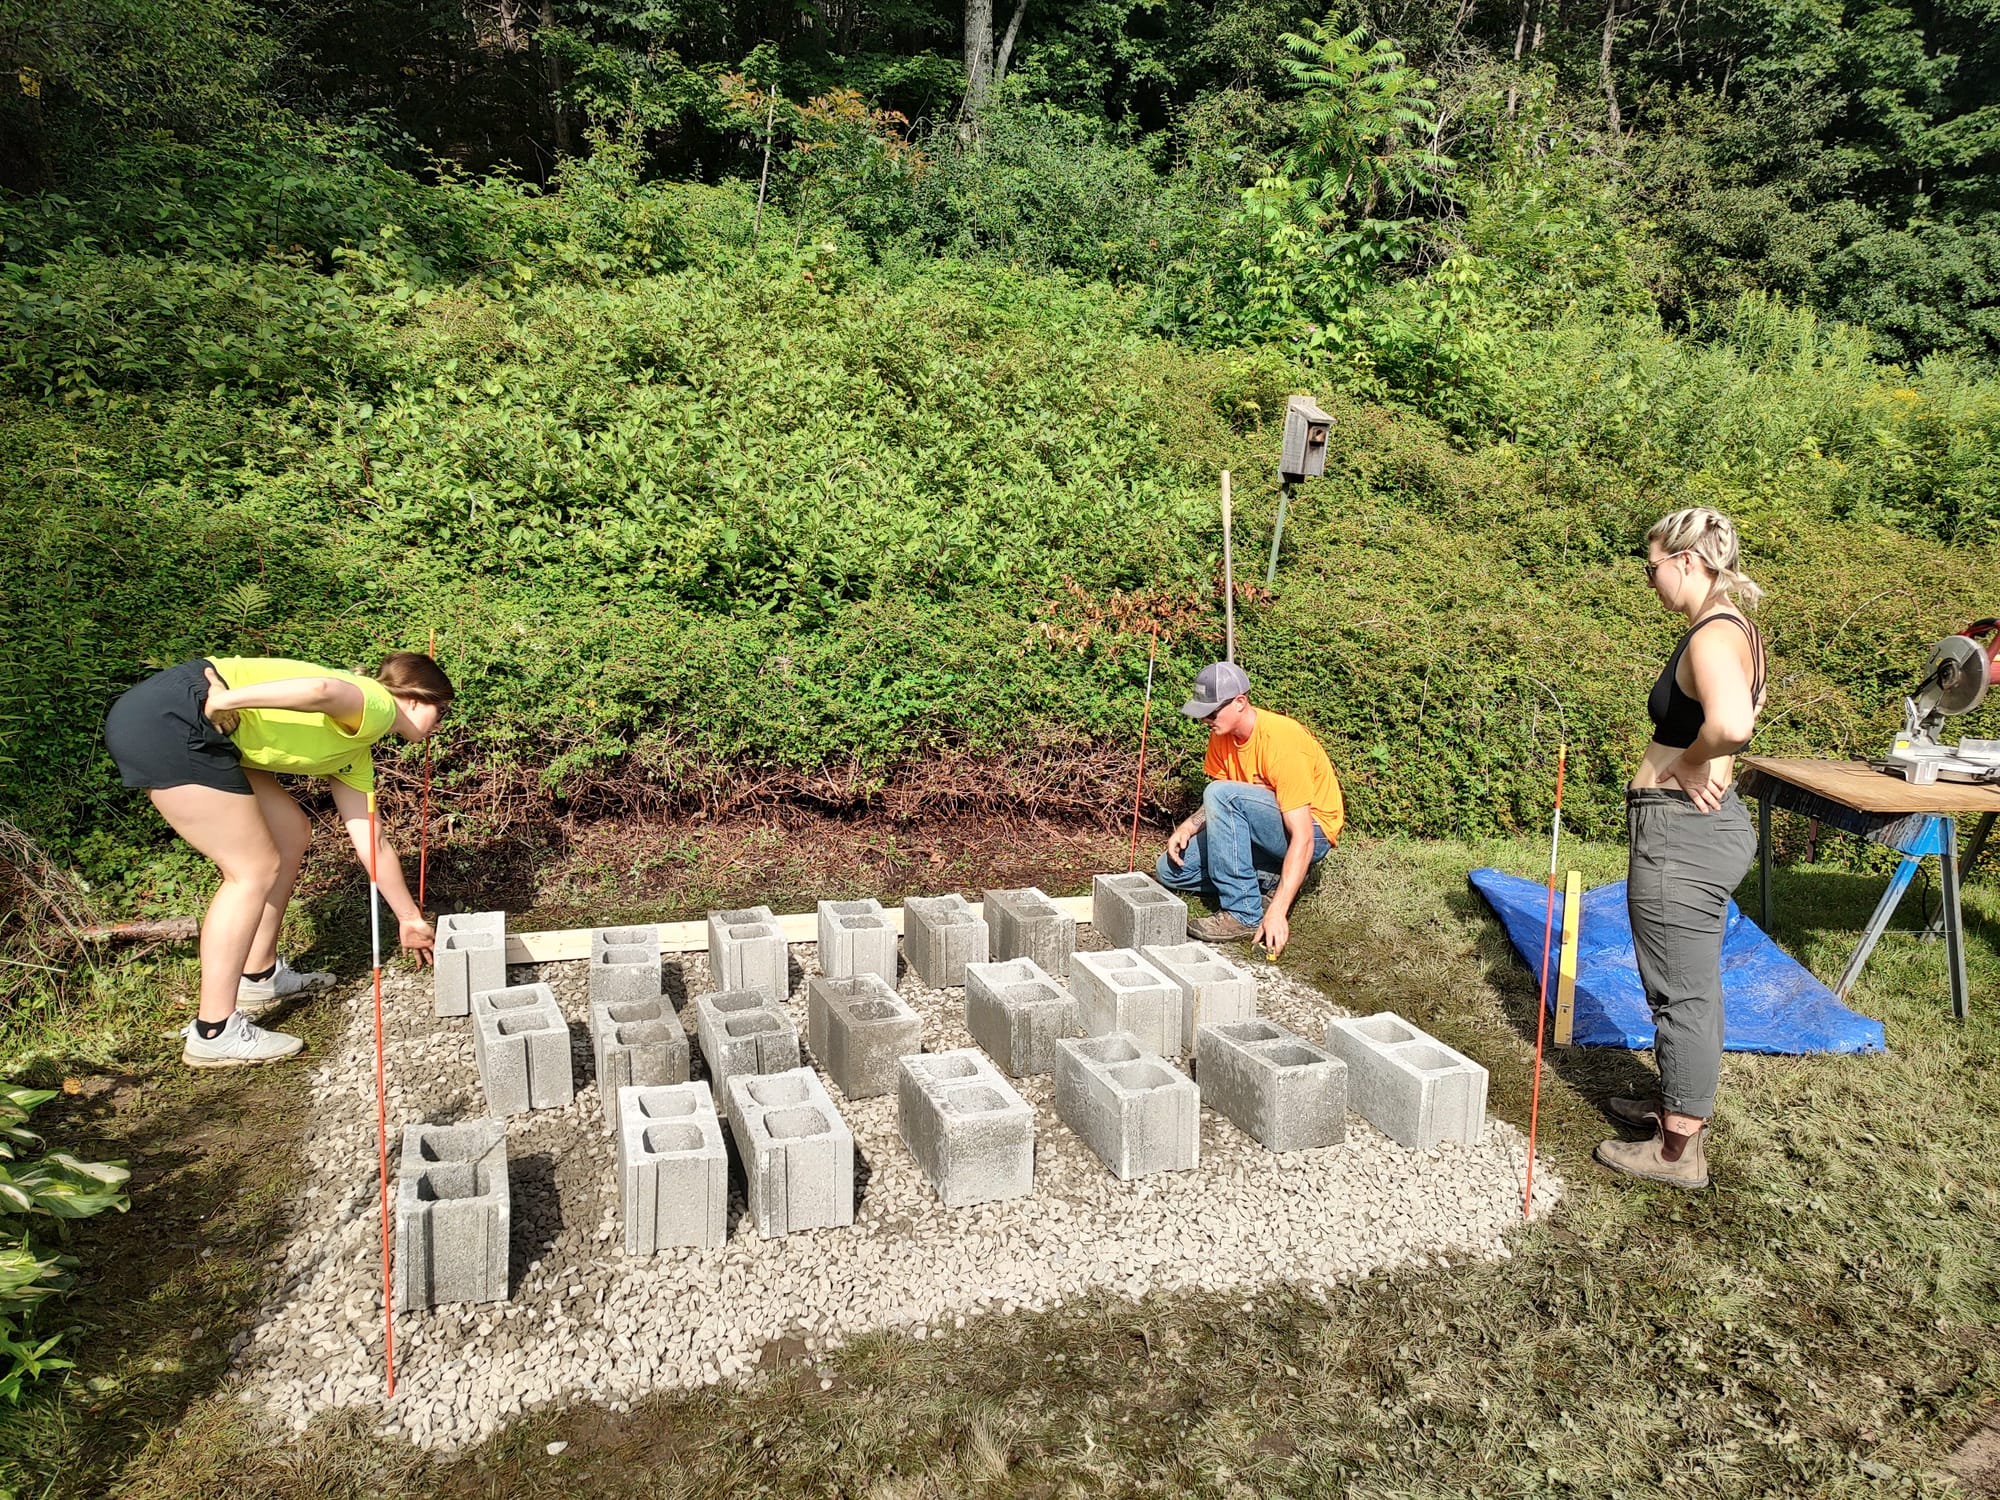
We spent a fair amount of time leveling the cinder blocks and ensuring they were square (note the small frame we made to help keep things square). Then, we built a base using 2" x 6" boards. This is where I should mention that the sauna base is 8 ft wide and 6 ft deep. The base then rested on the cinder blocks to complete the foundation.
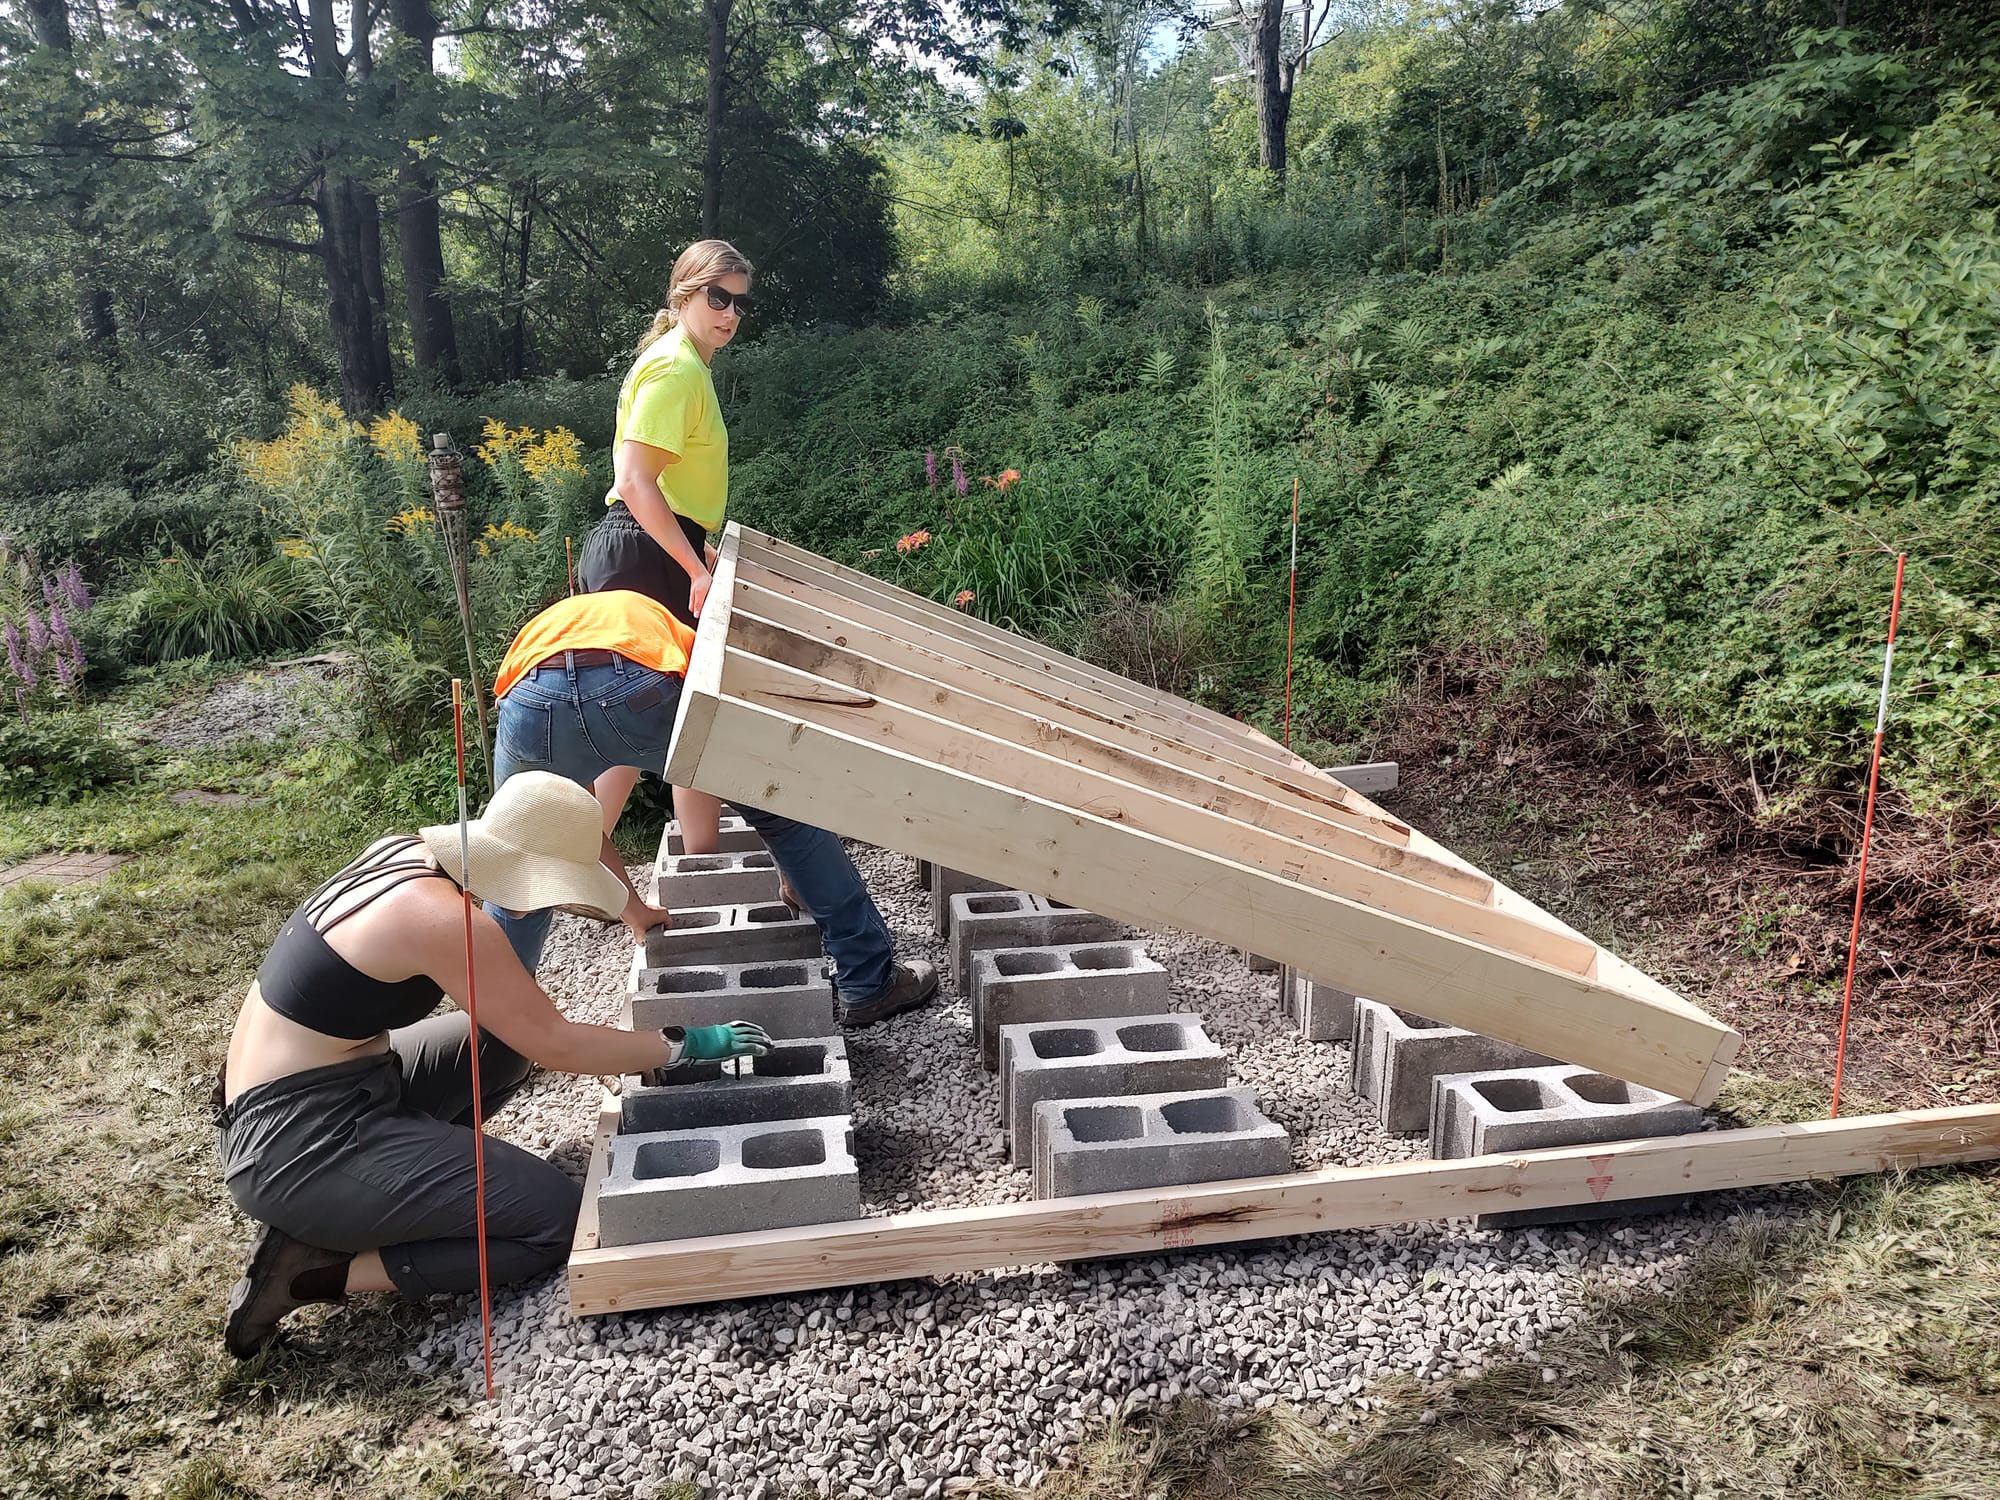
Plywood subflooring was added to the base and the framing began.
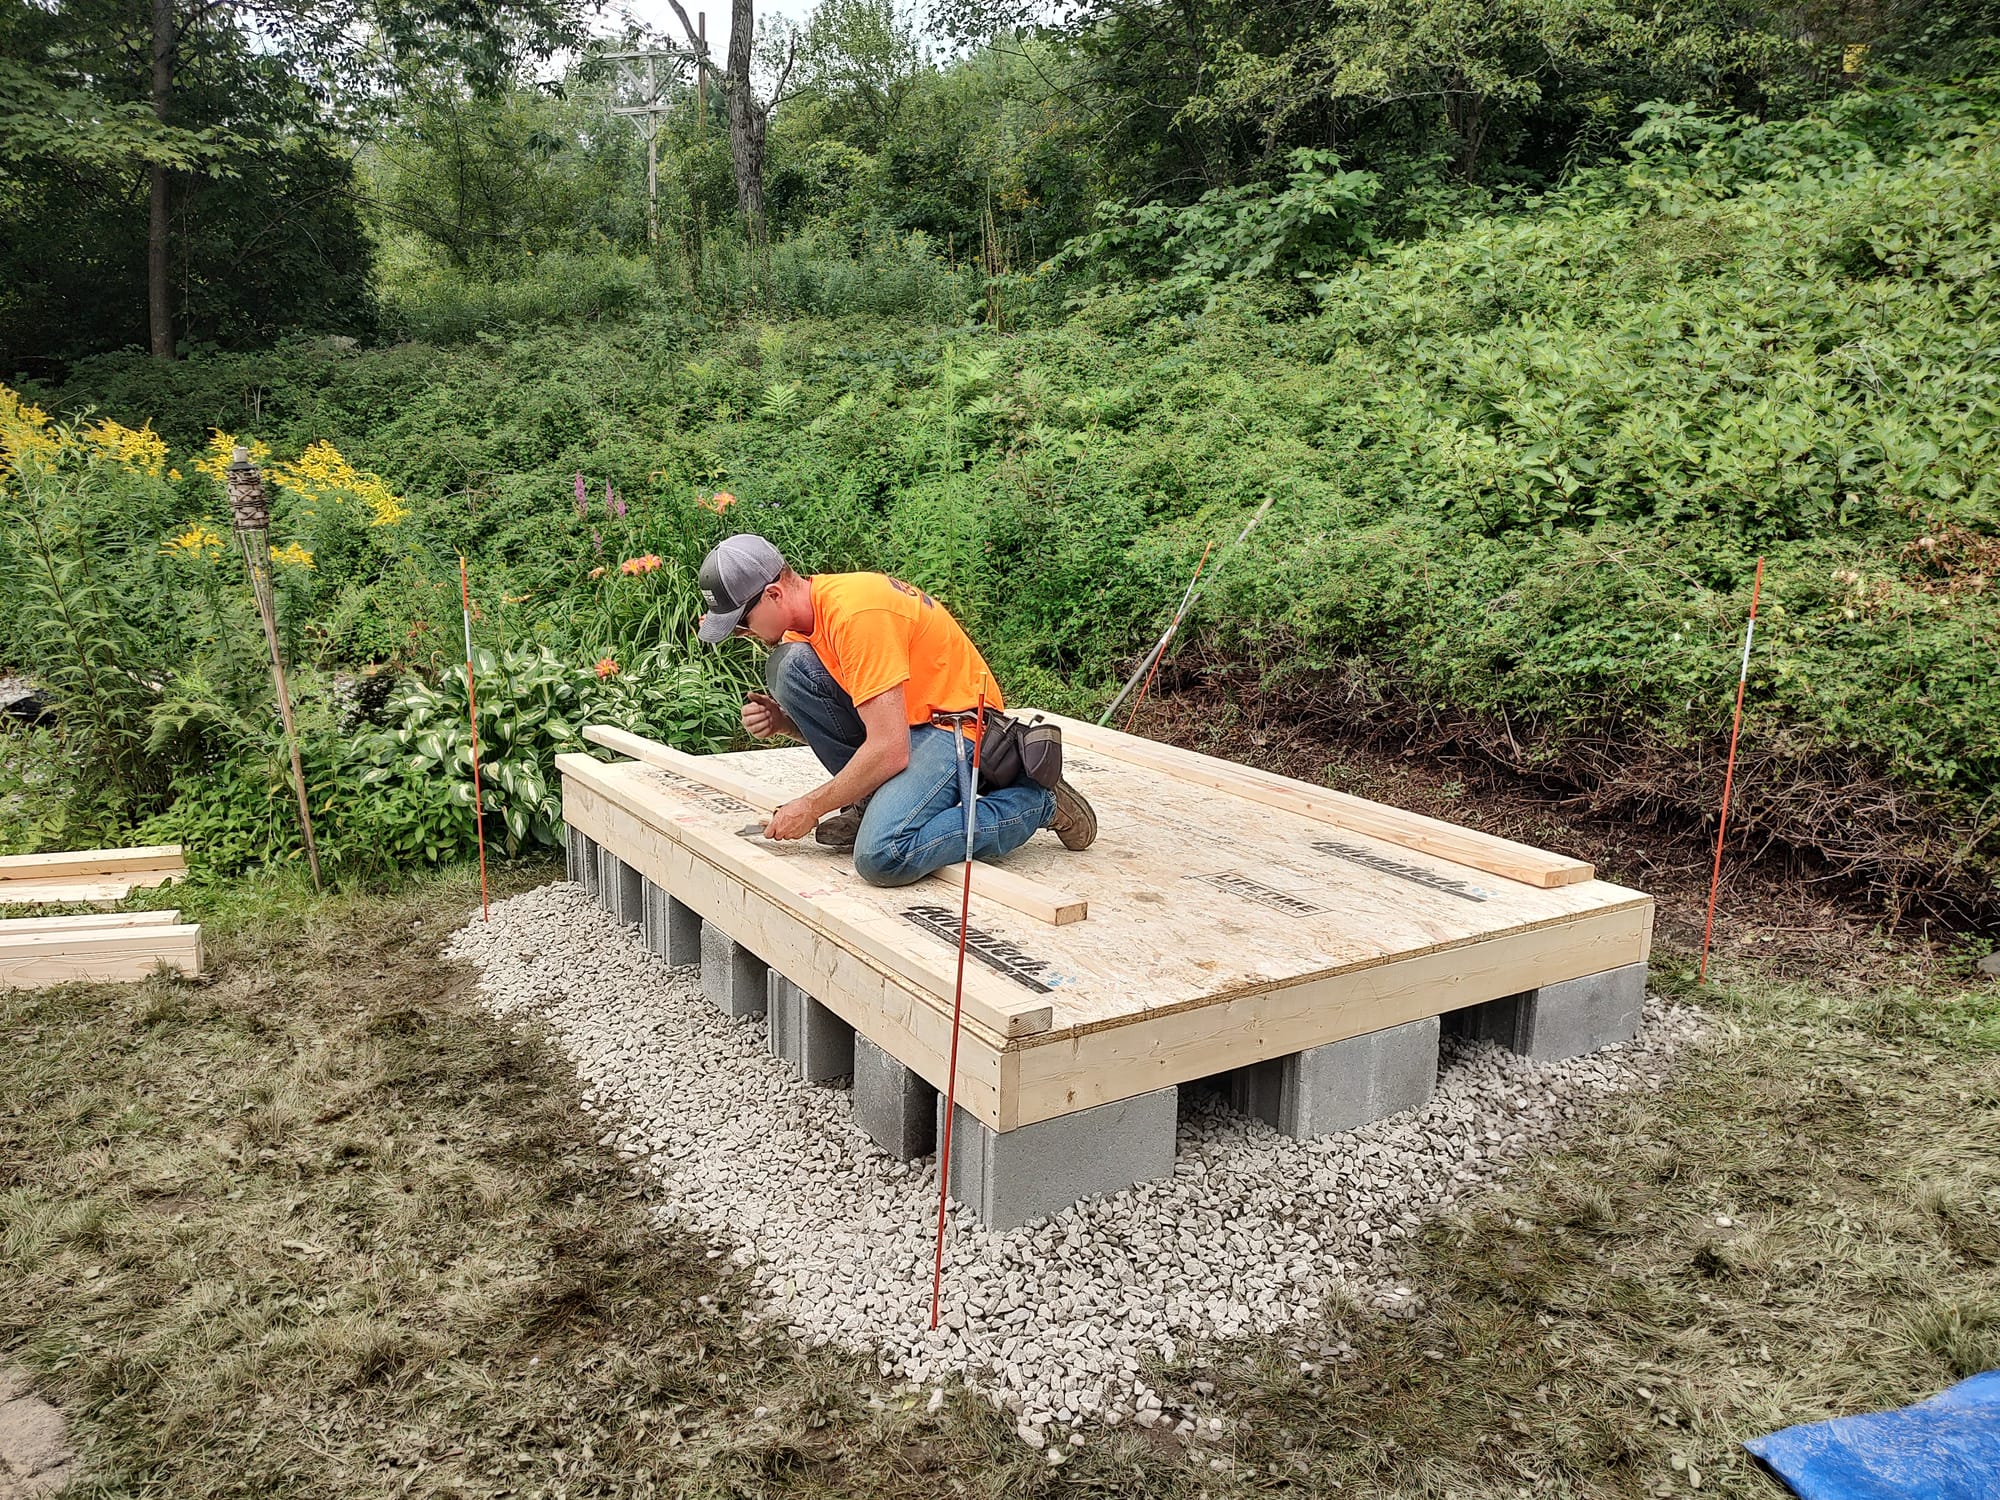
Again, get a friend who knows how to frame buildings to help you if you don't know how to do this yourself. Glenn's book is also helpful, but honestly, I don't know if I could repeat this without watching a few videos. Basically, we built each wall frame on the ground, then hoisted it onto the base, and secured it.
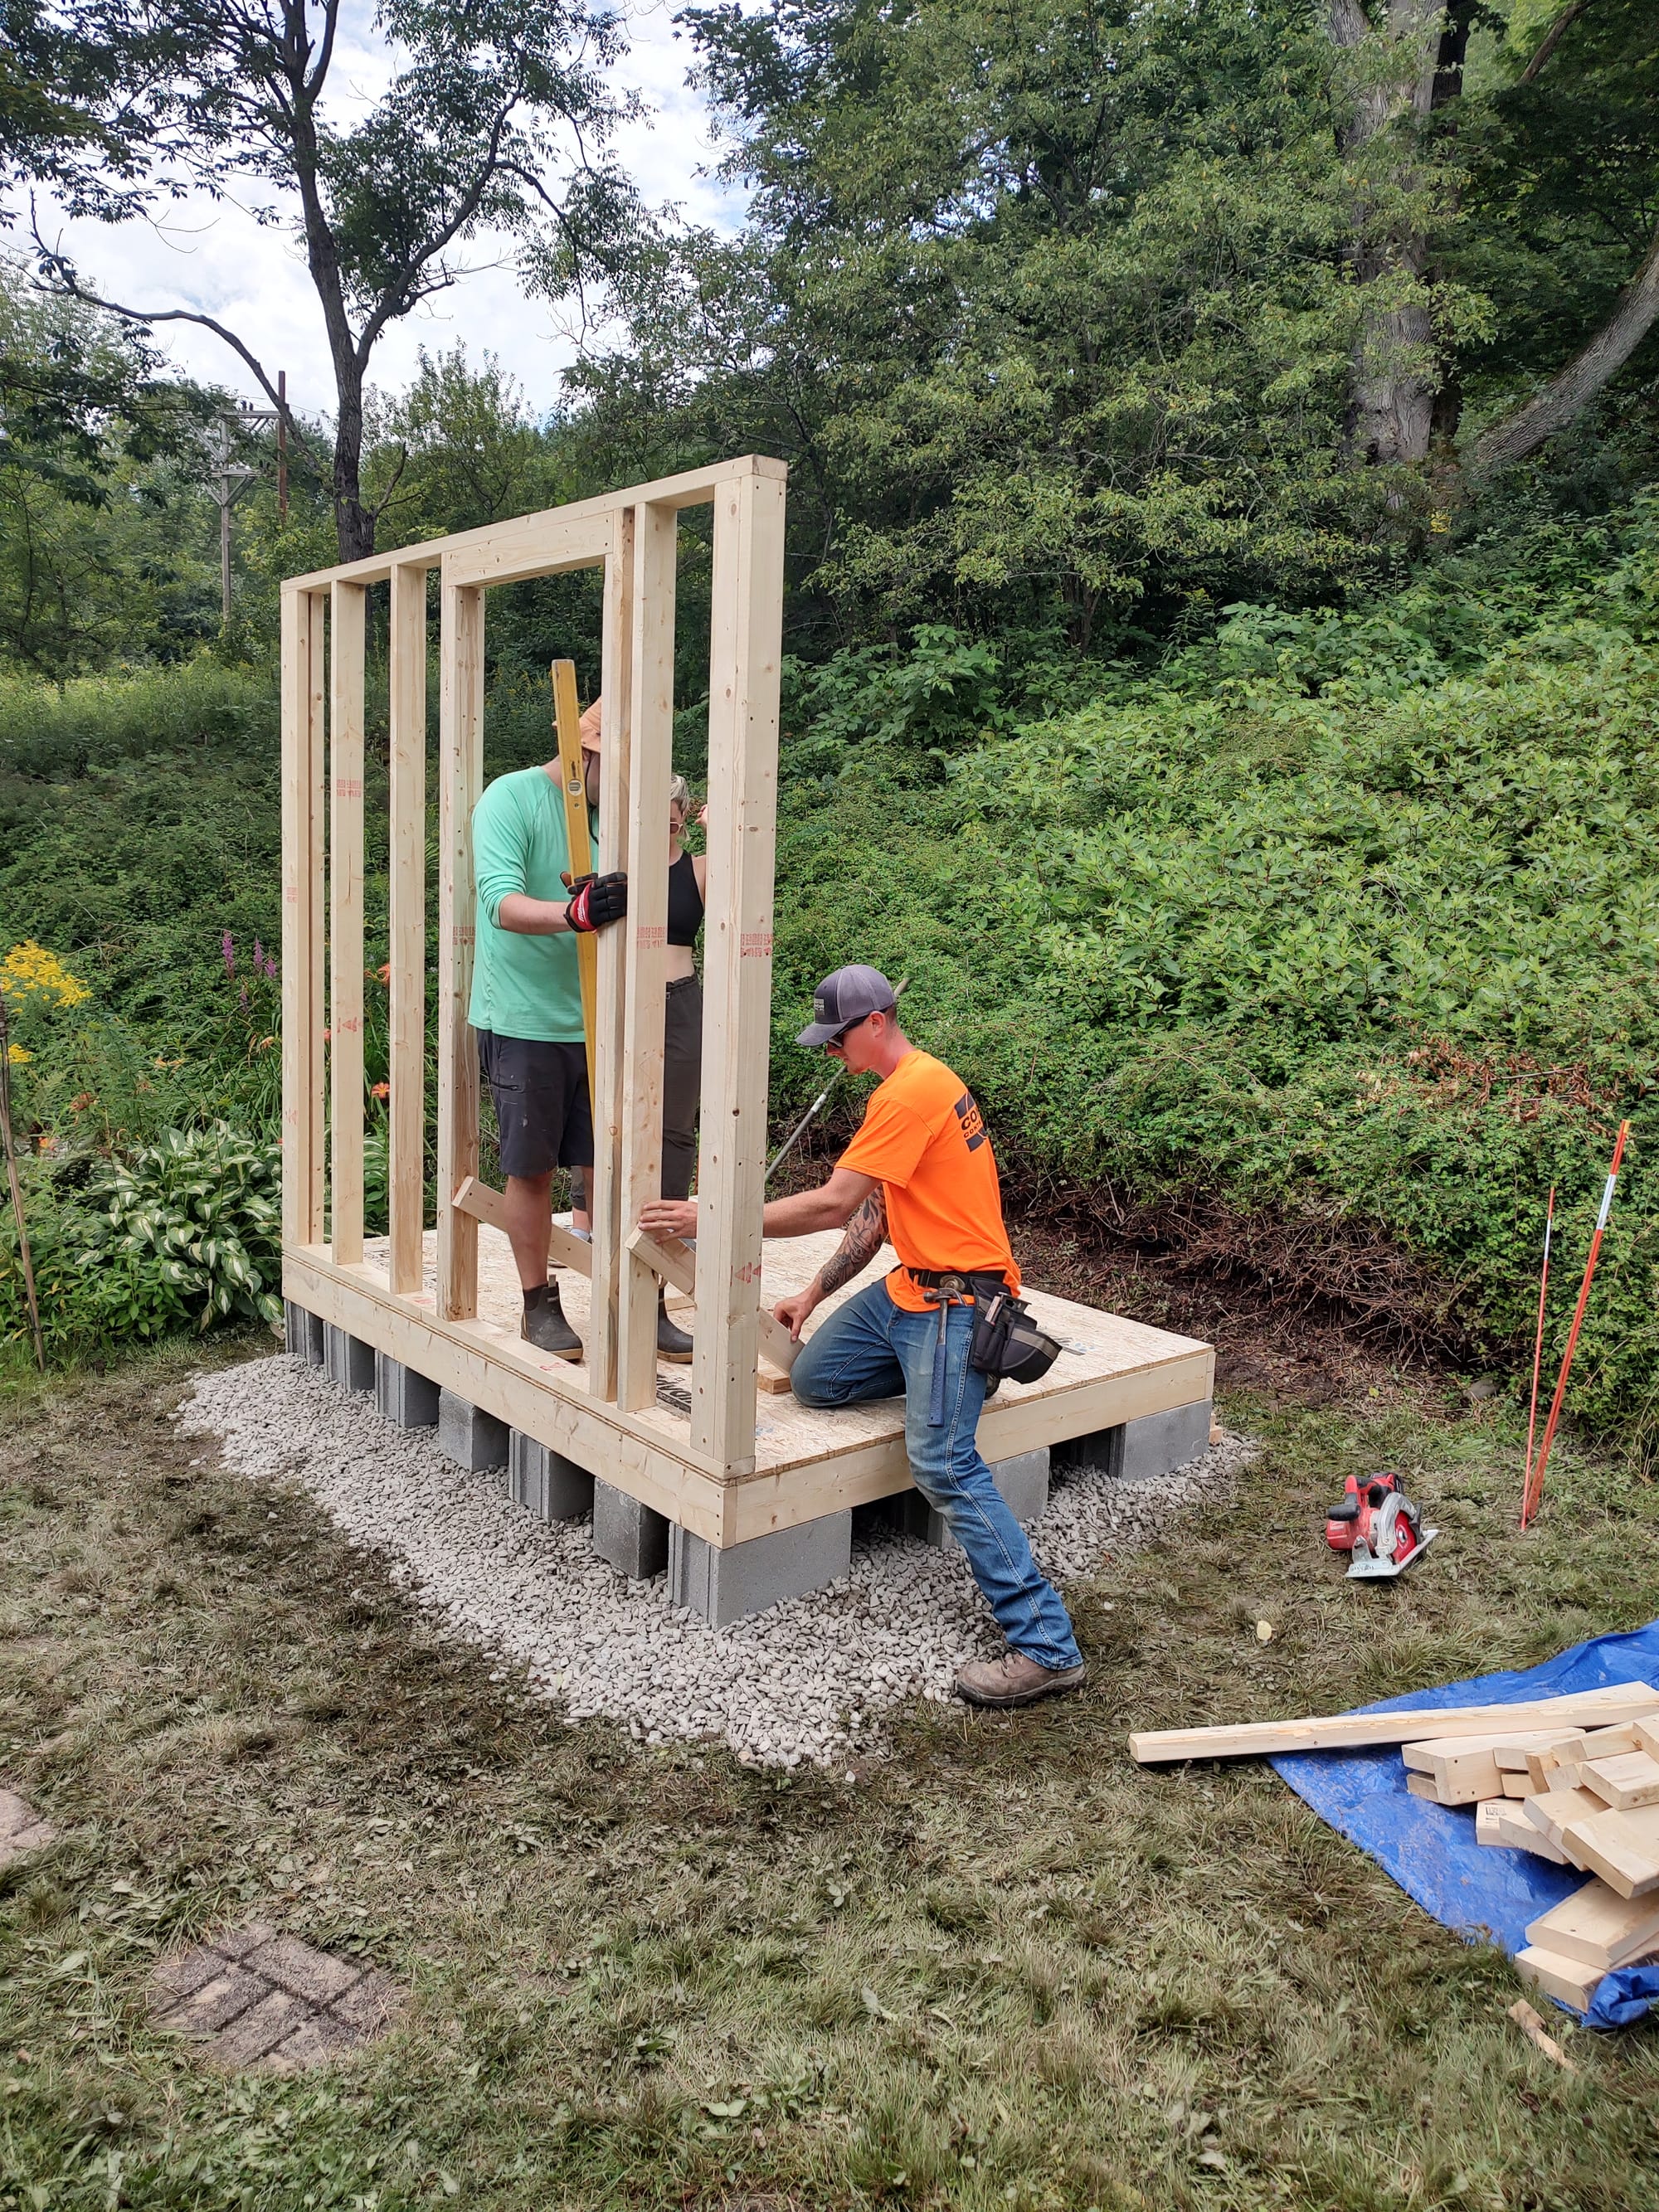
We started with the front that had the door and worked our way around adding one wall at a time. All the while, we were repeatedly making sure that the walls were square and level.
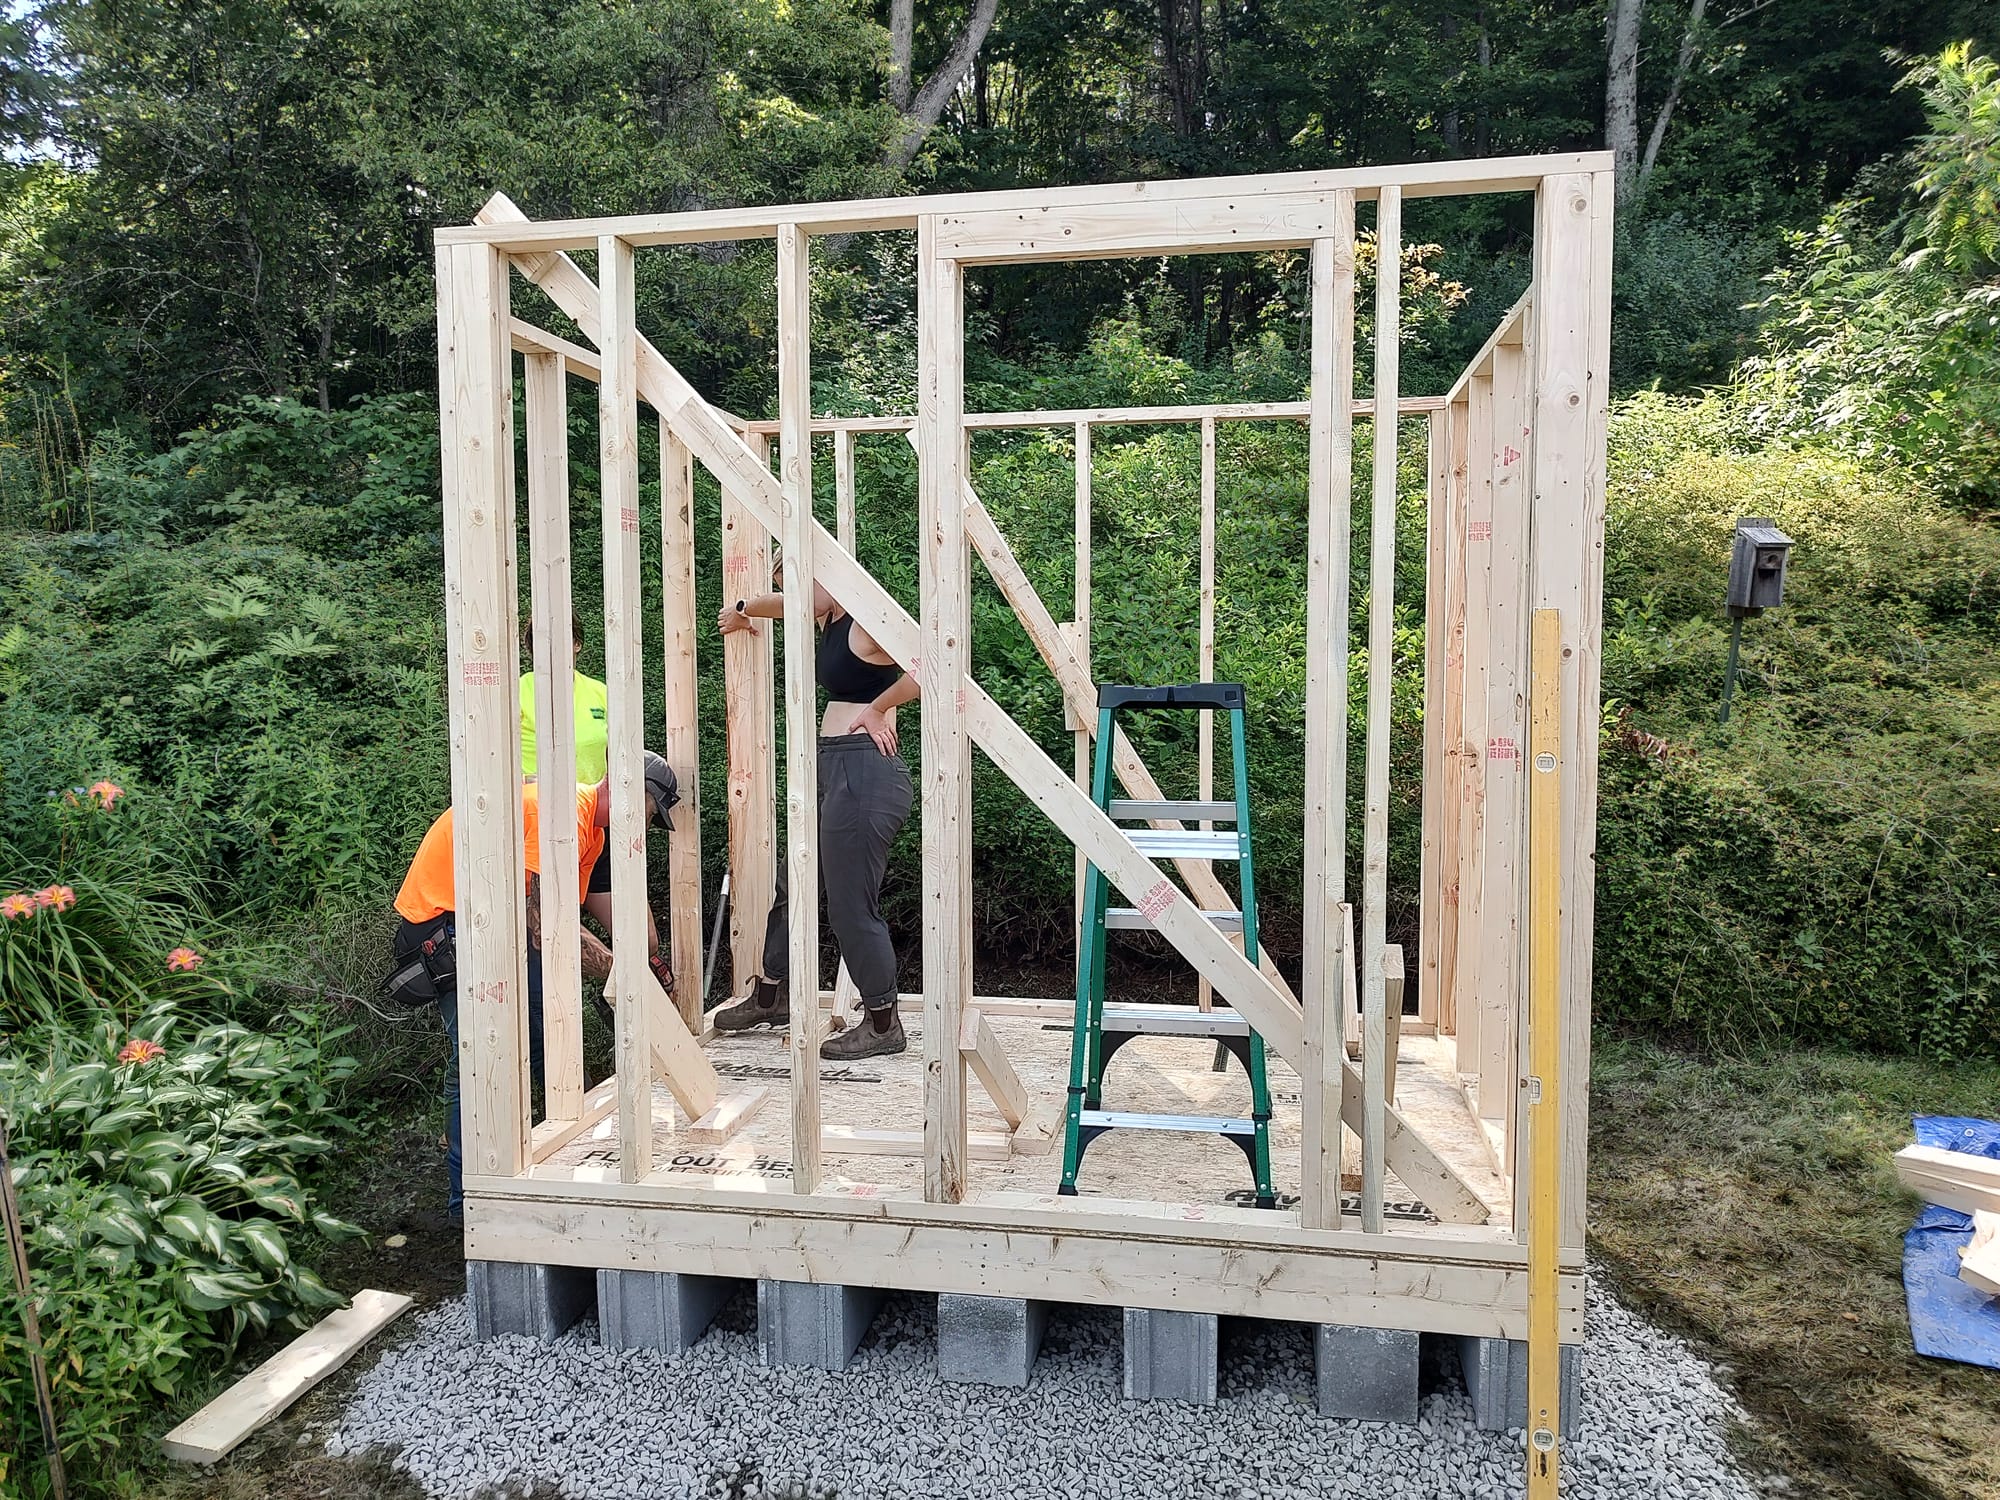
Once the wall frames were up, we added plywood sheeting for the exterior, including the roof.
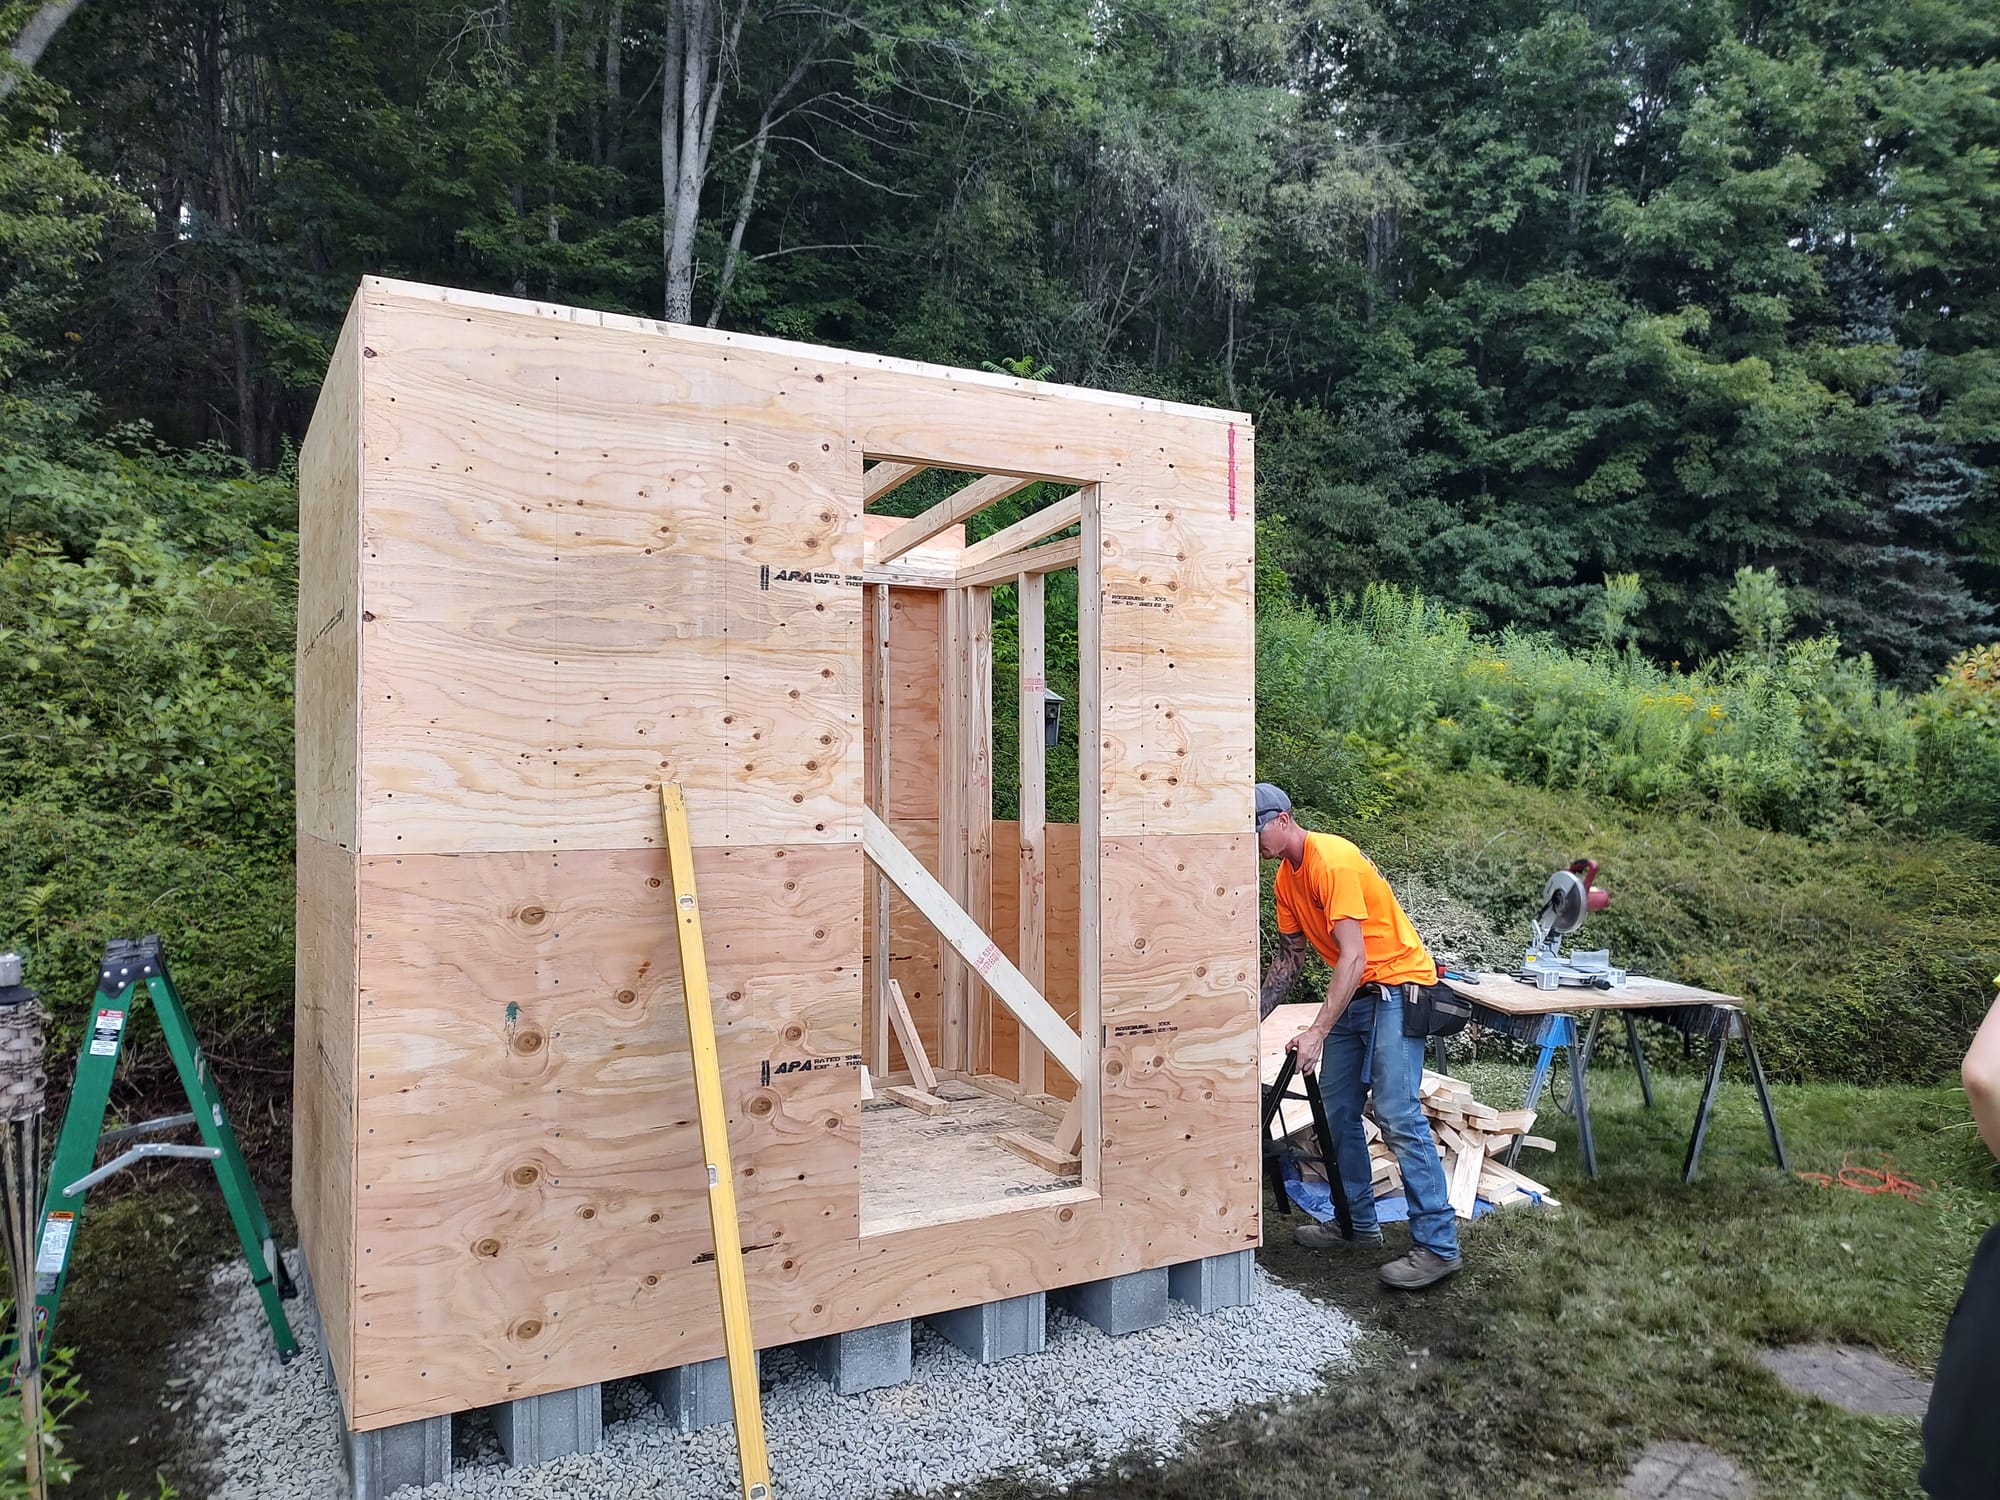
All joints were taped shut with Zip tape to minimize leaks.
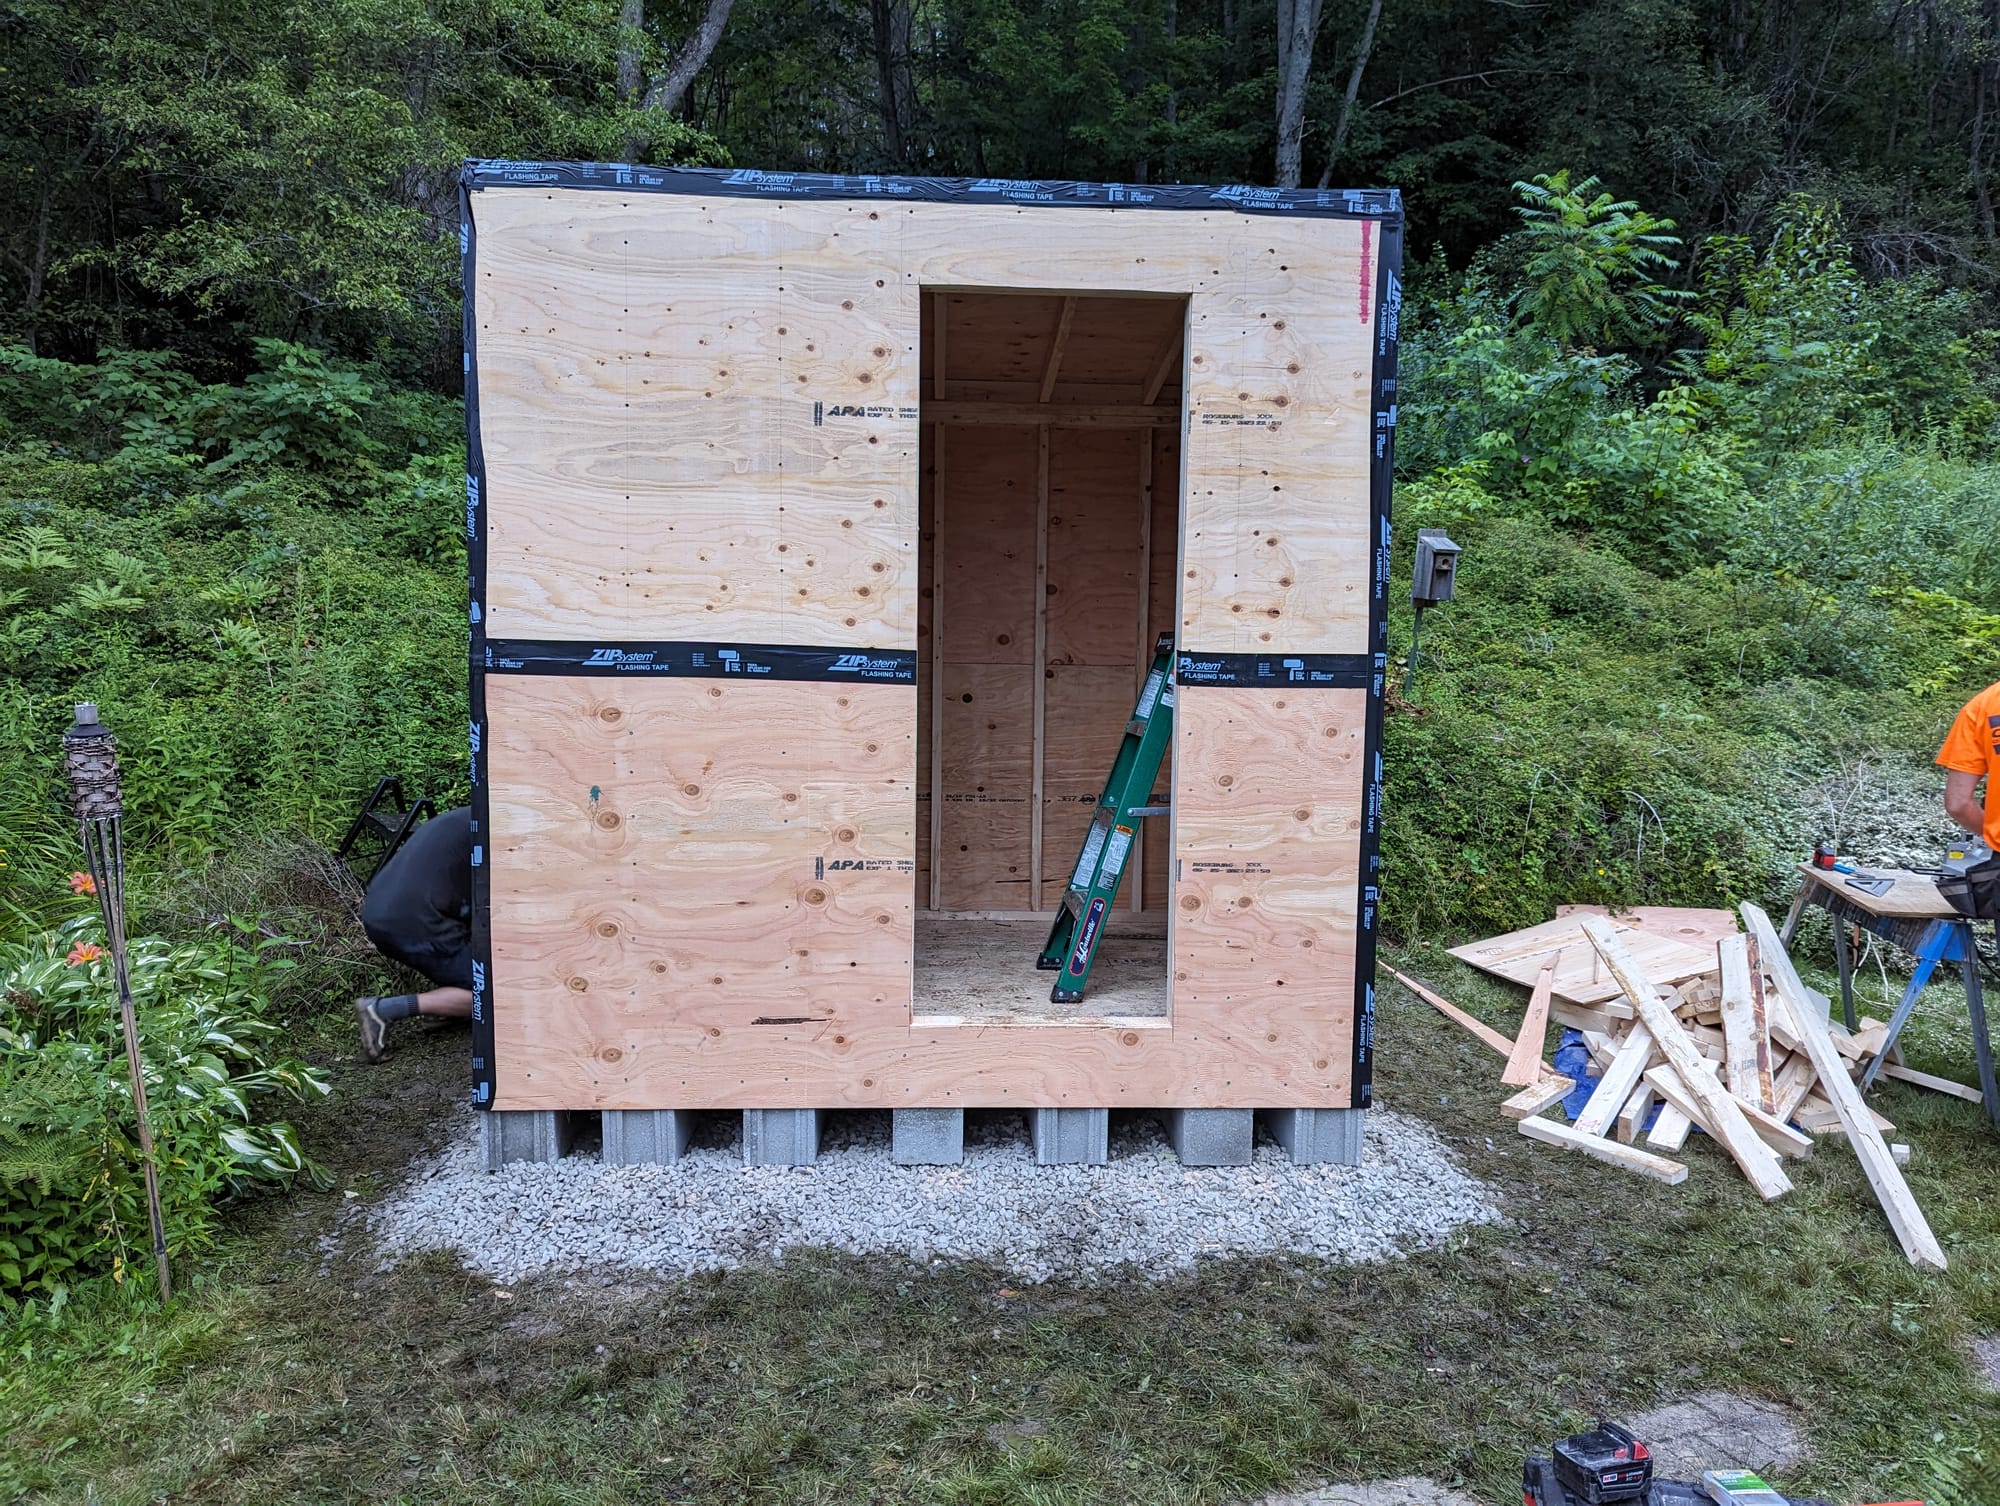
We then added a metal corrugated roof and wrapped the whole thing in Tyvek. This is the only part where I think we truly screwed up in the build. We didn't create a roof overhang on the sides of the sauna, and so, when we added trim later on, it doesn't really sit correctly. So far so good, but the roof may need replacement at some point. I recommend making an overhang at this point so you can add trim away from the siding.
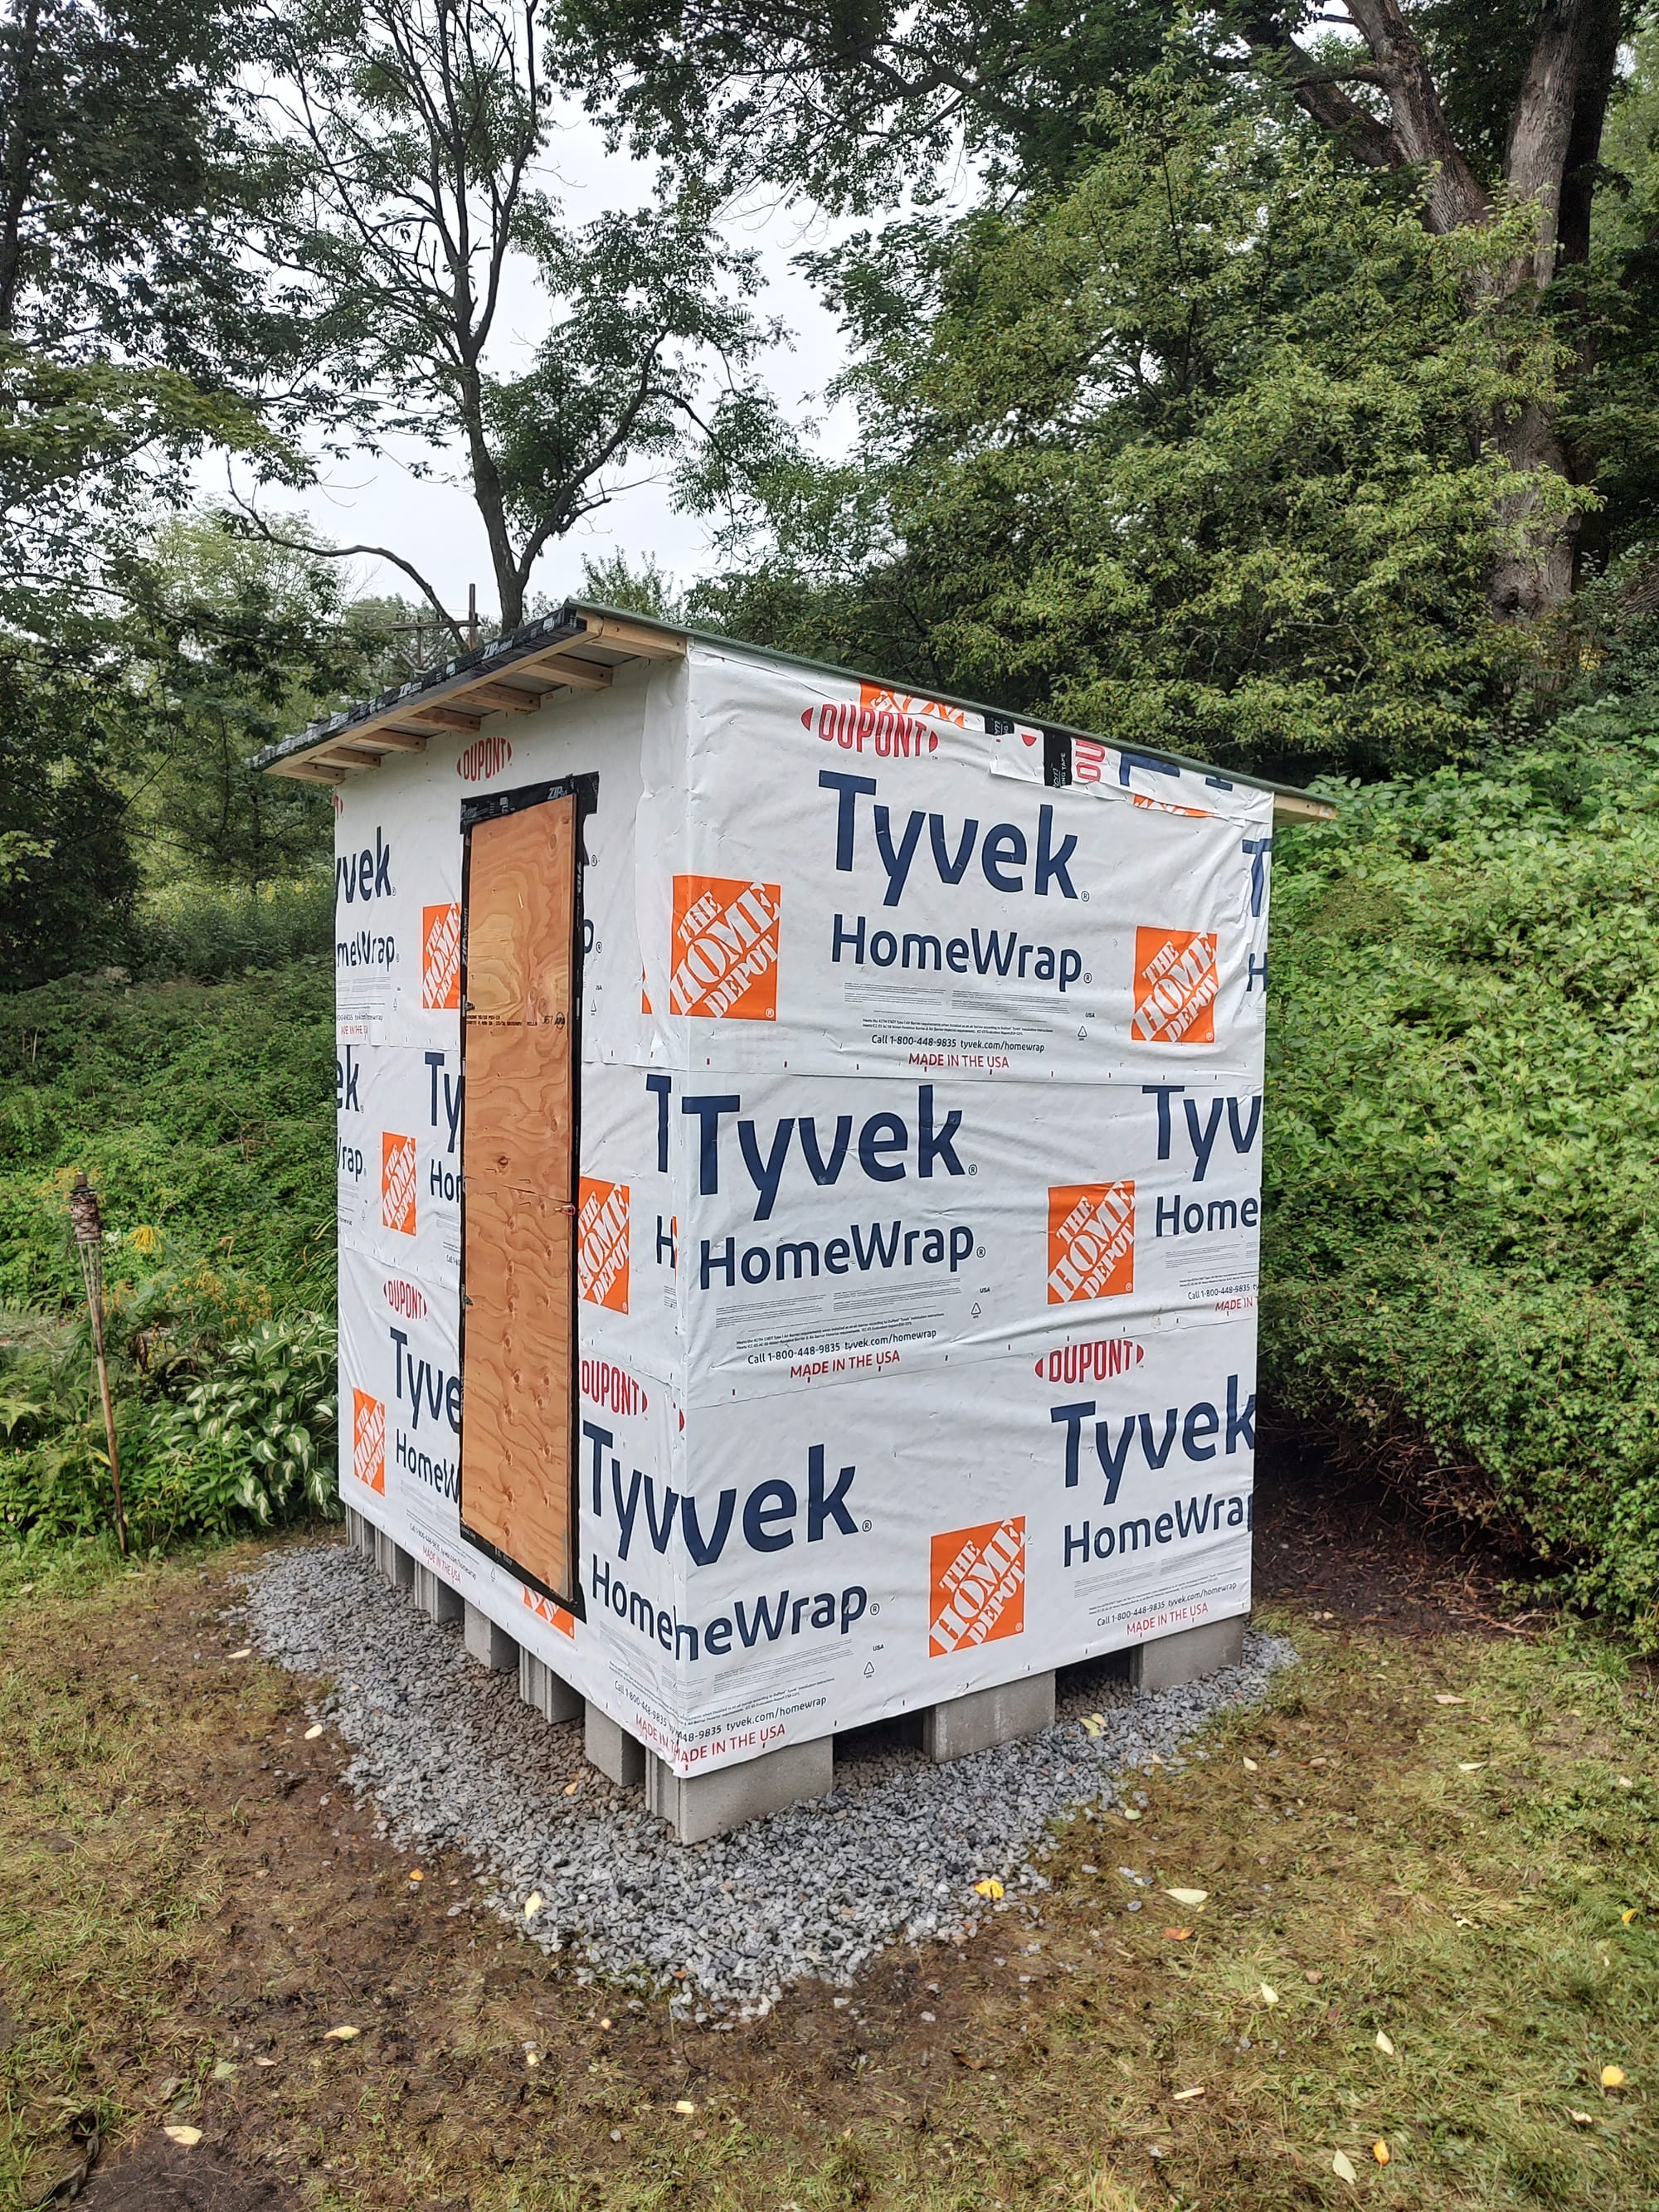
The picture above shows the progress we made in just one weekend (~ 20 hours of work). Without the help of my contractor friend, I could imagine it would've taken us double the time to reach this stage.
Interior Finishings
Moving on to the interior of the sauna, we began with the simple framing and subfloor.
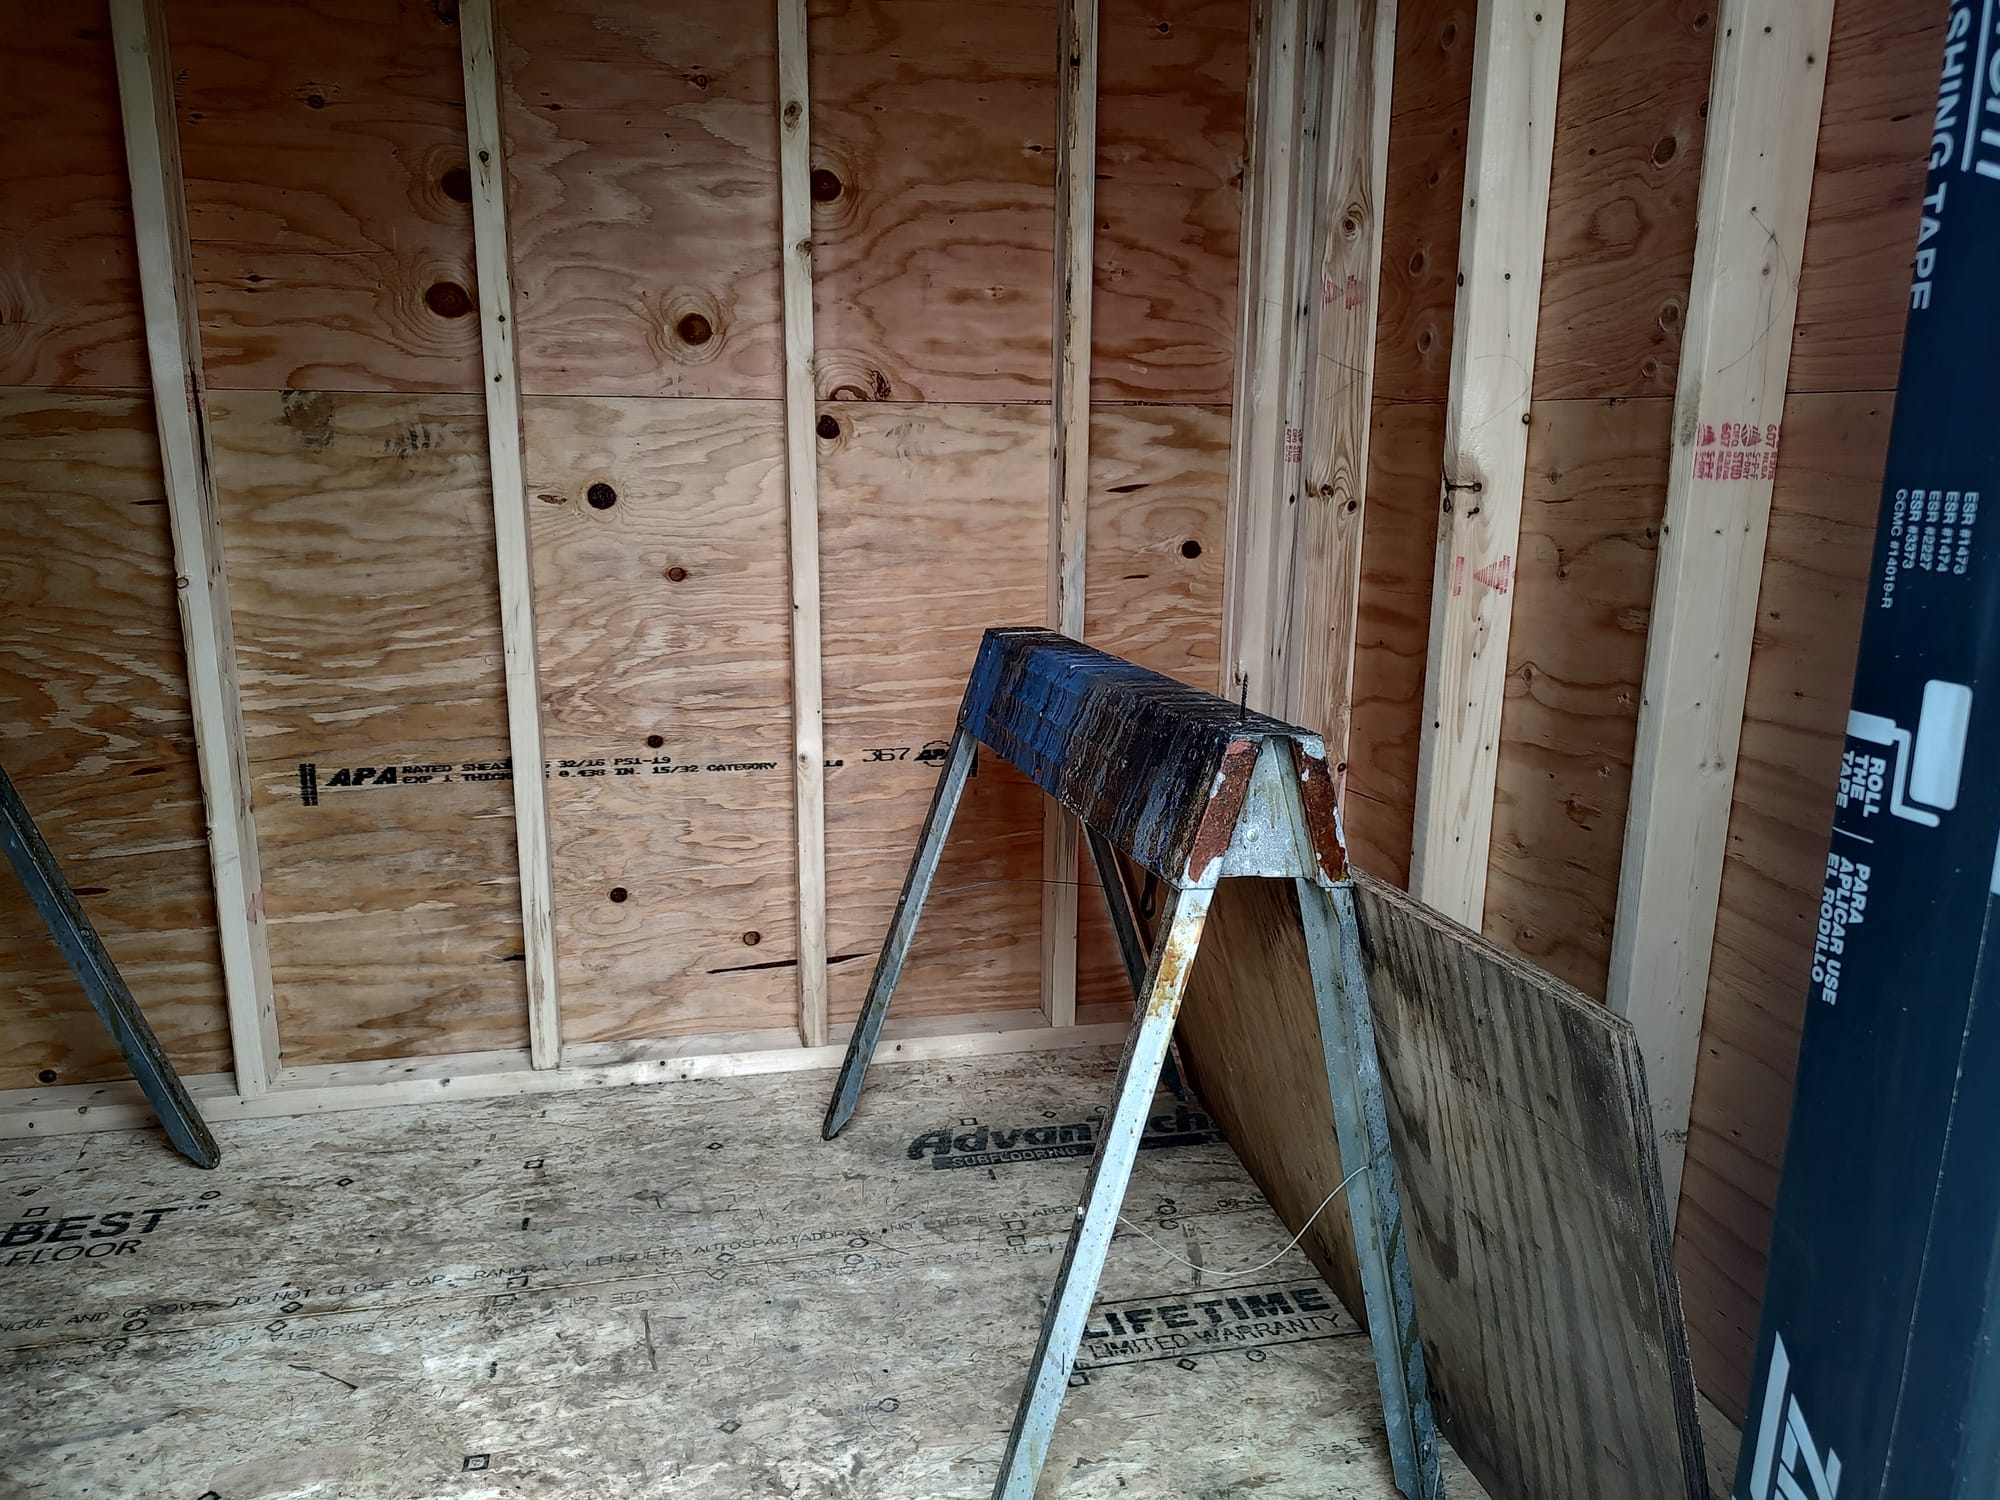
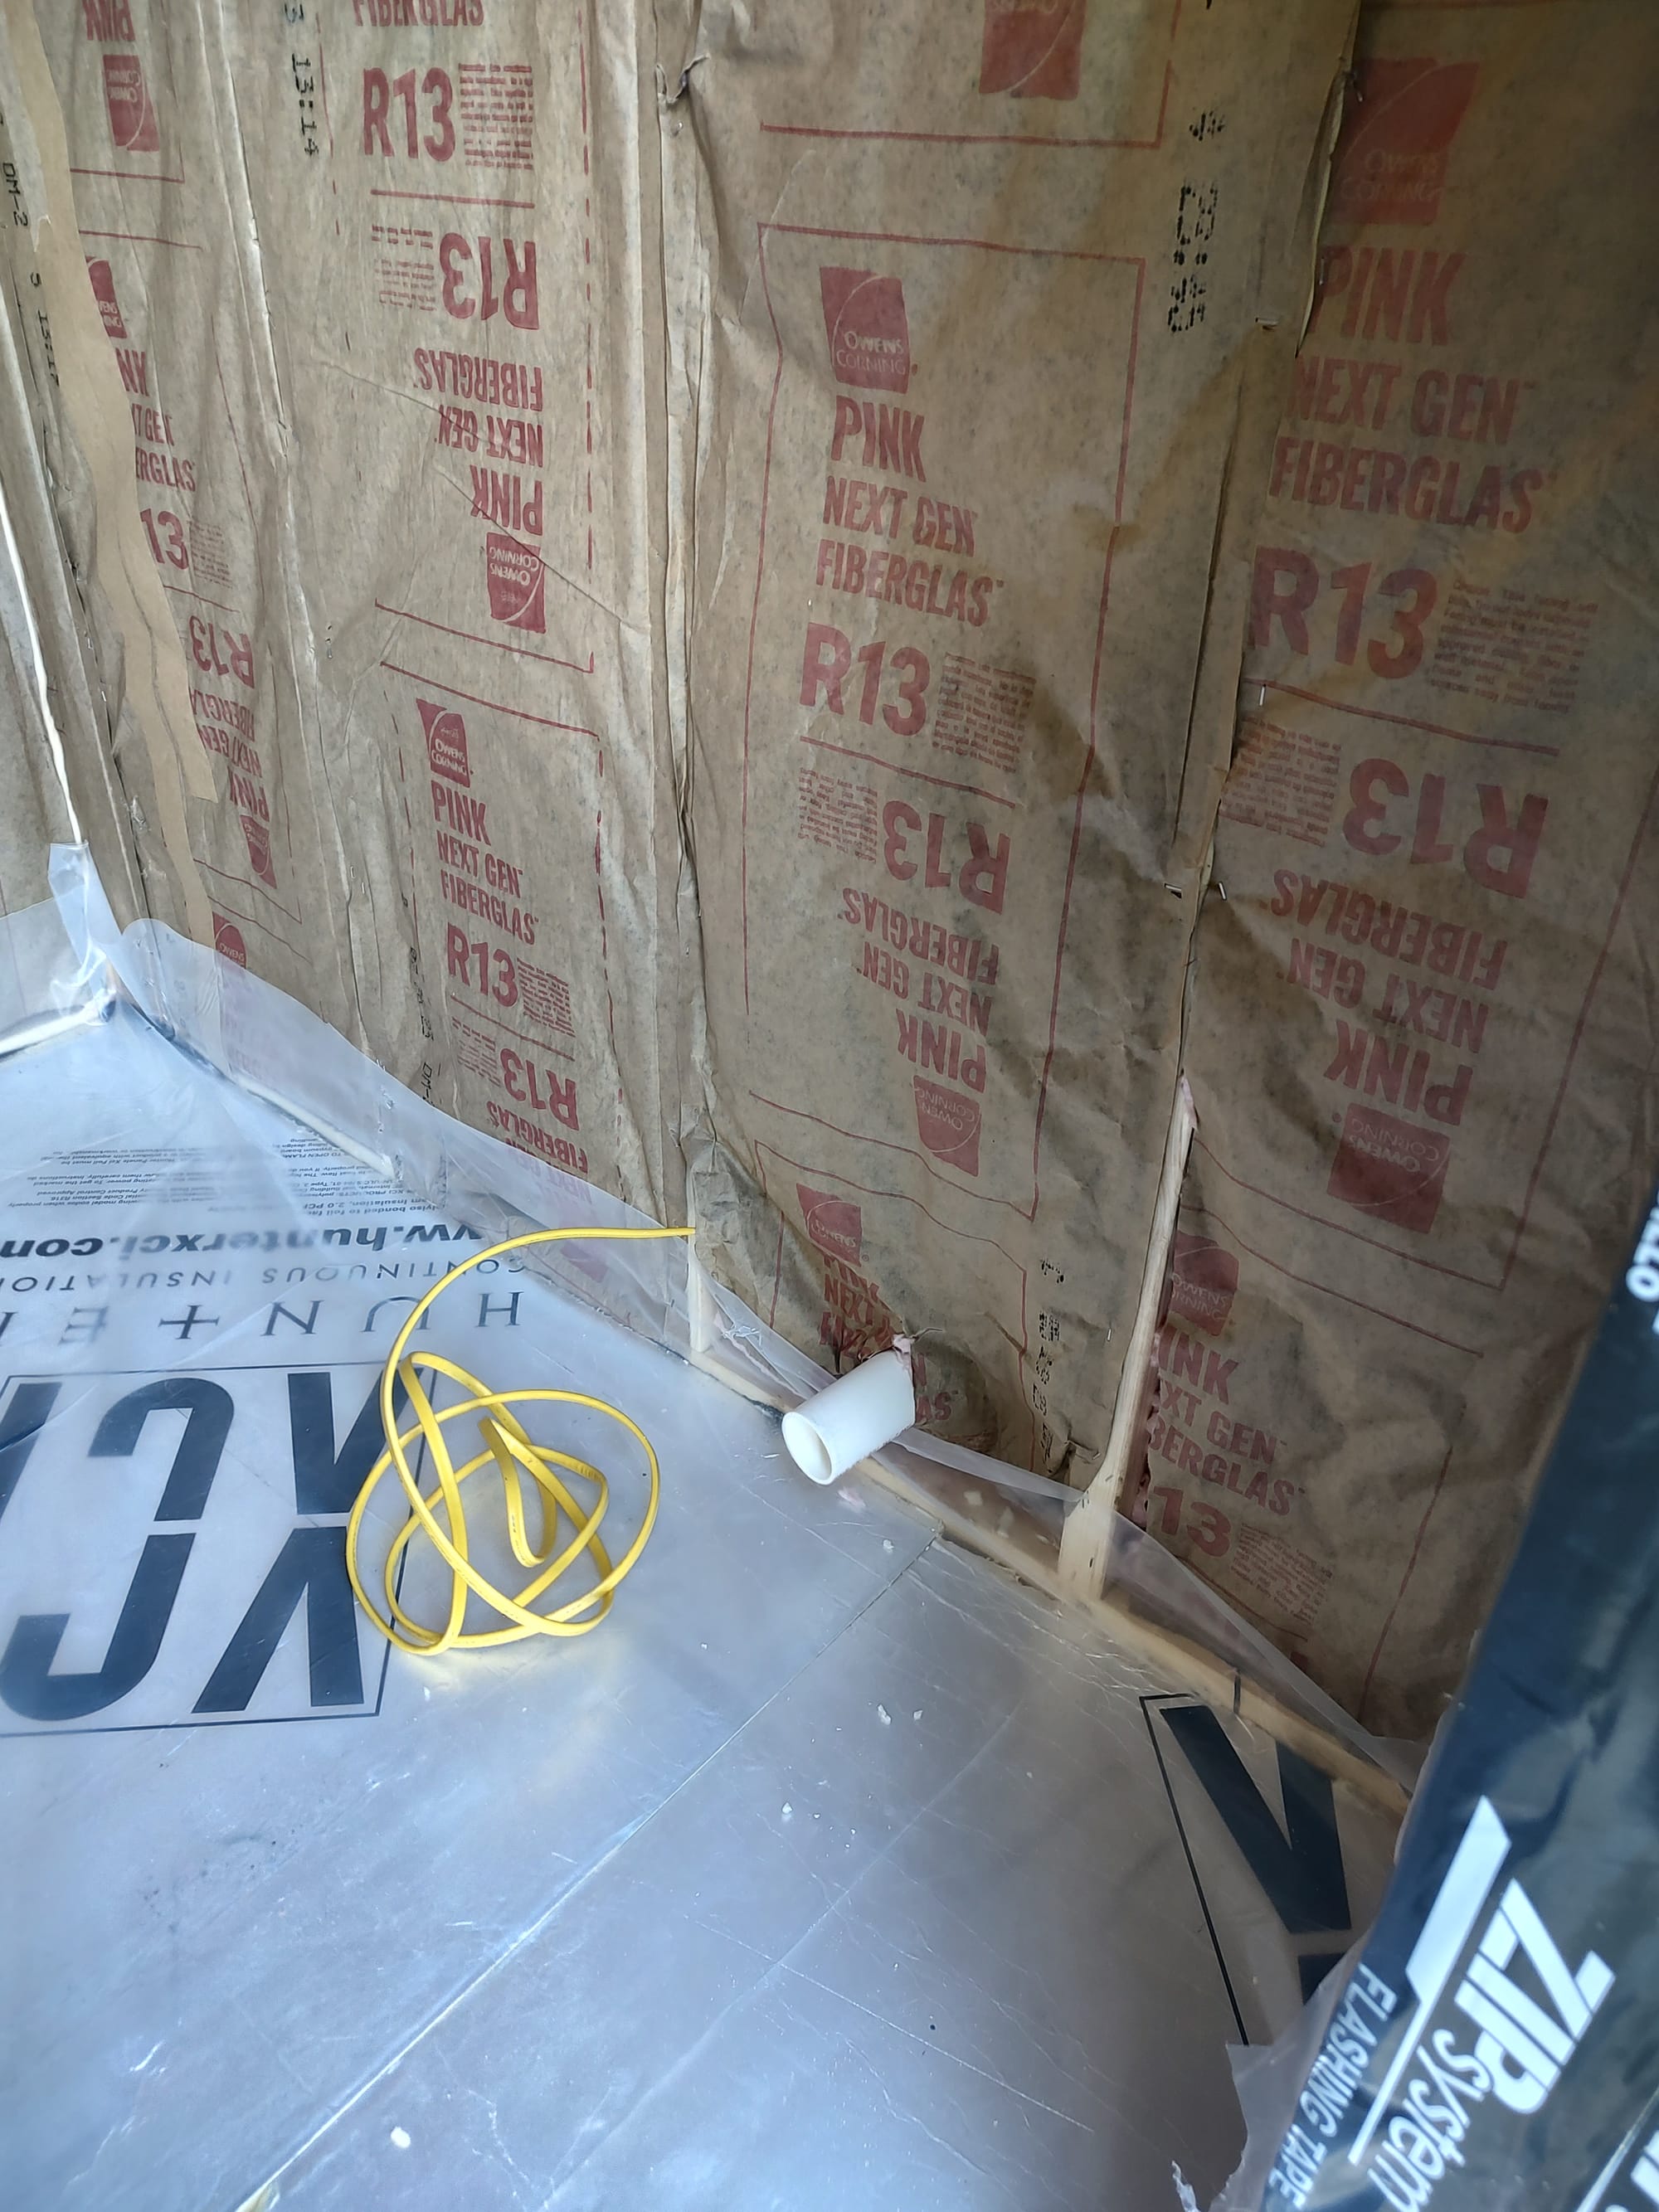
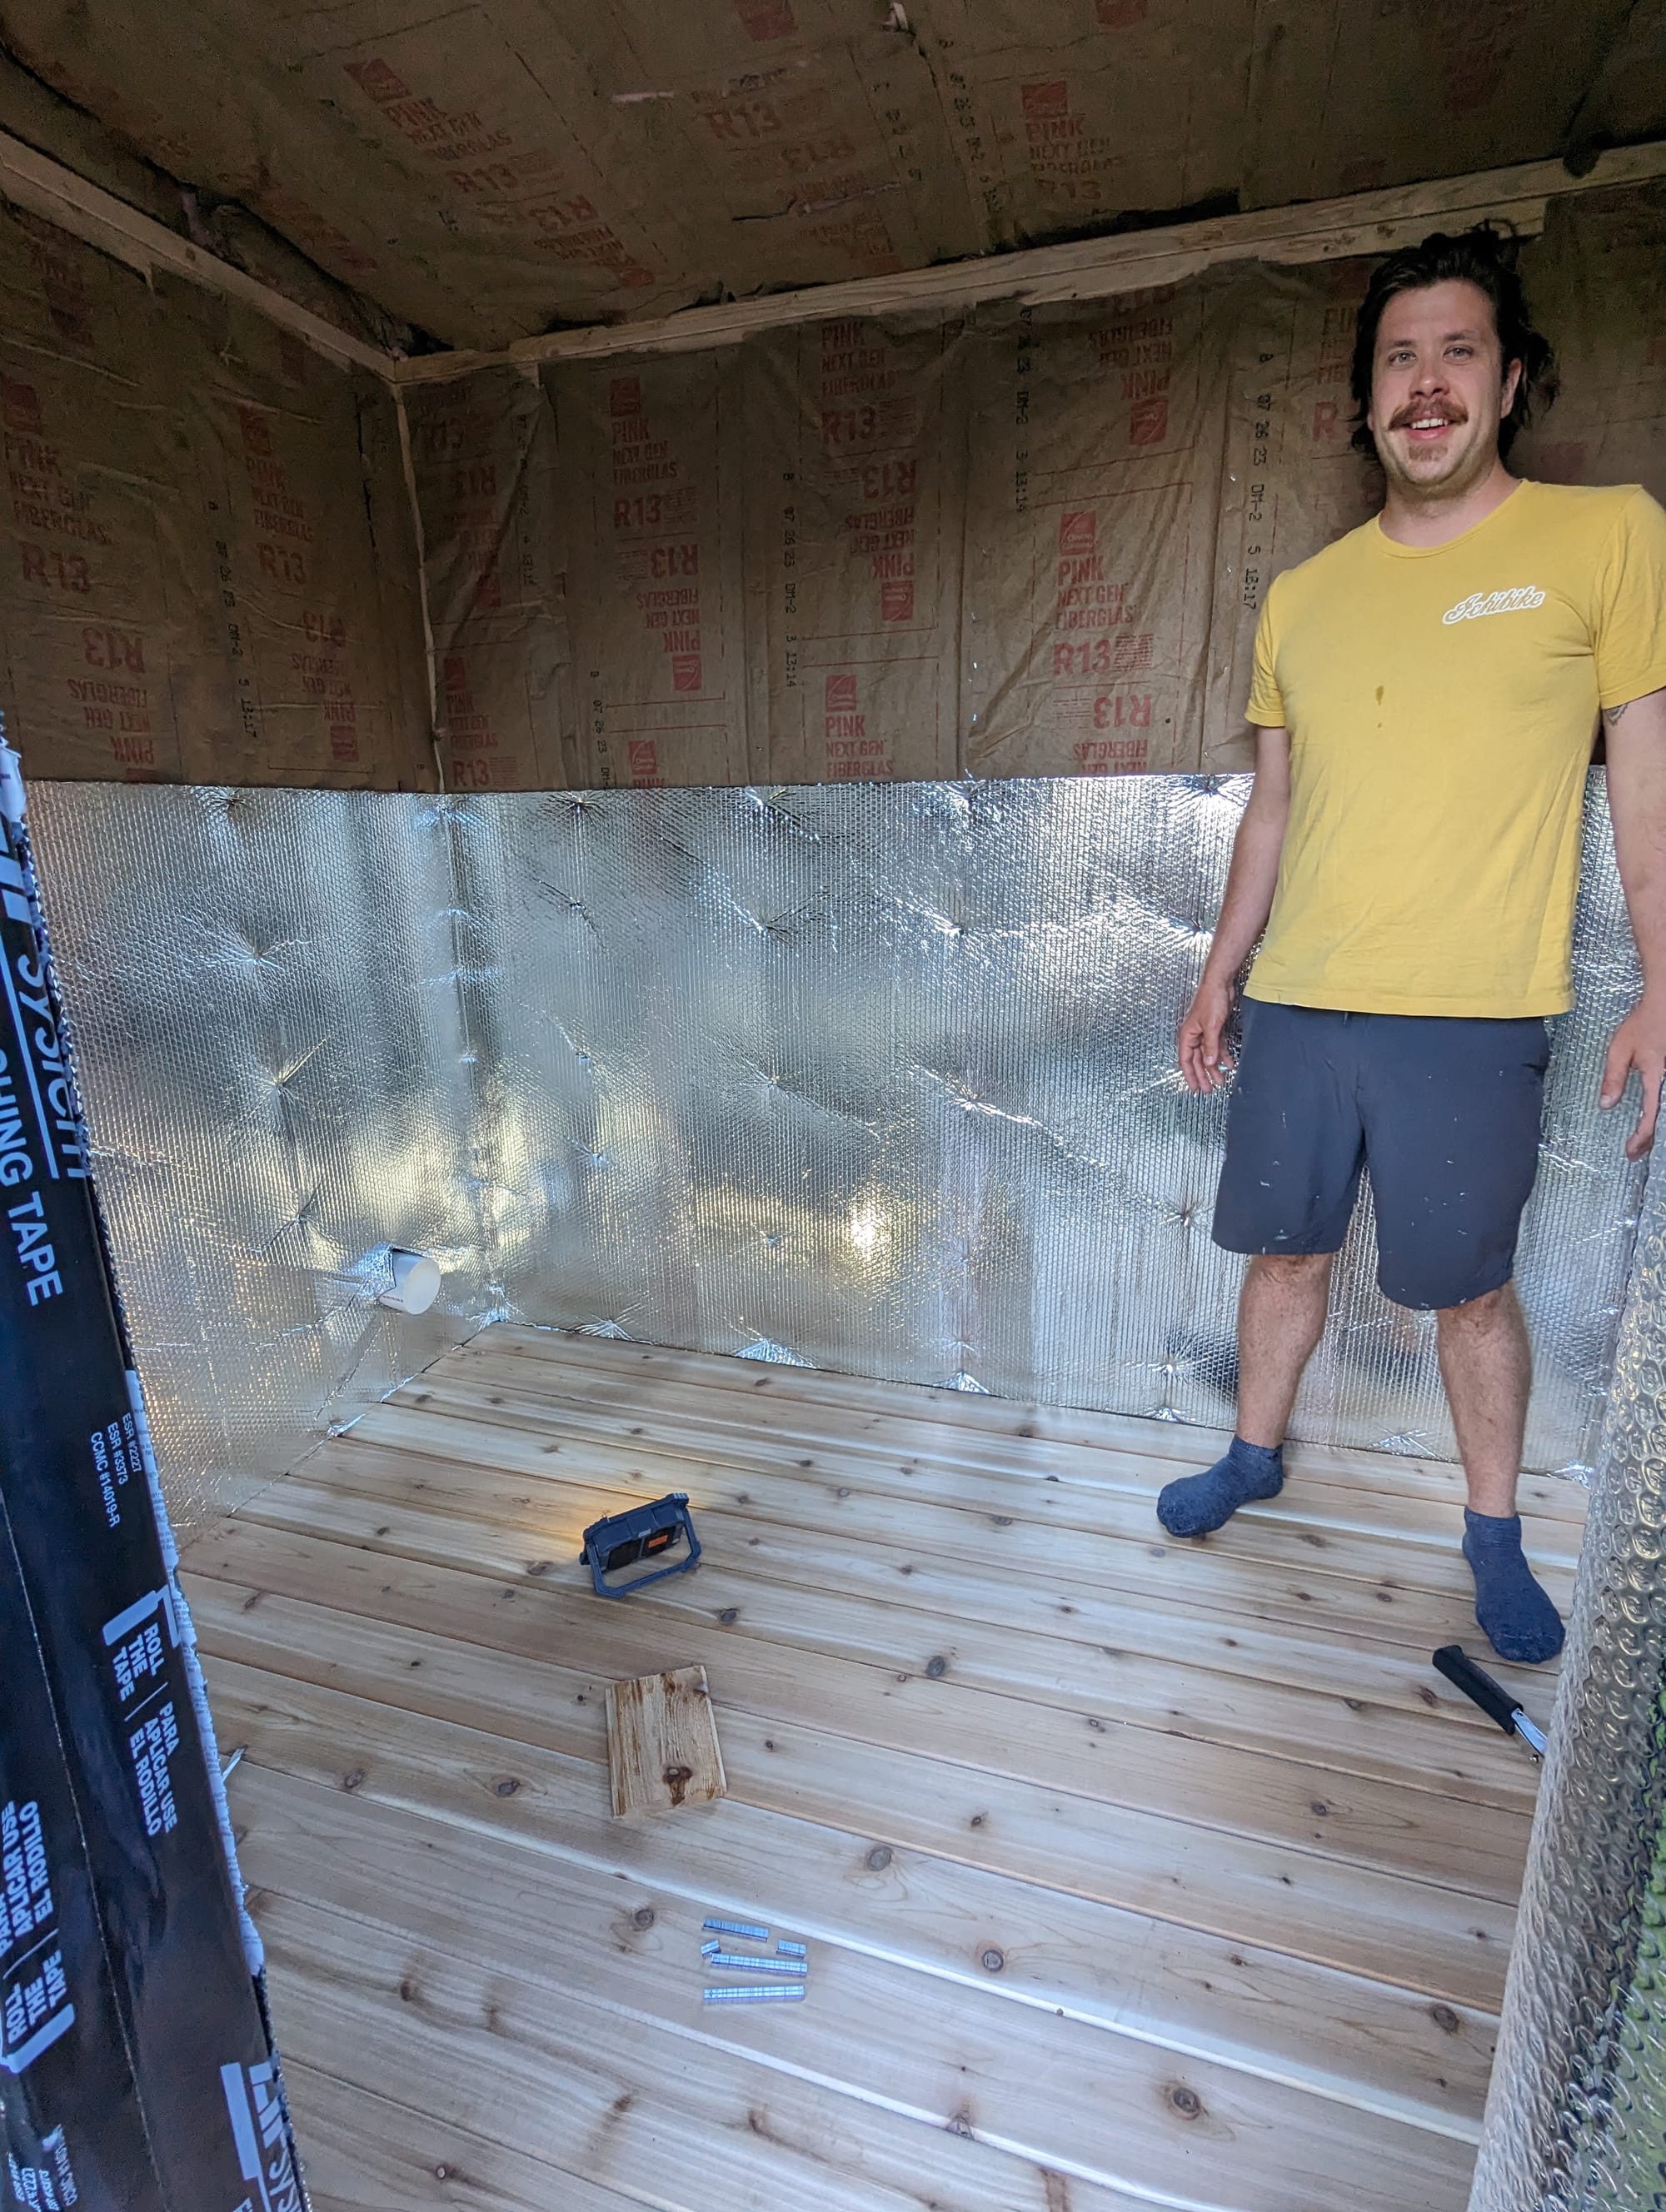
We added R13 insulation to every bay, including the ceiling. We precut holes in the subfloor for the electrical and cut holes in the siding for intake and exhaust vents (these are the PVC pipes in the two photos below). We also ran an electrical wire up the wall and into the center of the ceiling for the light.
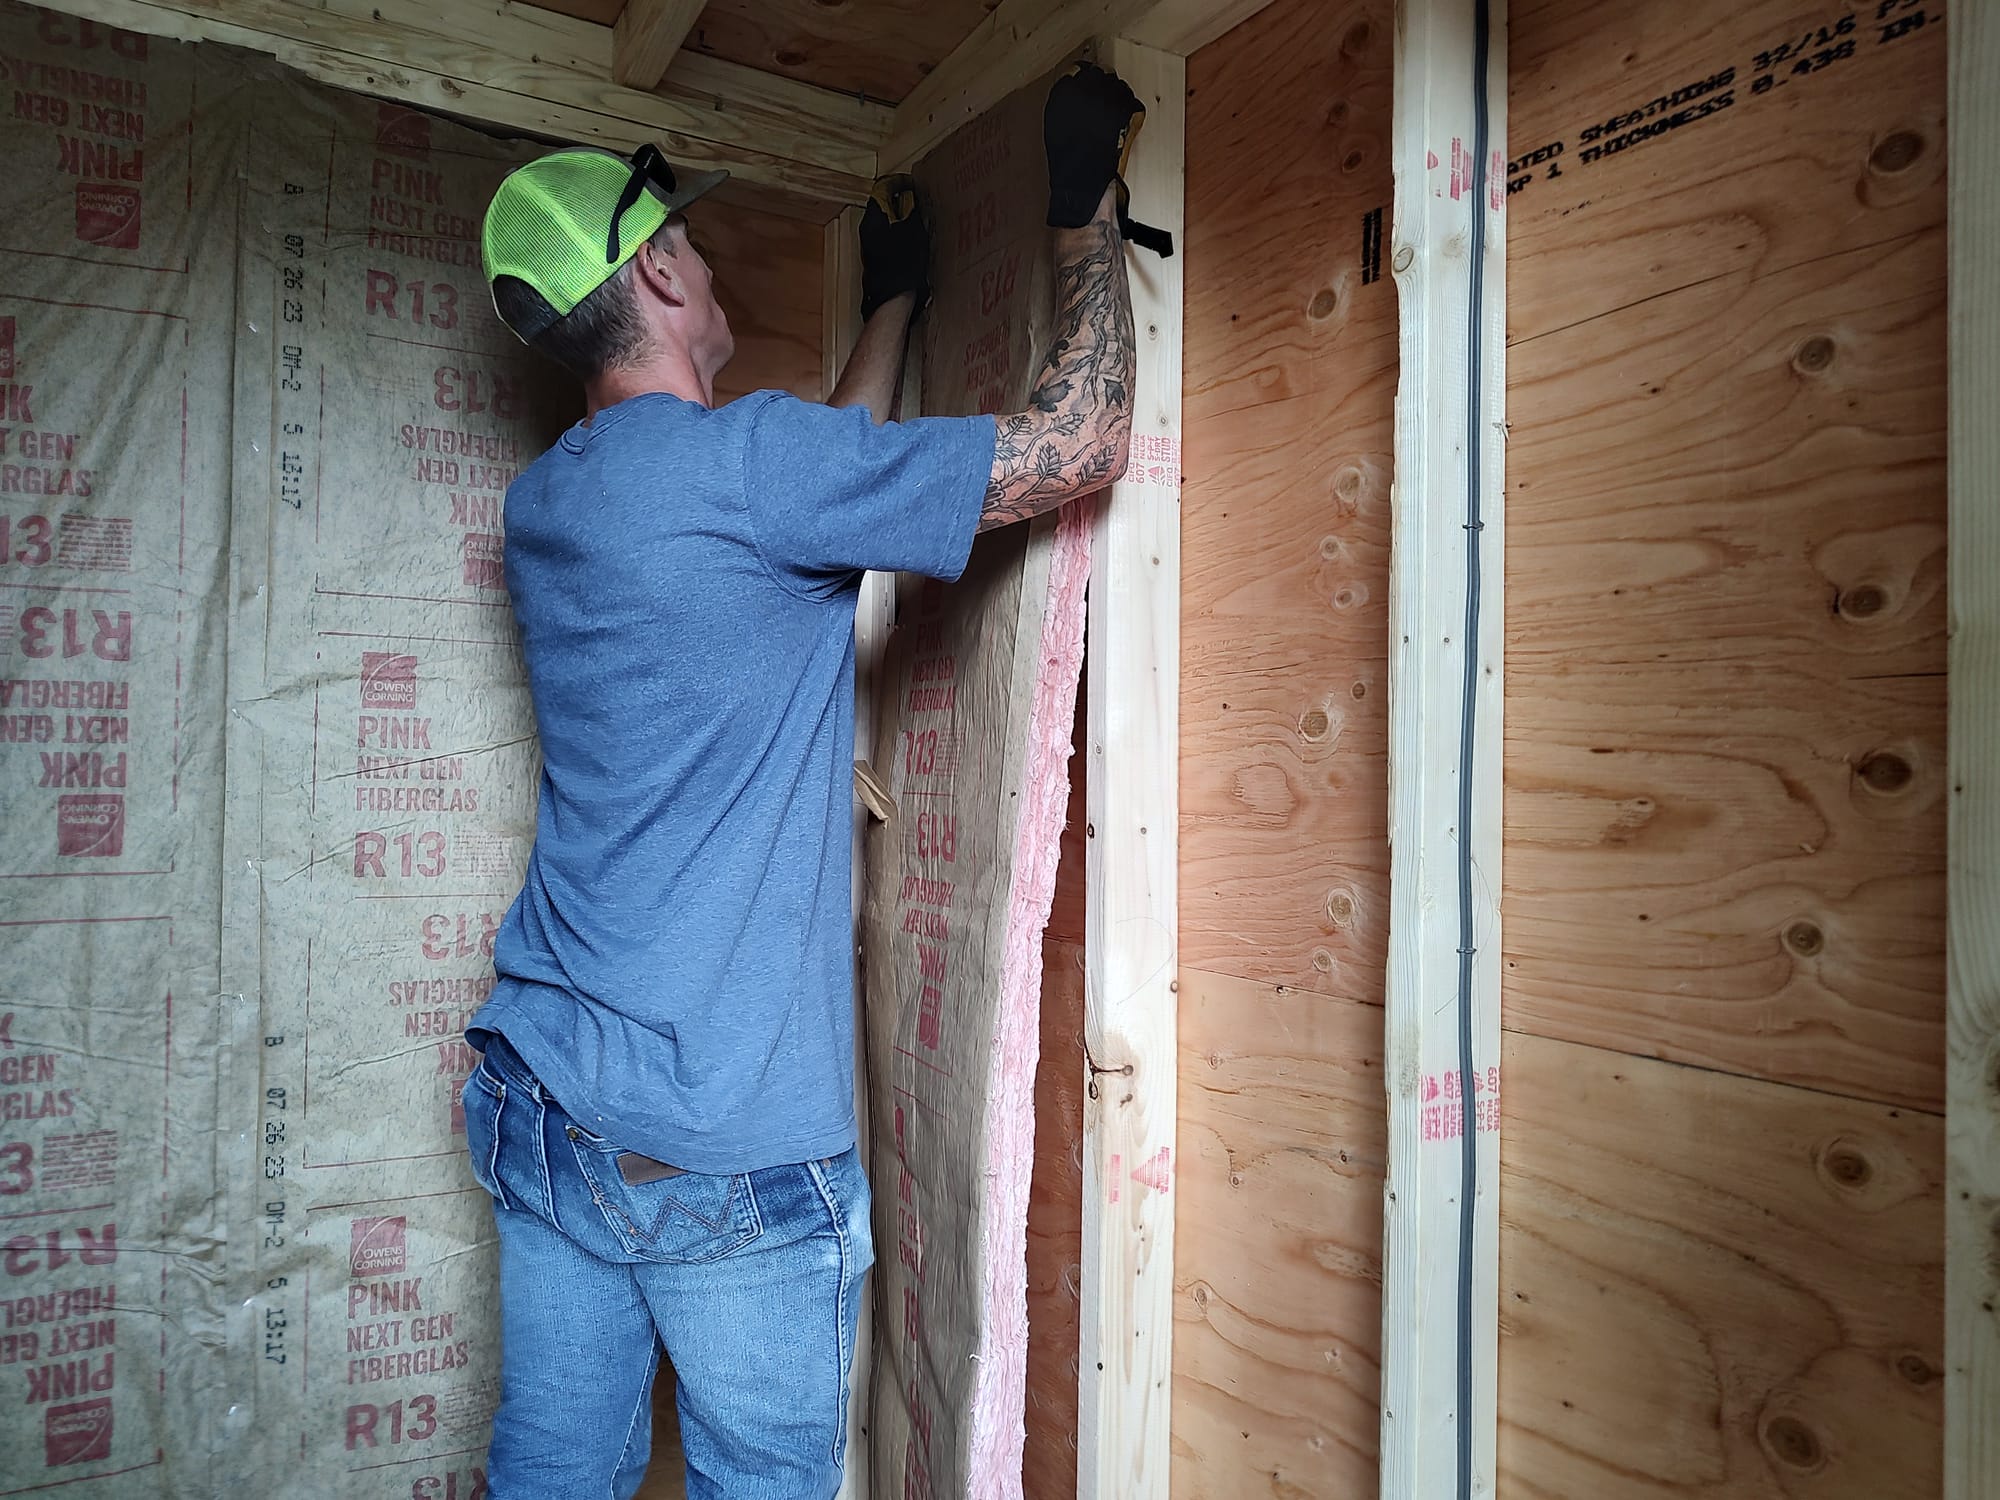
In addition to the fiberglass insultation in the wall bays, we added foam insulation to the subfloor and covered it in plastic sheeting to prevent it from getting wet. Following Glenn's advice, we carried that sheeting up a few inches.
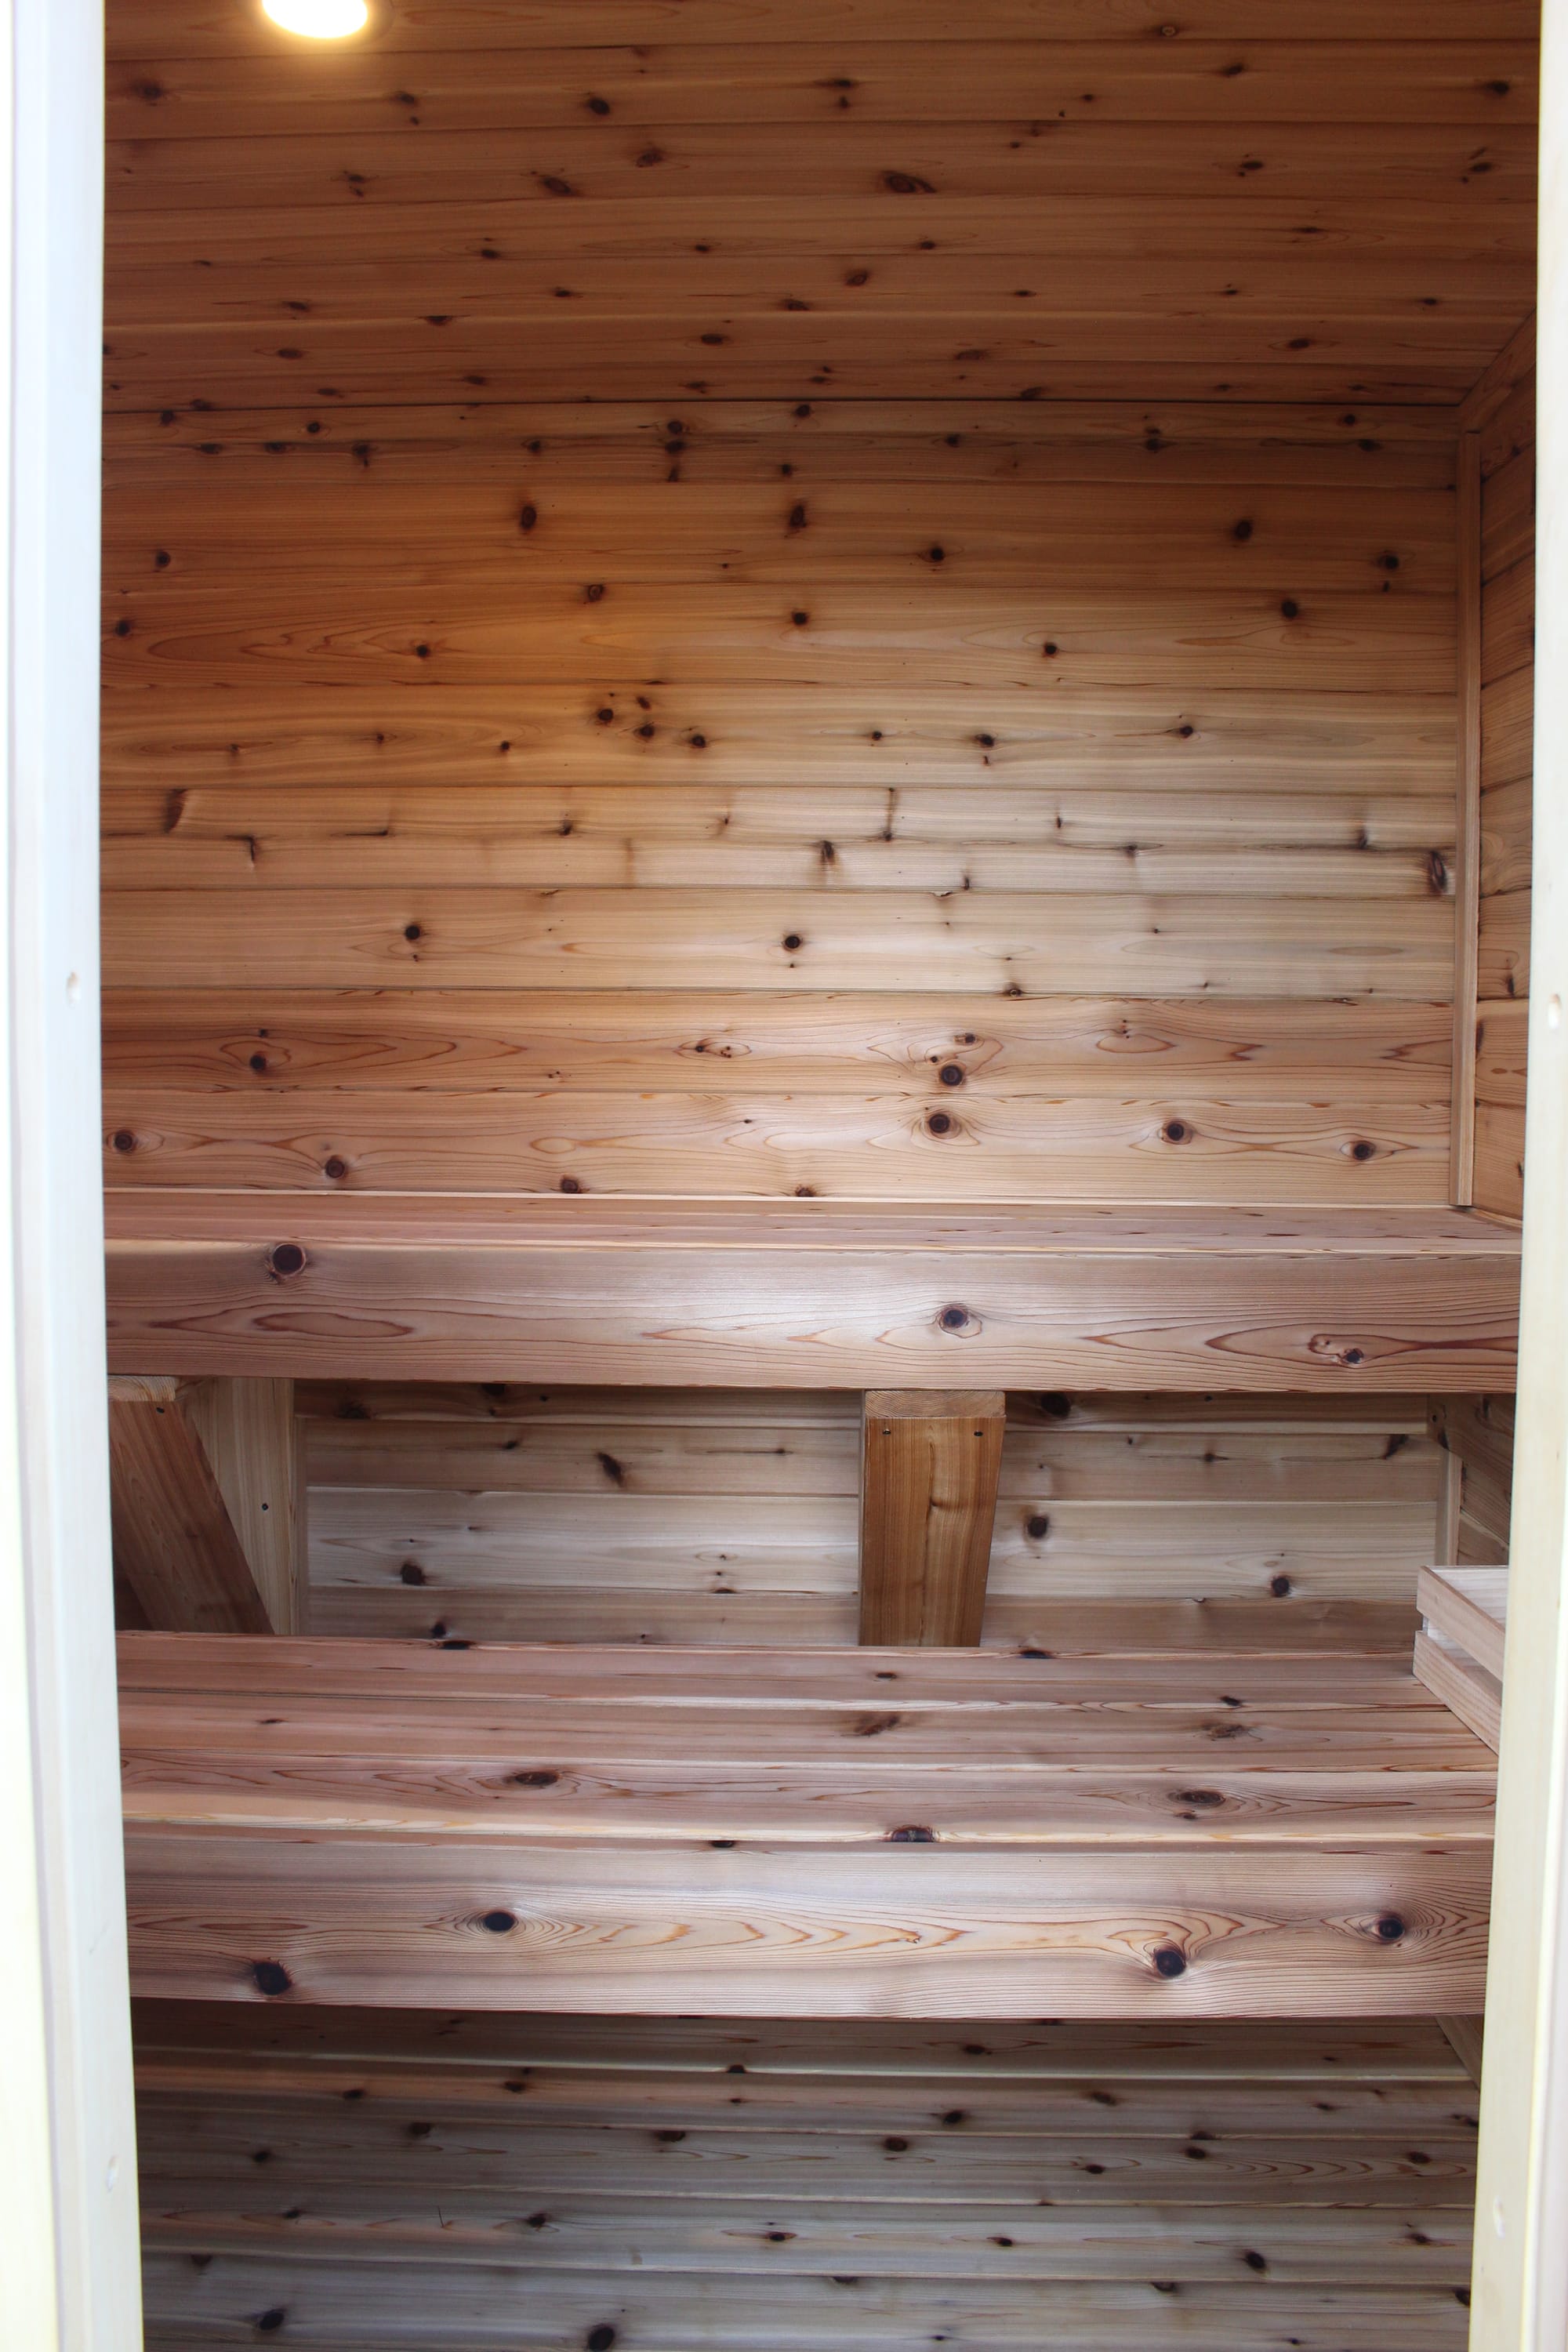
I was able to get a great deal from the local lumber yard on cedar tongue and groove which apparently they weren't selling much off. This was used for the interior floor, walls, and ceiling.
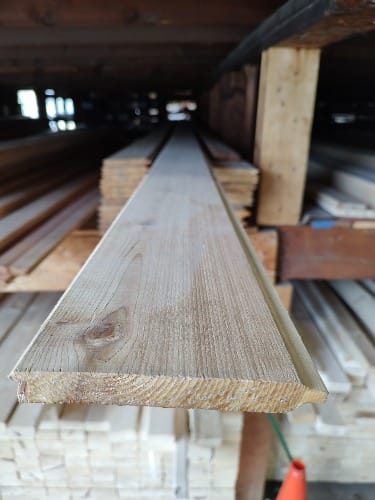
See the cedar tongue and groove that we put directly on top of the subfloor insulation. Then, we put a vapor barrier over the fiberglass insulation to prevent moisture from getting in.
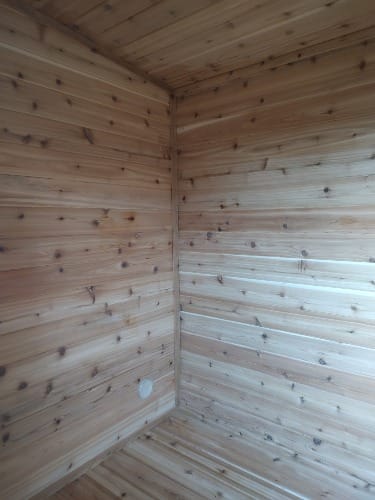
Once all the tongue and groove was in place, we installed cedar trim (from leftover pieces of tongue and groove). The trim was necessary because we purposely left very small gaps in the joints to allow the wood to expand as the sauna was heated. We also put interior and exterior grates on the vents to prevent insects and rodents from making their way into the sauna.
Finally, we moved on to building benches. We followed Glenn's design on how to build a two-tier bench system and adapted the recommendations to fit our dimensions. We used cedar decking which is nice and strong.
As you can tell in the photo below, we spent time measuring the height of the top bench. The ceiling is slanted (which may be considered a sin by some people in the sauna community), so we wanted to make sure the height was as high up without hitting your head at the top. Our simple way to do this was simply to measure my torso (sitting down) and then add 3 inches for comfort. I'm 6 ft 0 inches tall, so I assumed not many people visiting my sauna would have a torso much larger than my own.
The bottom bench is at a height that makes for a comfortable seating height on the top bench (18" below the top bench). This means that the bottom bench is sitting rather high up from the ground, so most people's feet dangle from there. It's better to sit on the top bench anyways!
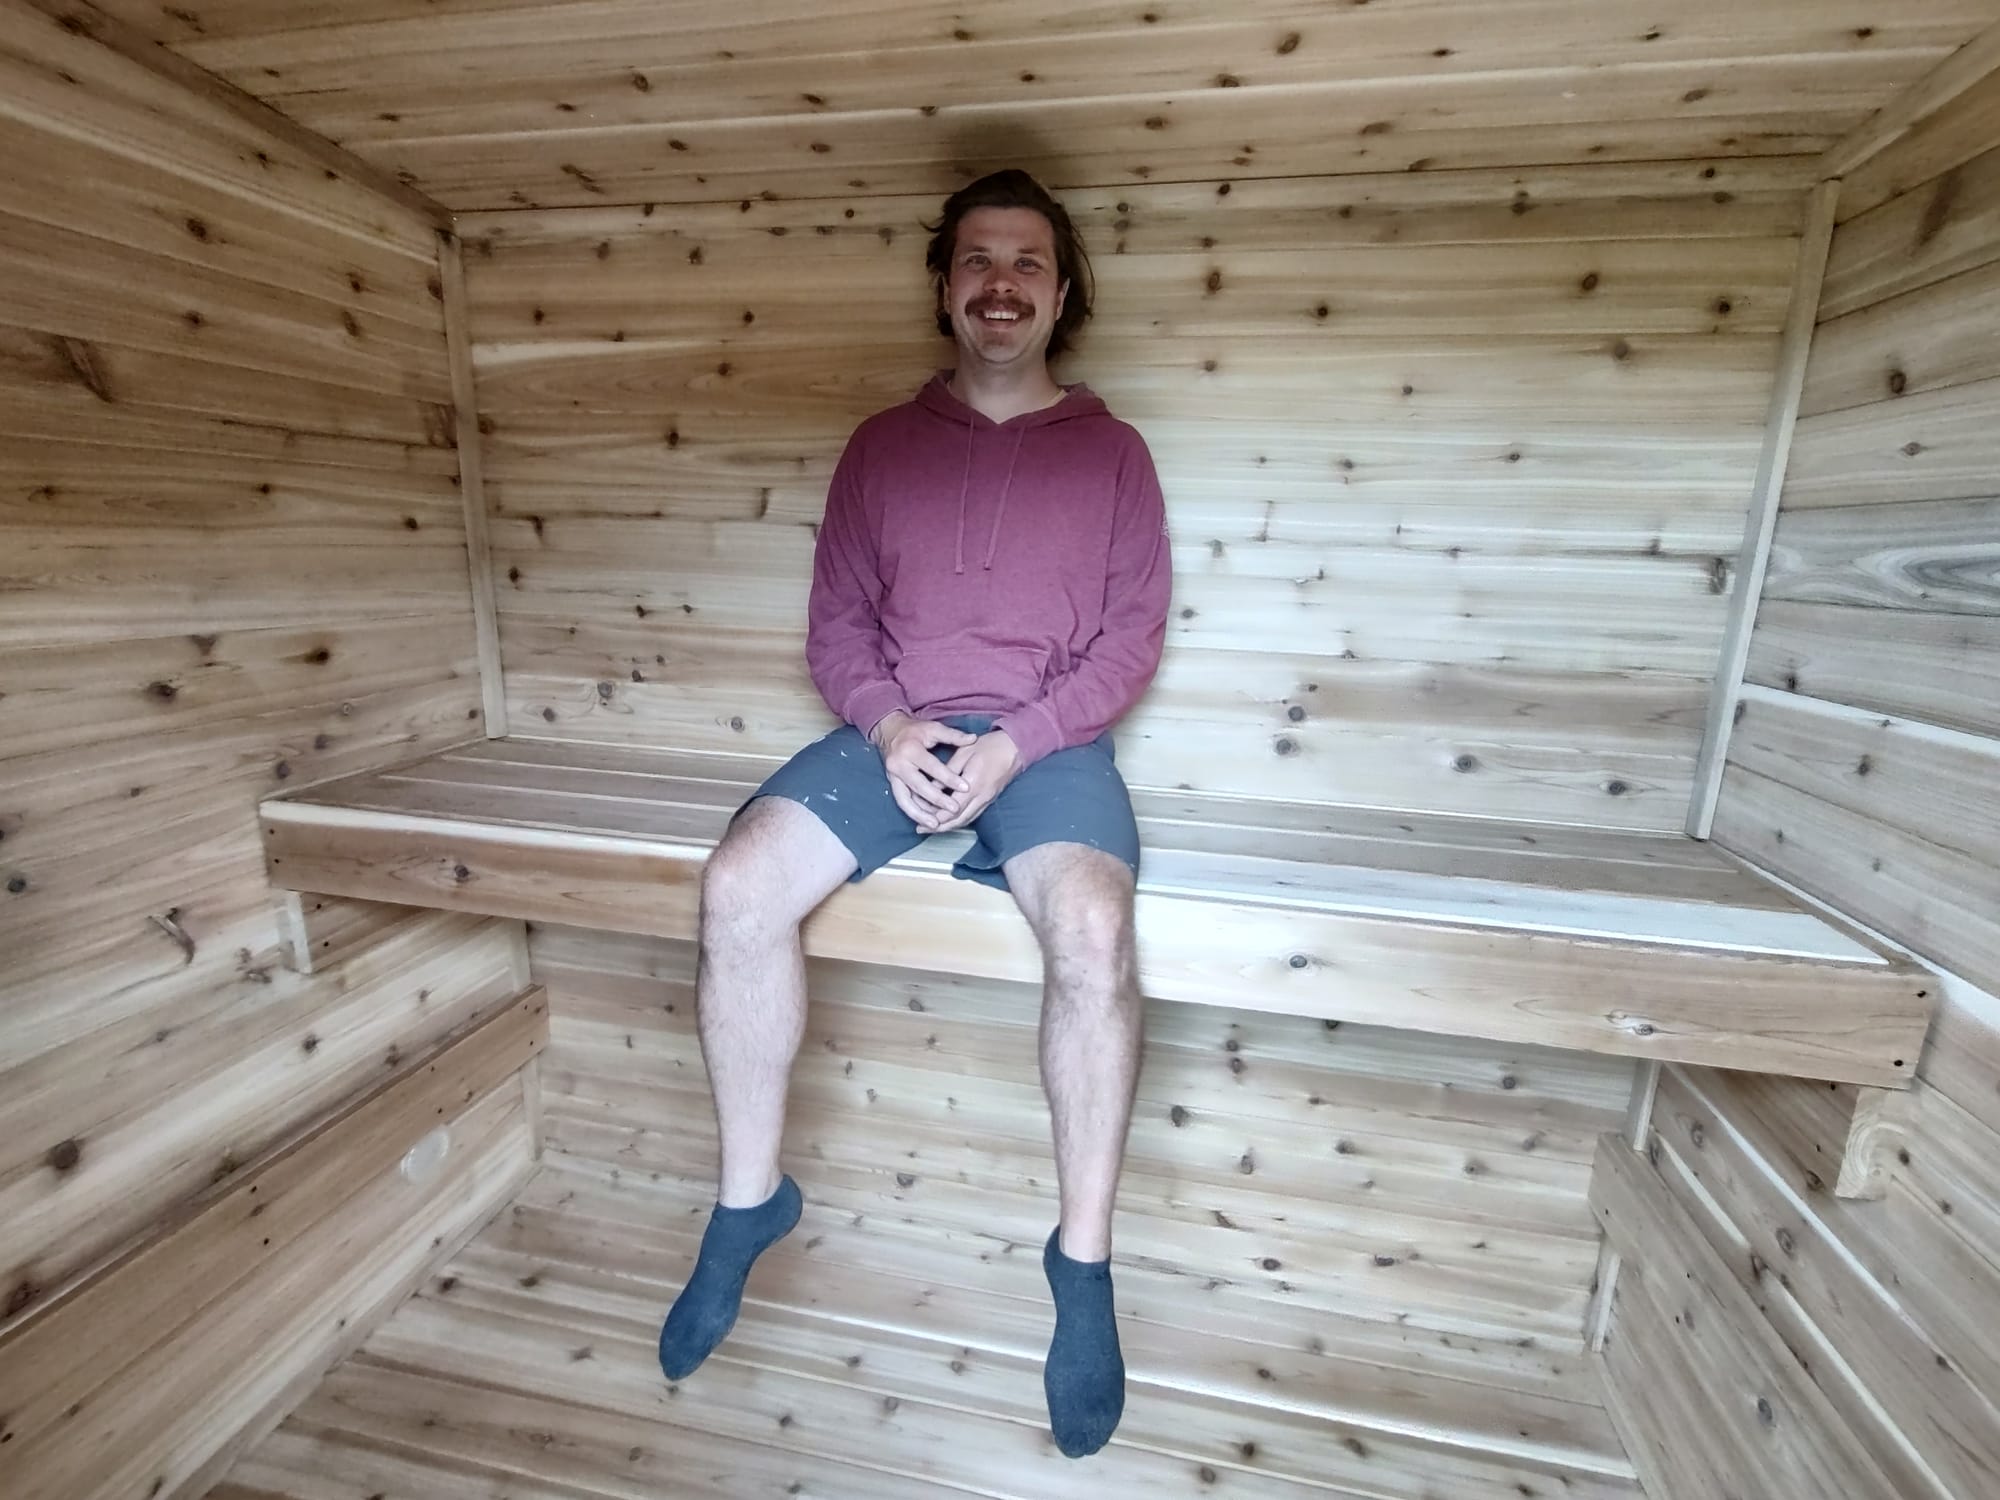
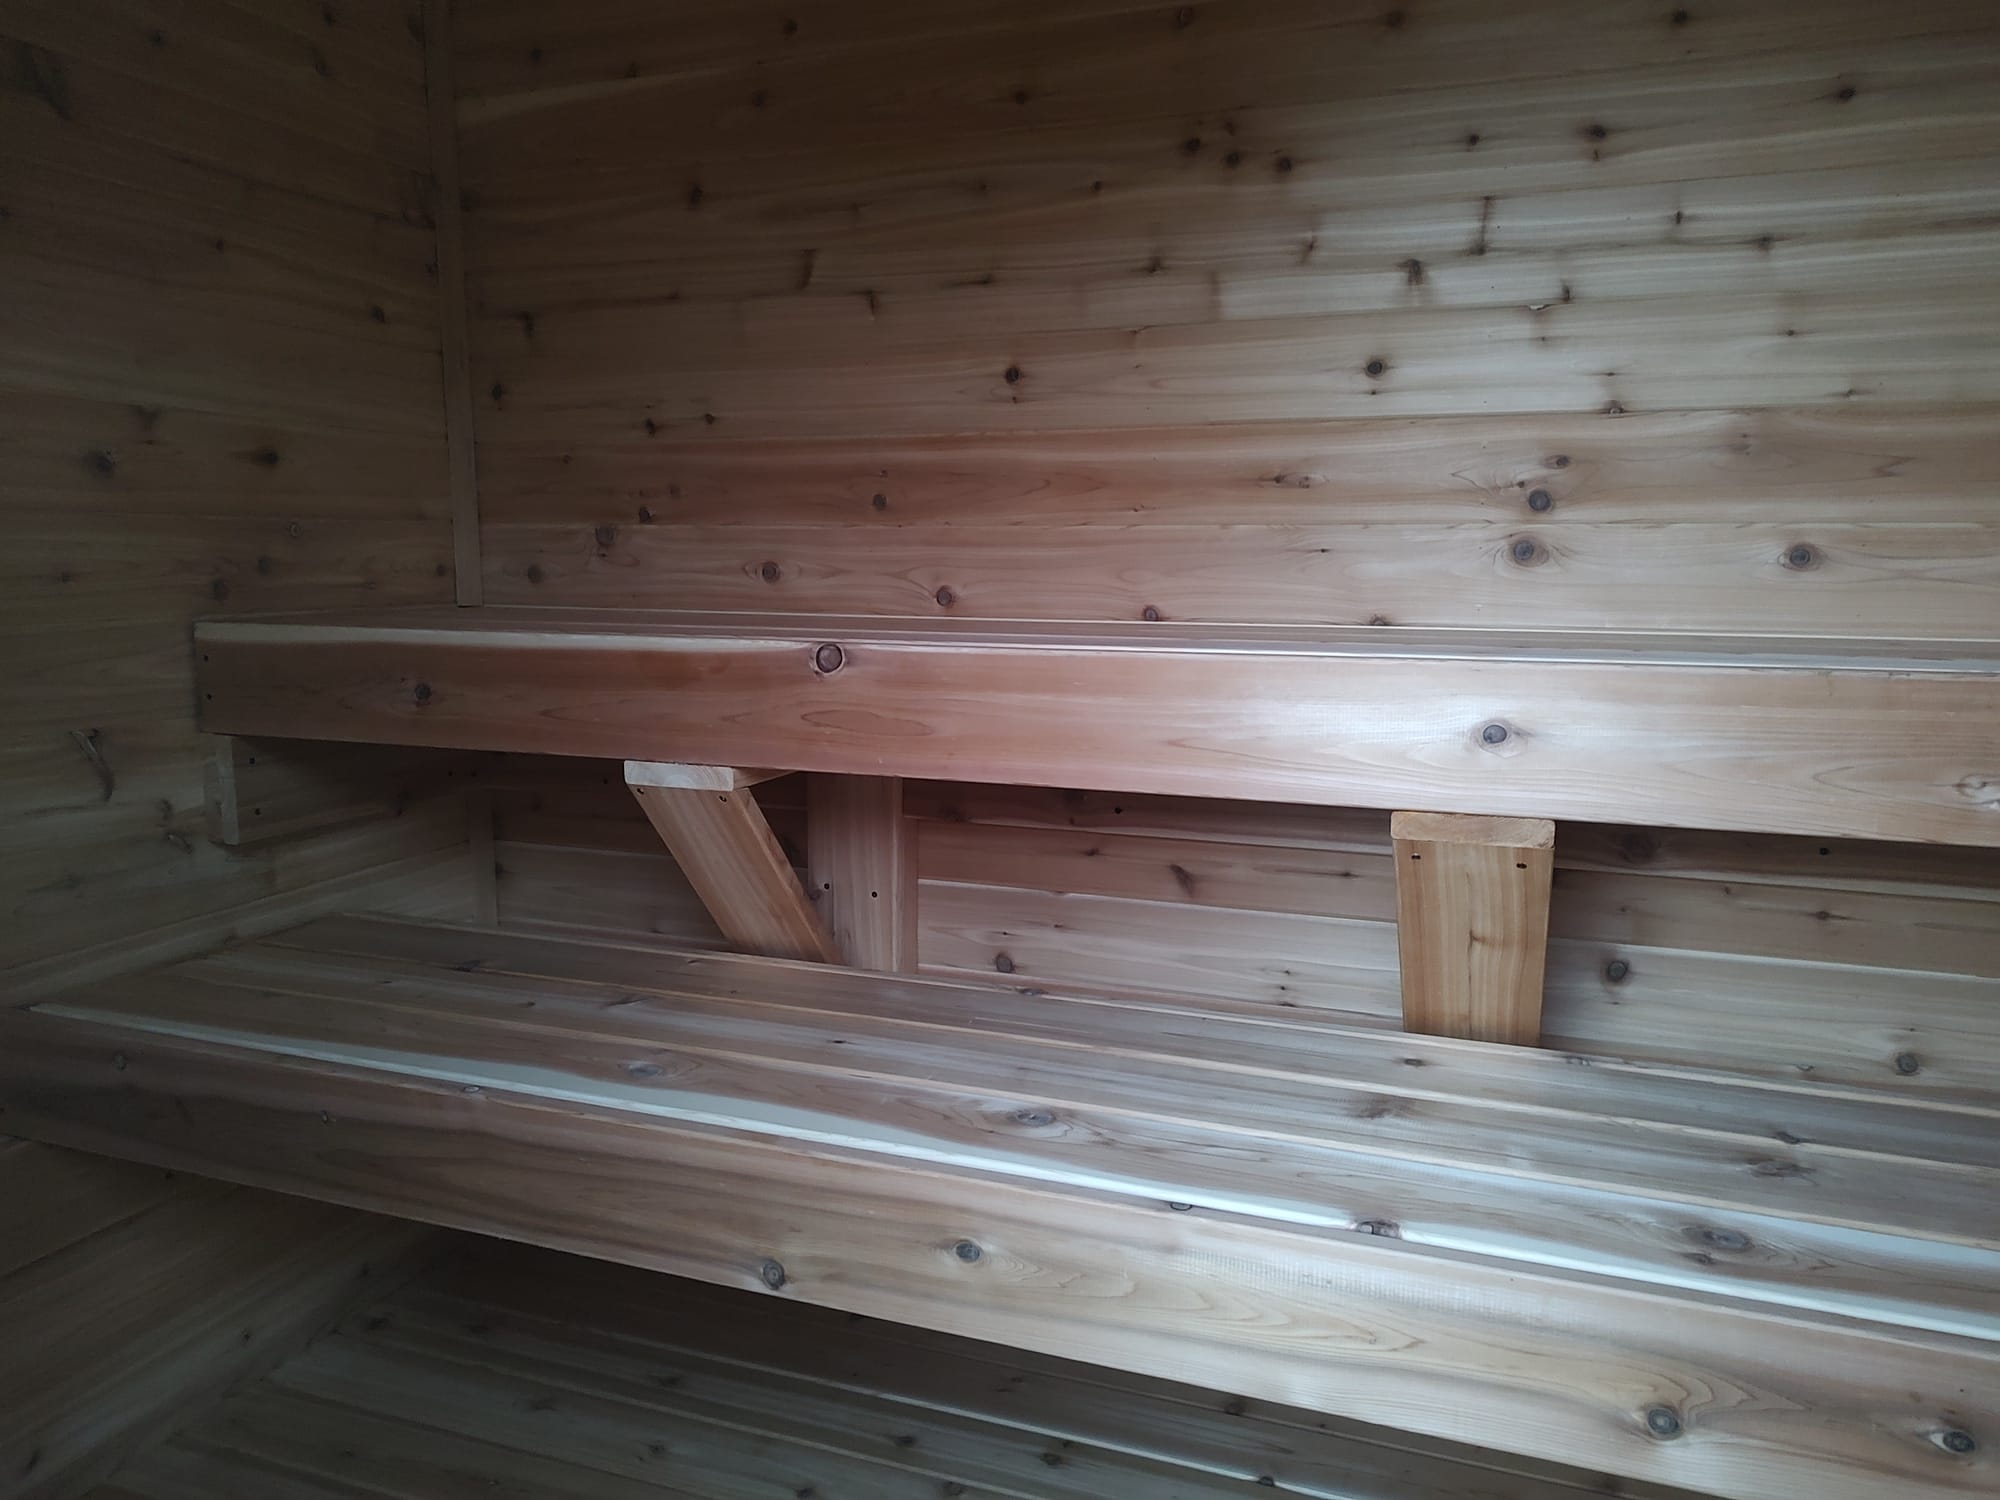
Both benches are fully removable and are just sitting on their supports. The top bench is supported on both ends with two triangles in the middle for added support. The bottom bench, on the other hand, is just supported by the ends. The cool thing about the bottom bench is that it can be slid back (until it hits the triangles) to give you a bit more standing space for easy cleaning or a bit of yoga.
As far as stability goes, we've now had 8 people in the sauna at one time (4 on each bench) and we haven't noticed any issues with the benches sagging or cracking. So, I think the ends are sufficient to hold the weight of the bench plus people, but I'm happy to know the triangles are there for added support on the top bench.
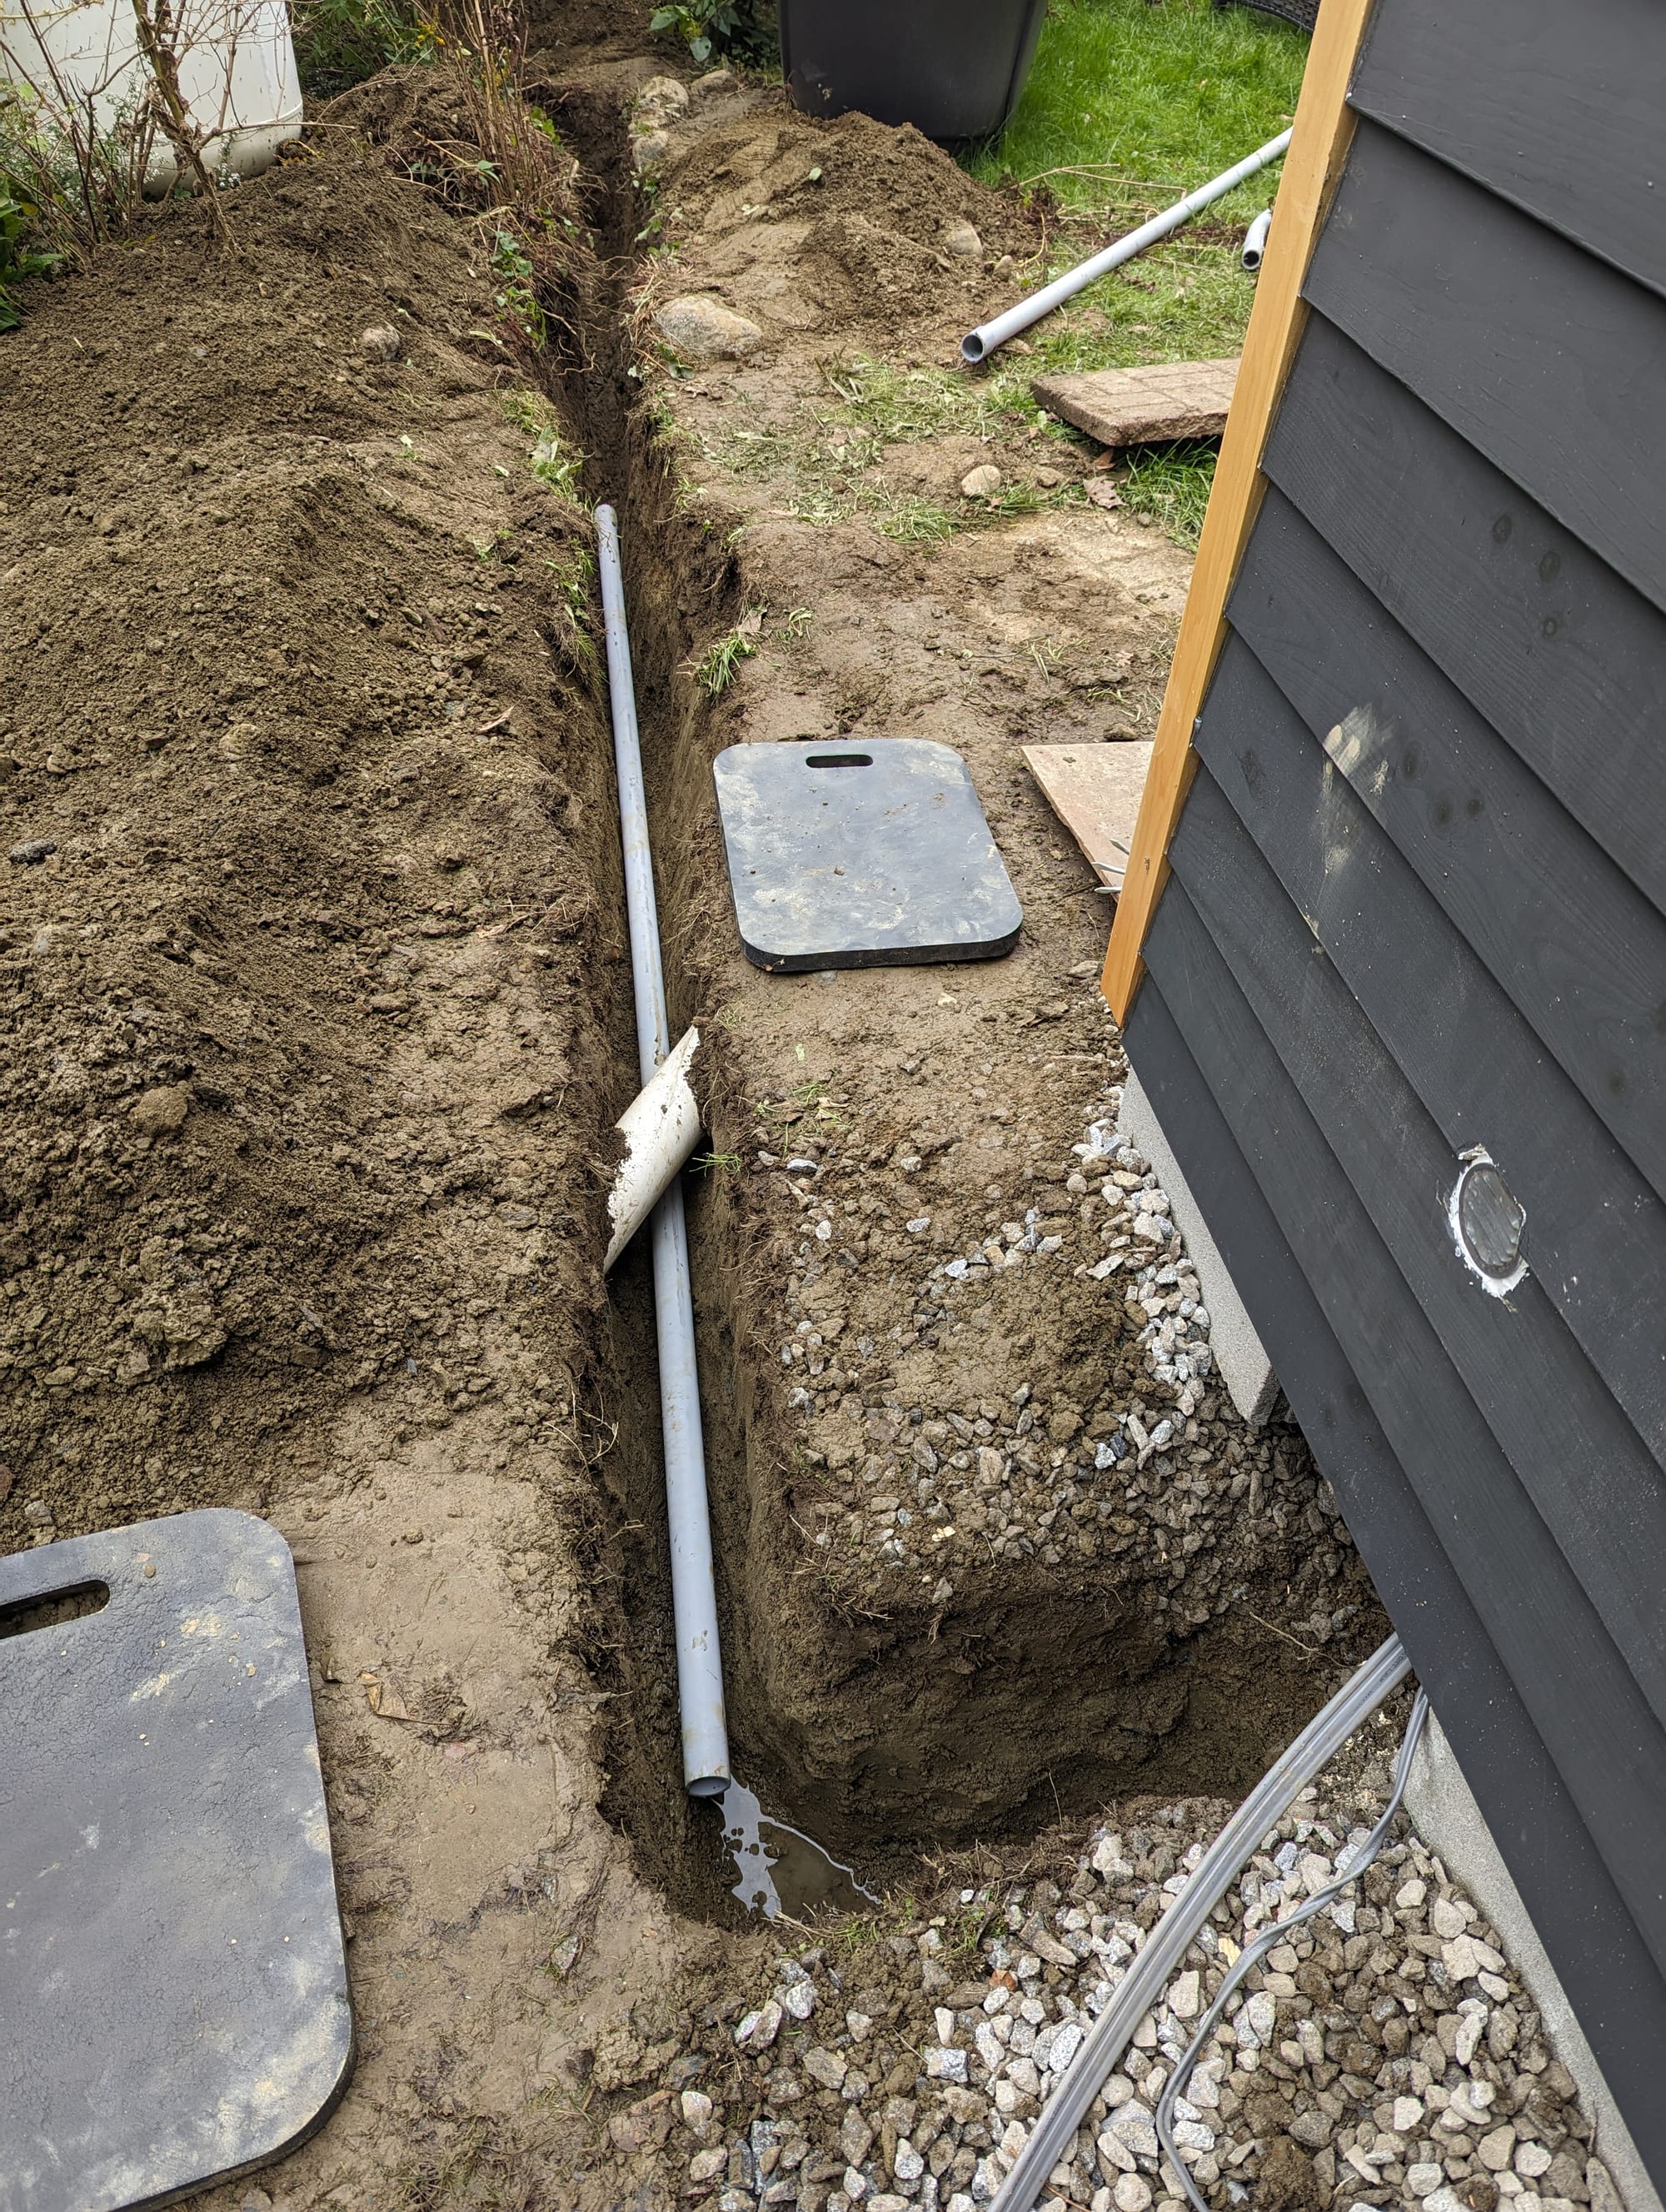
To get power to the sauna heater, we ran 240 volt exterior wiring in a conduit we put in a trench. This was a pain because our soil has lots of rocks and otherwise clay.
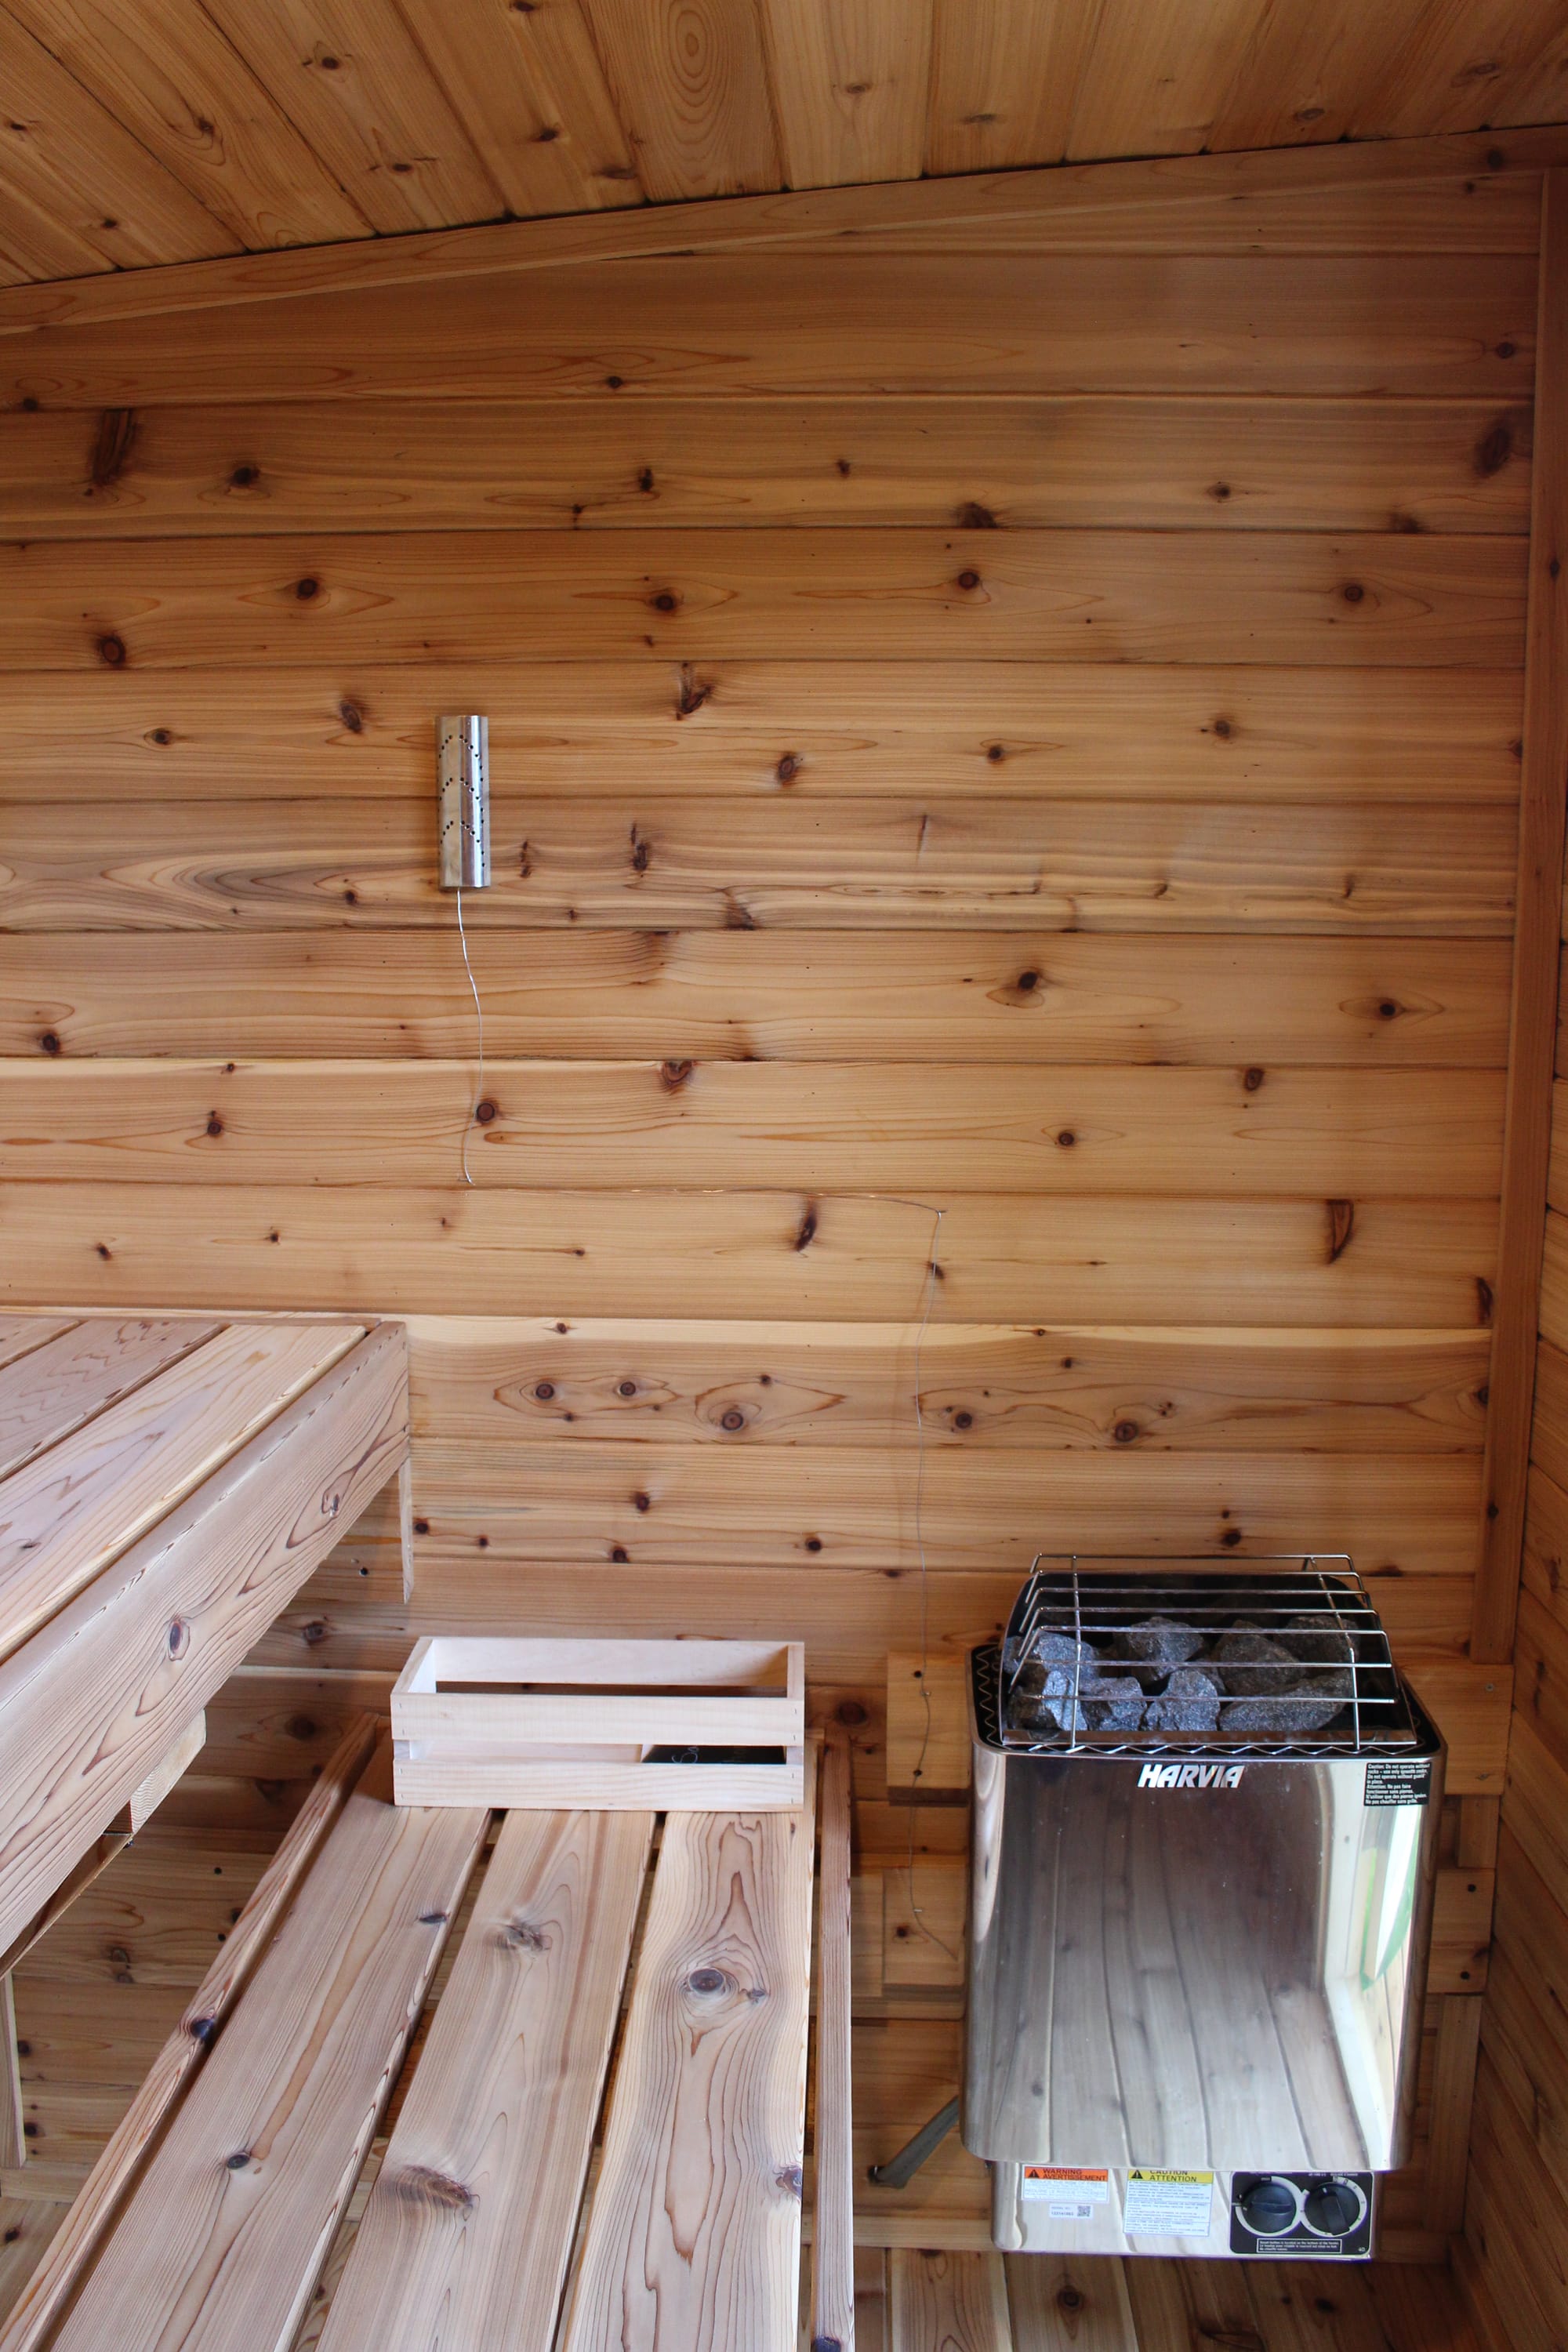
At last, we installed the heater. We bought a Harvia and installed it according to the manufacturer's instructions. We've yet to add a guard because we don't have kids that use the sauna and most adults realize that the stove shouldn't be touched.
Exterior
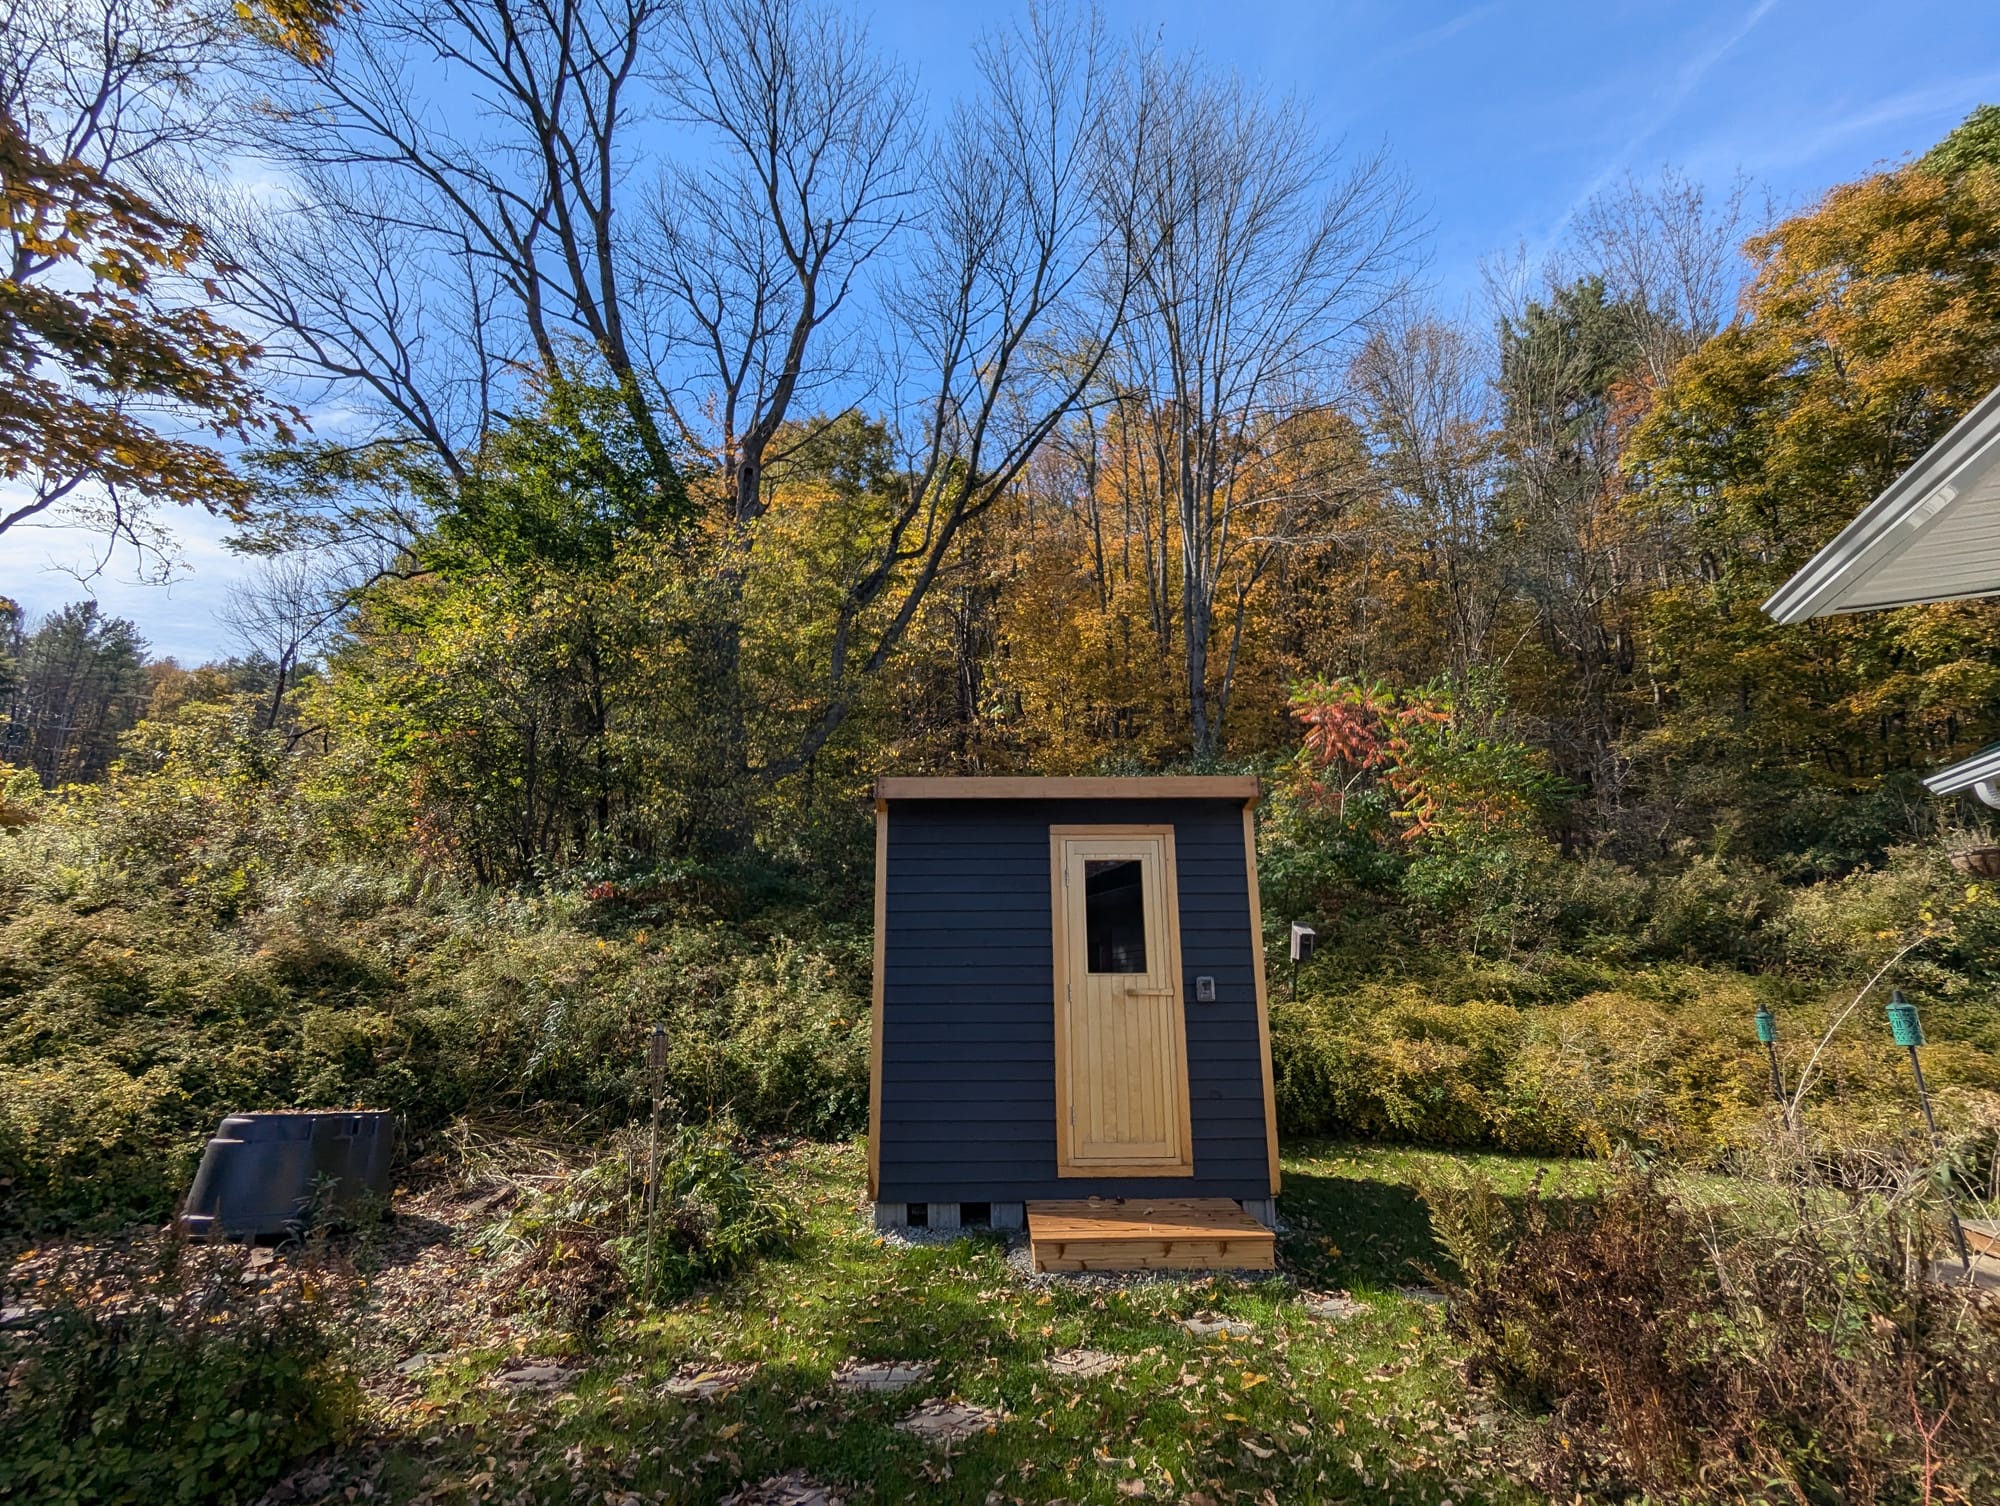
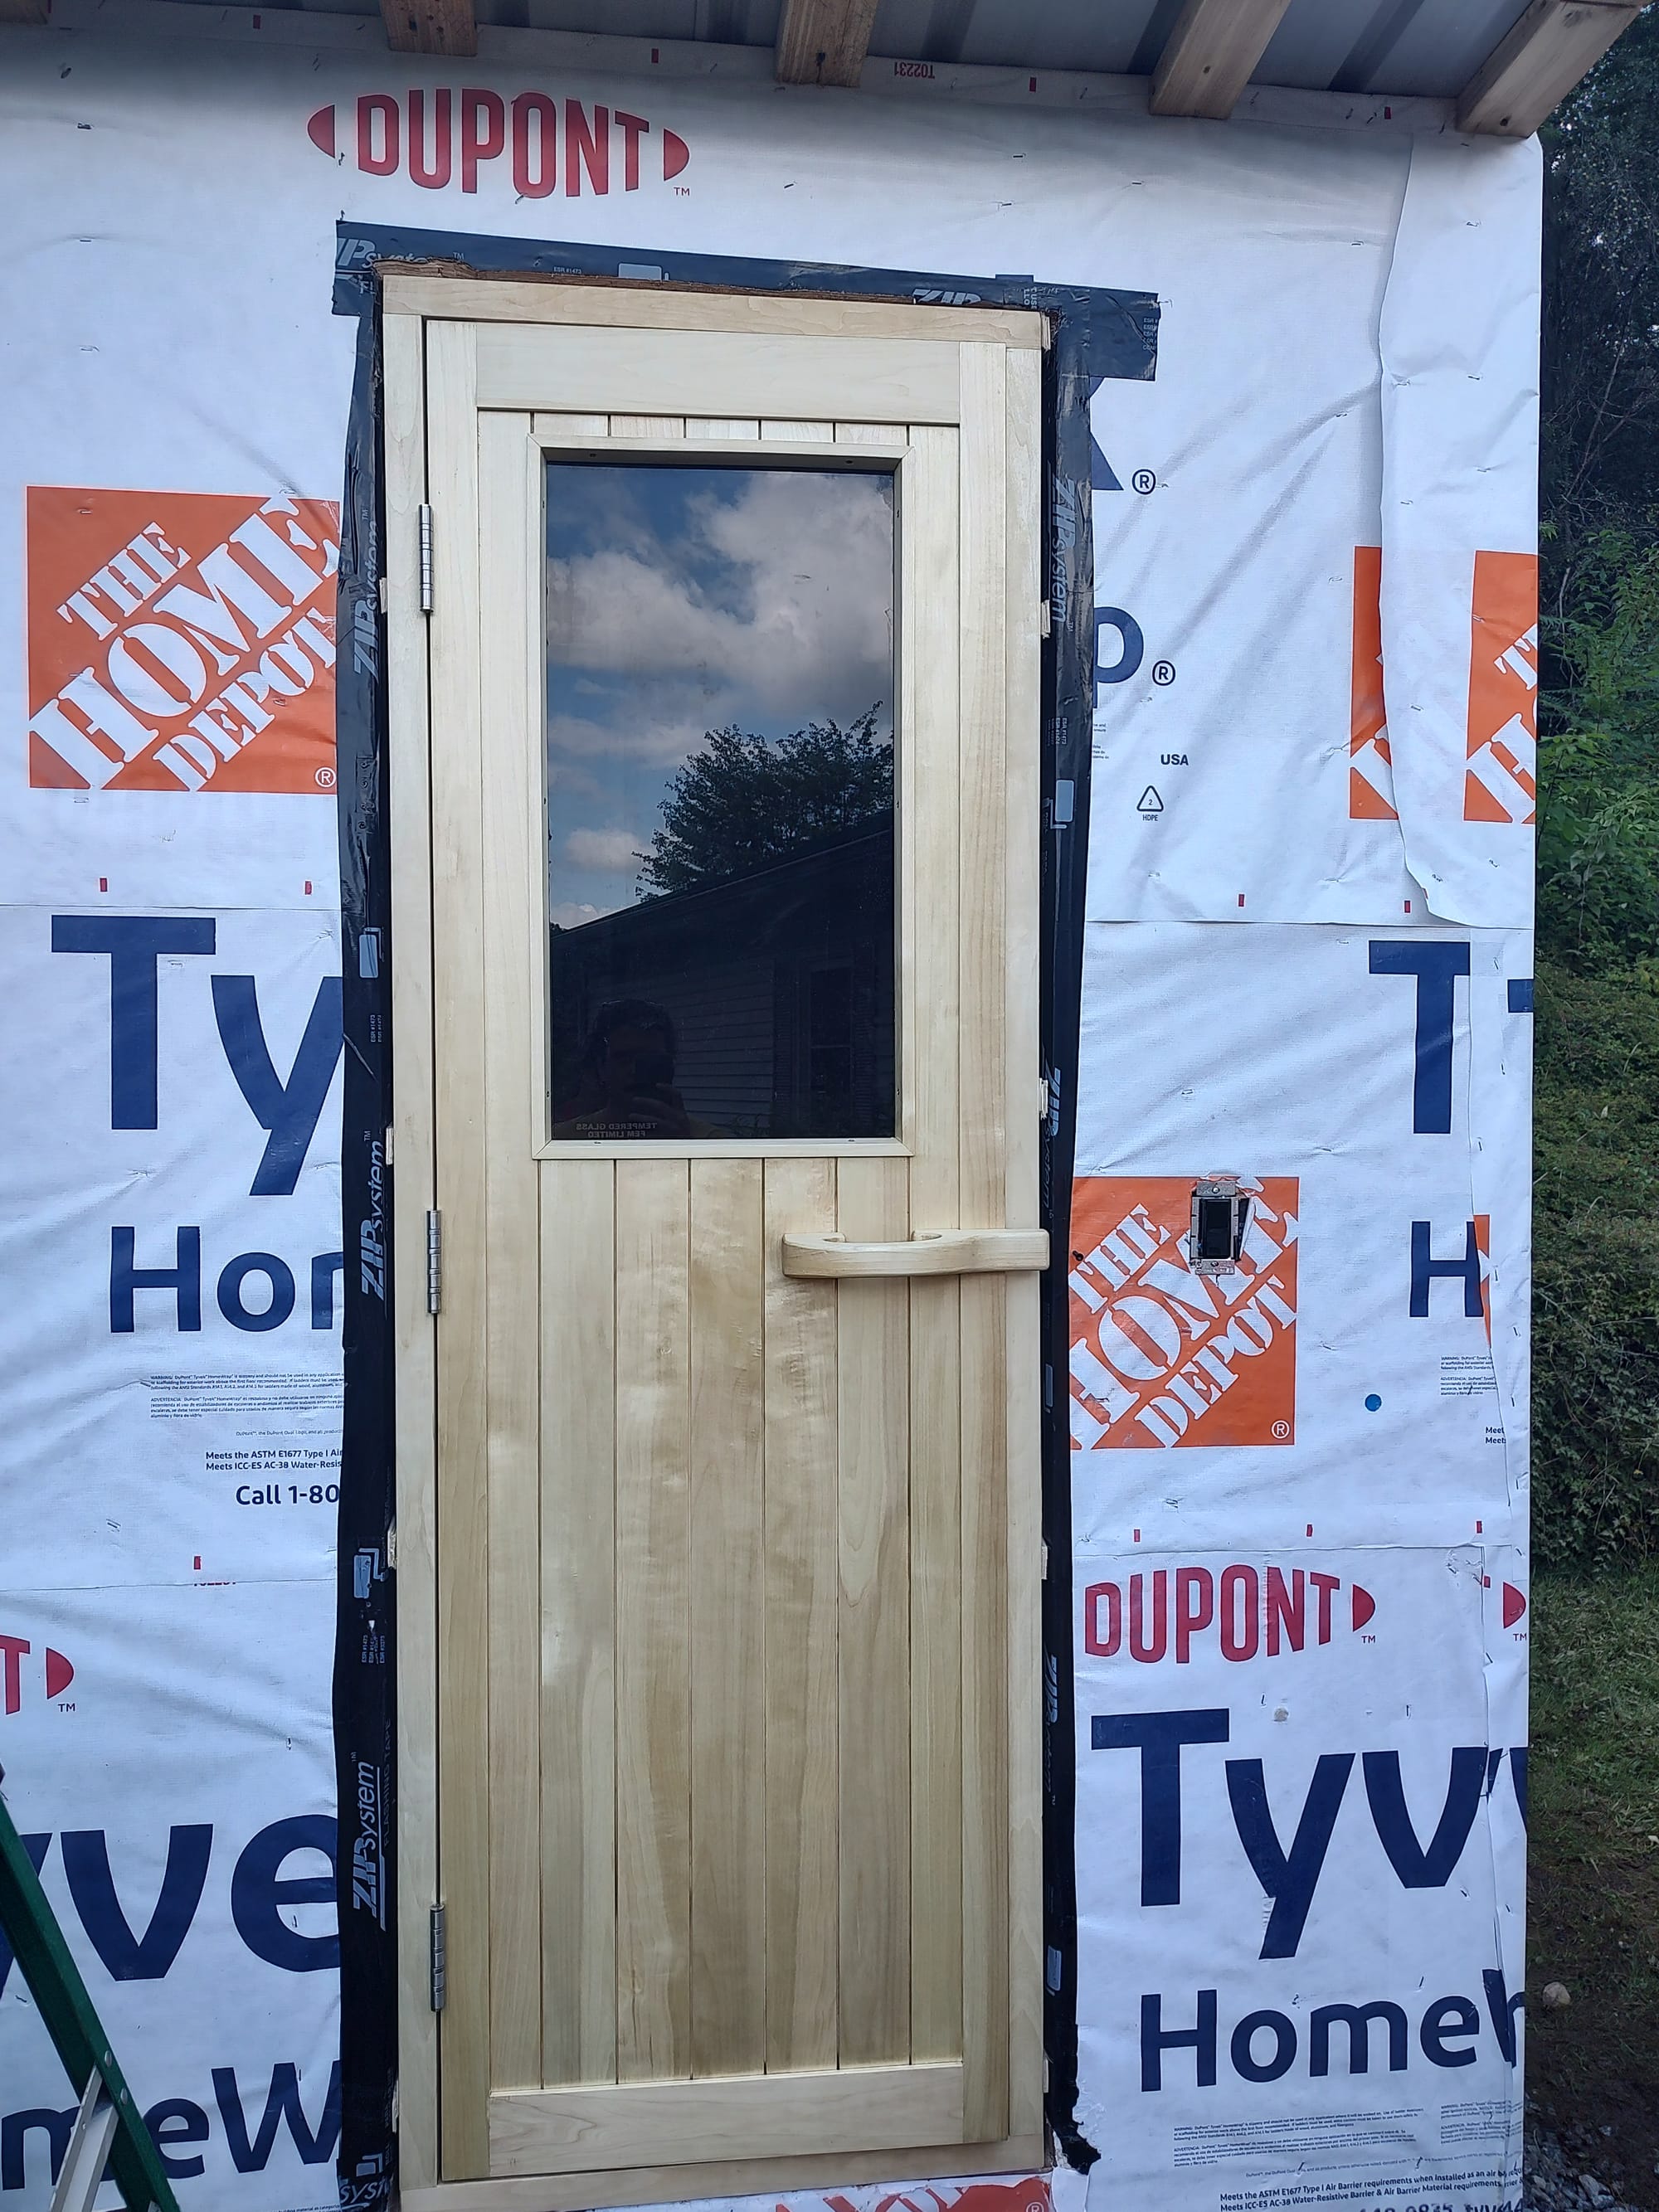
The sauna door was something special I bought for this project. Being from Ashland, WI, home of Superior Sauna & Steam, I wanted a door that reminded me of home and was a quality product. So, I splurged and had them freight ship me a door all the way to Vermont.
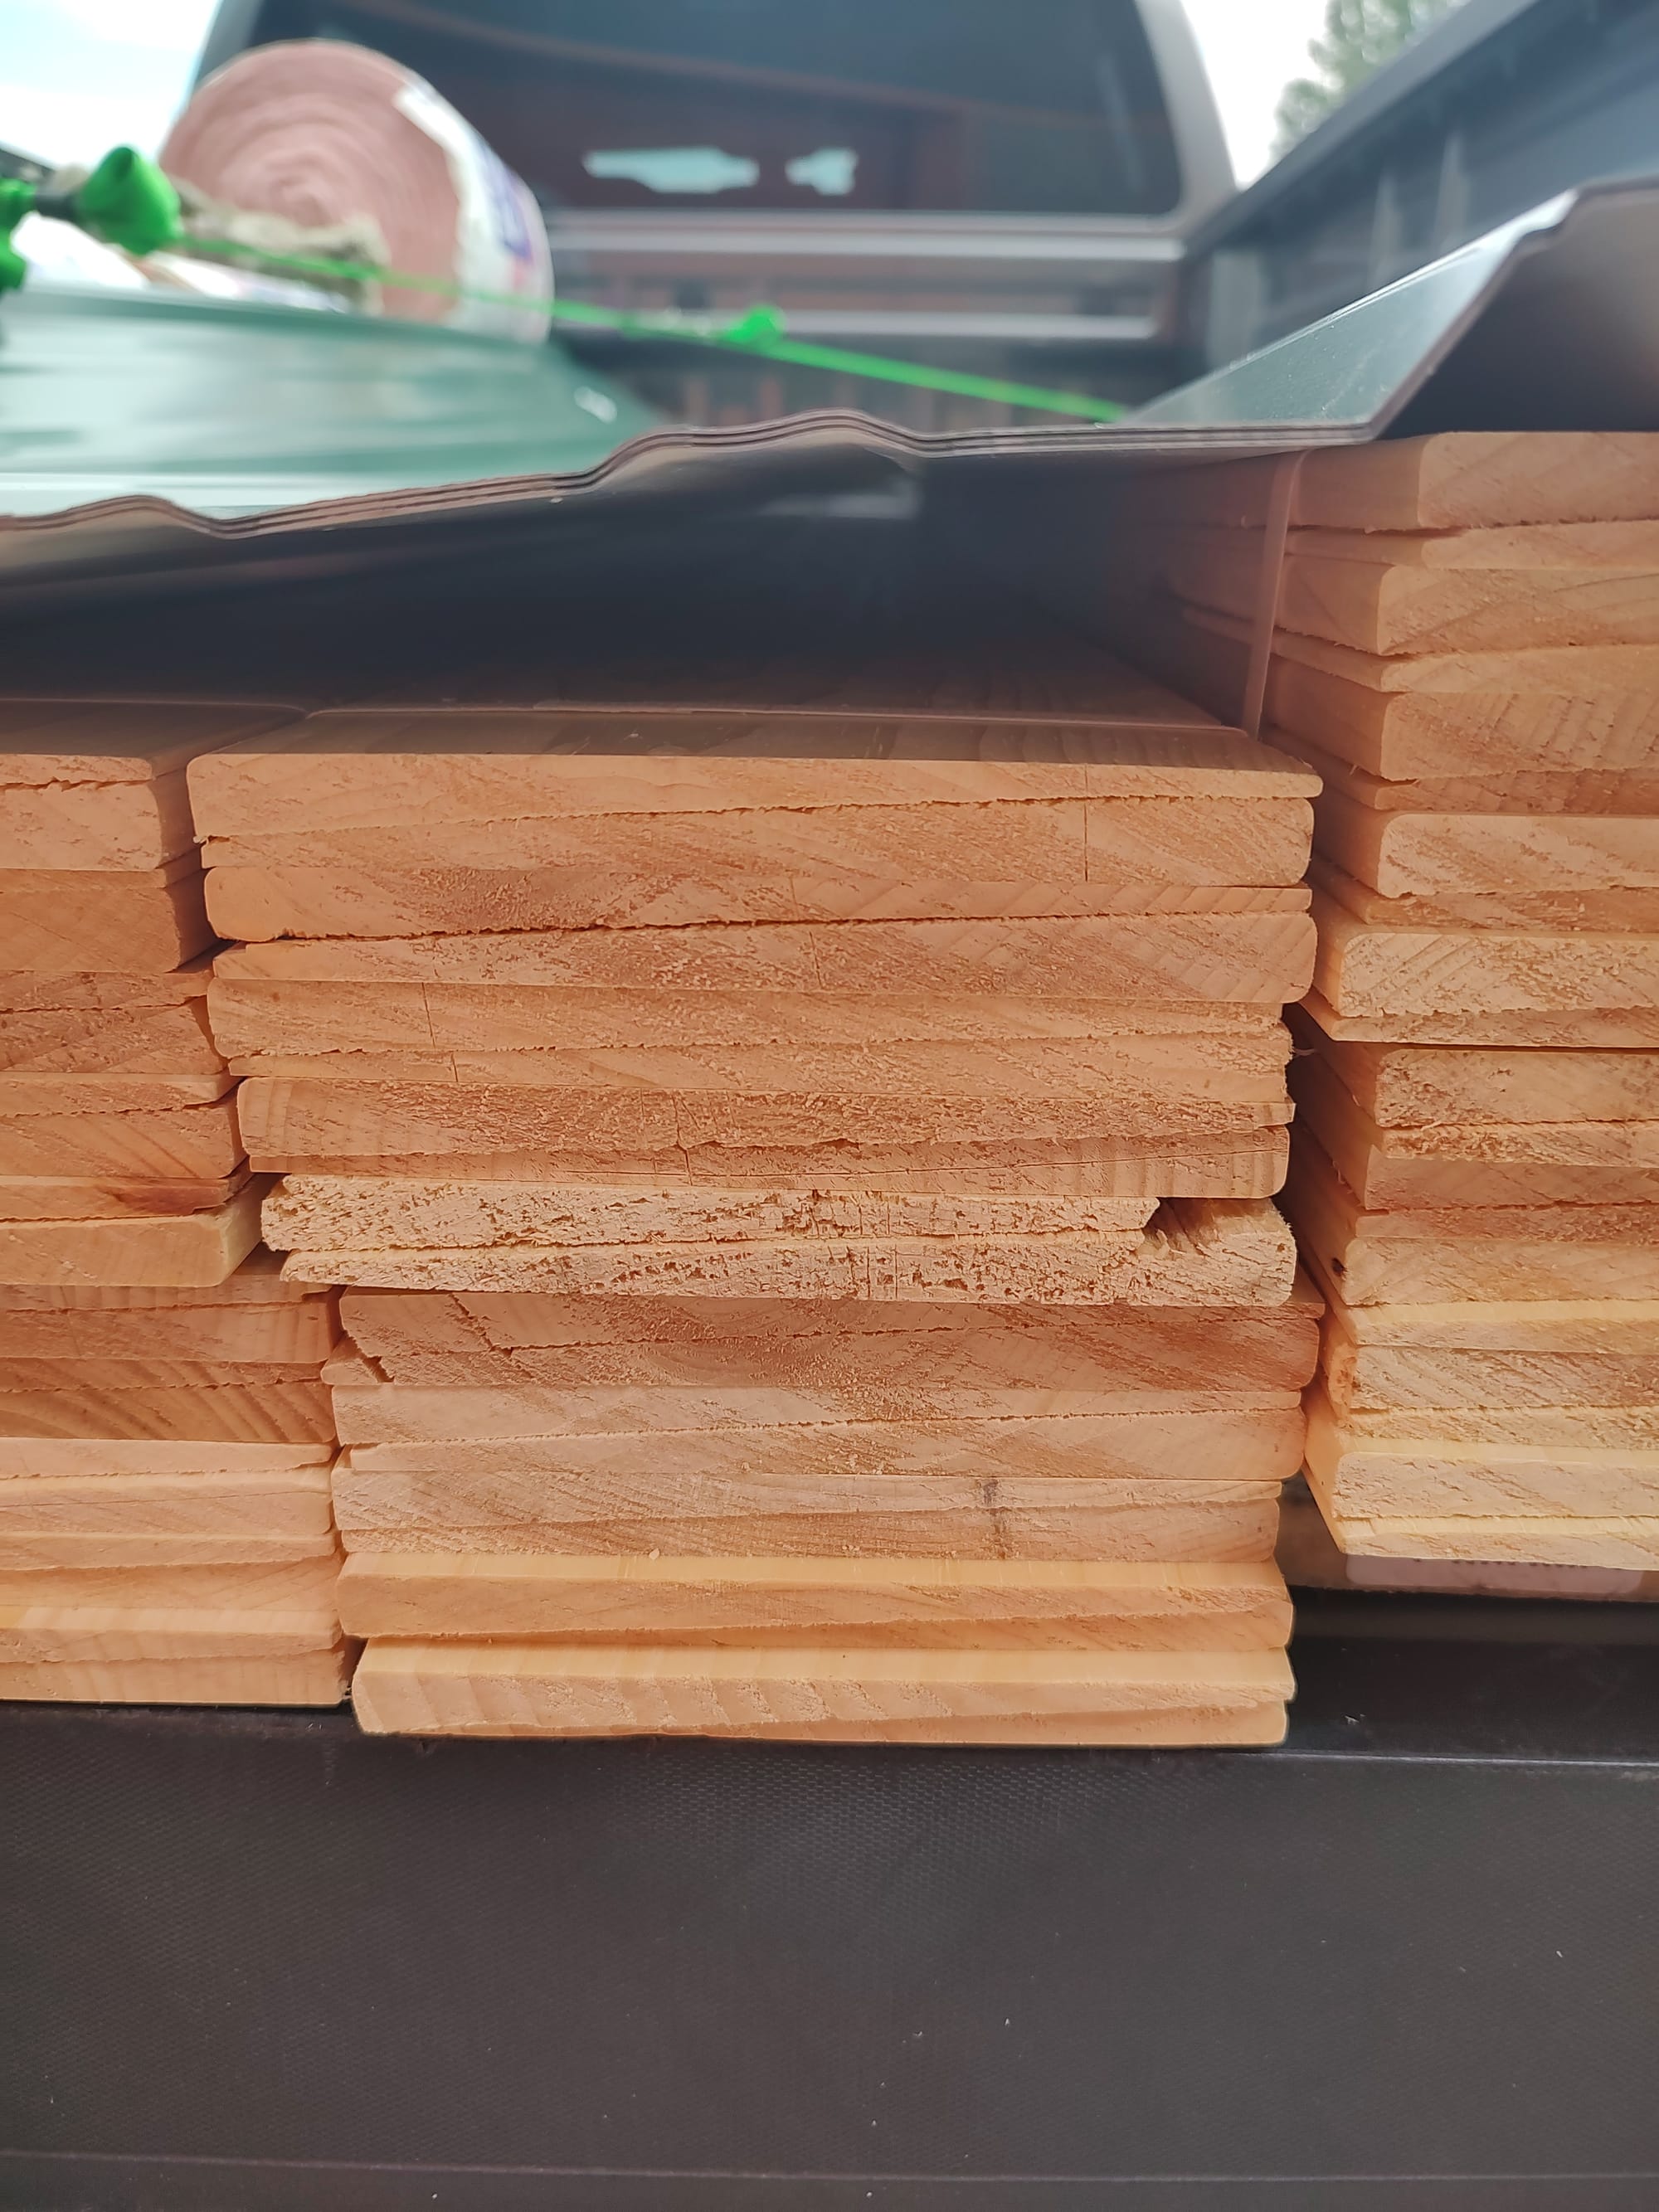
We bought pine ship lap siding at the Home Depot. We opted for ship lap siding because it could be painted which was preferable to using metal siding which only comes in a few colors.
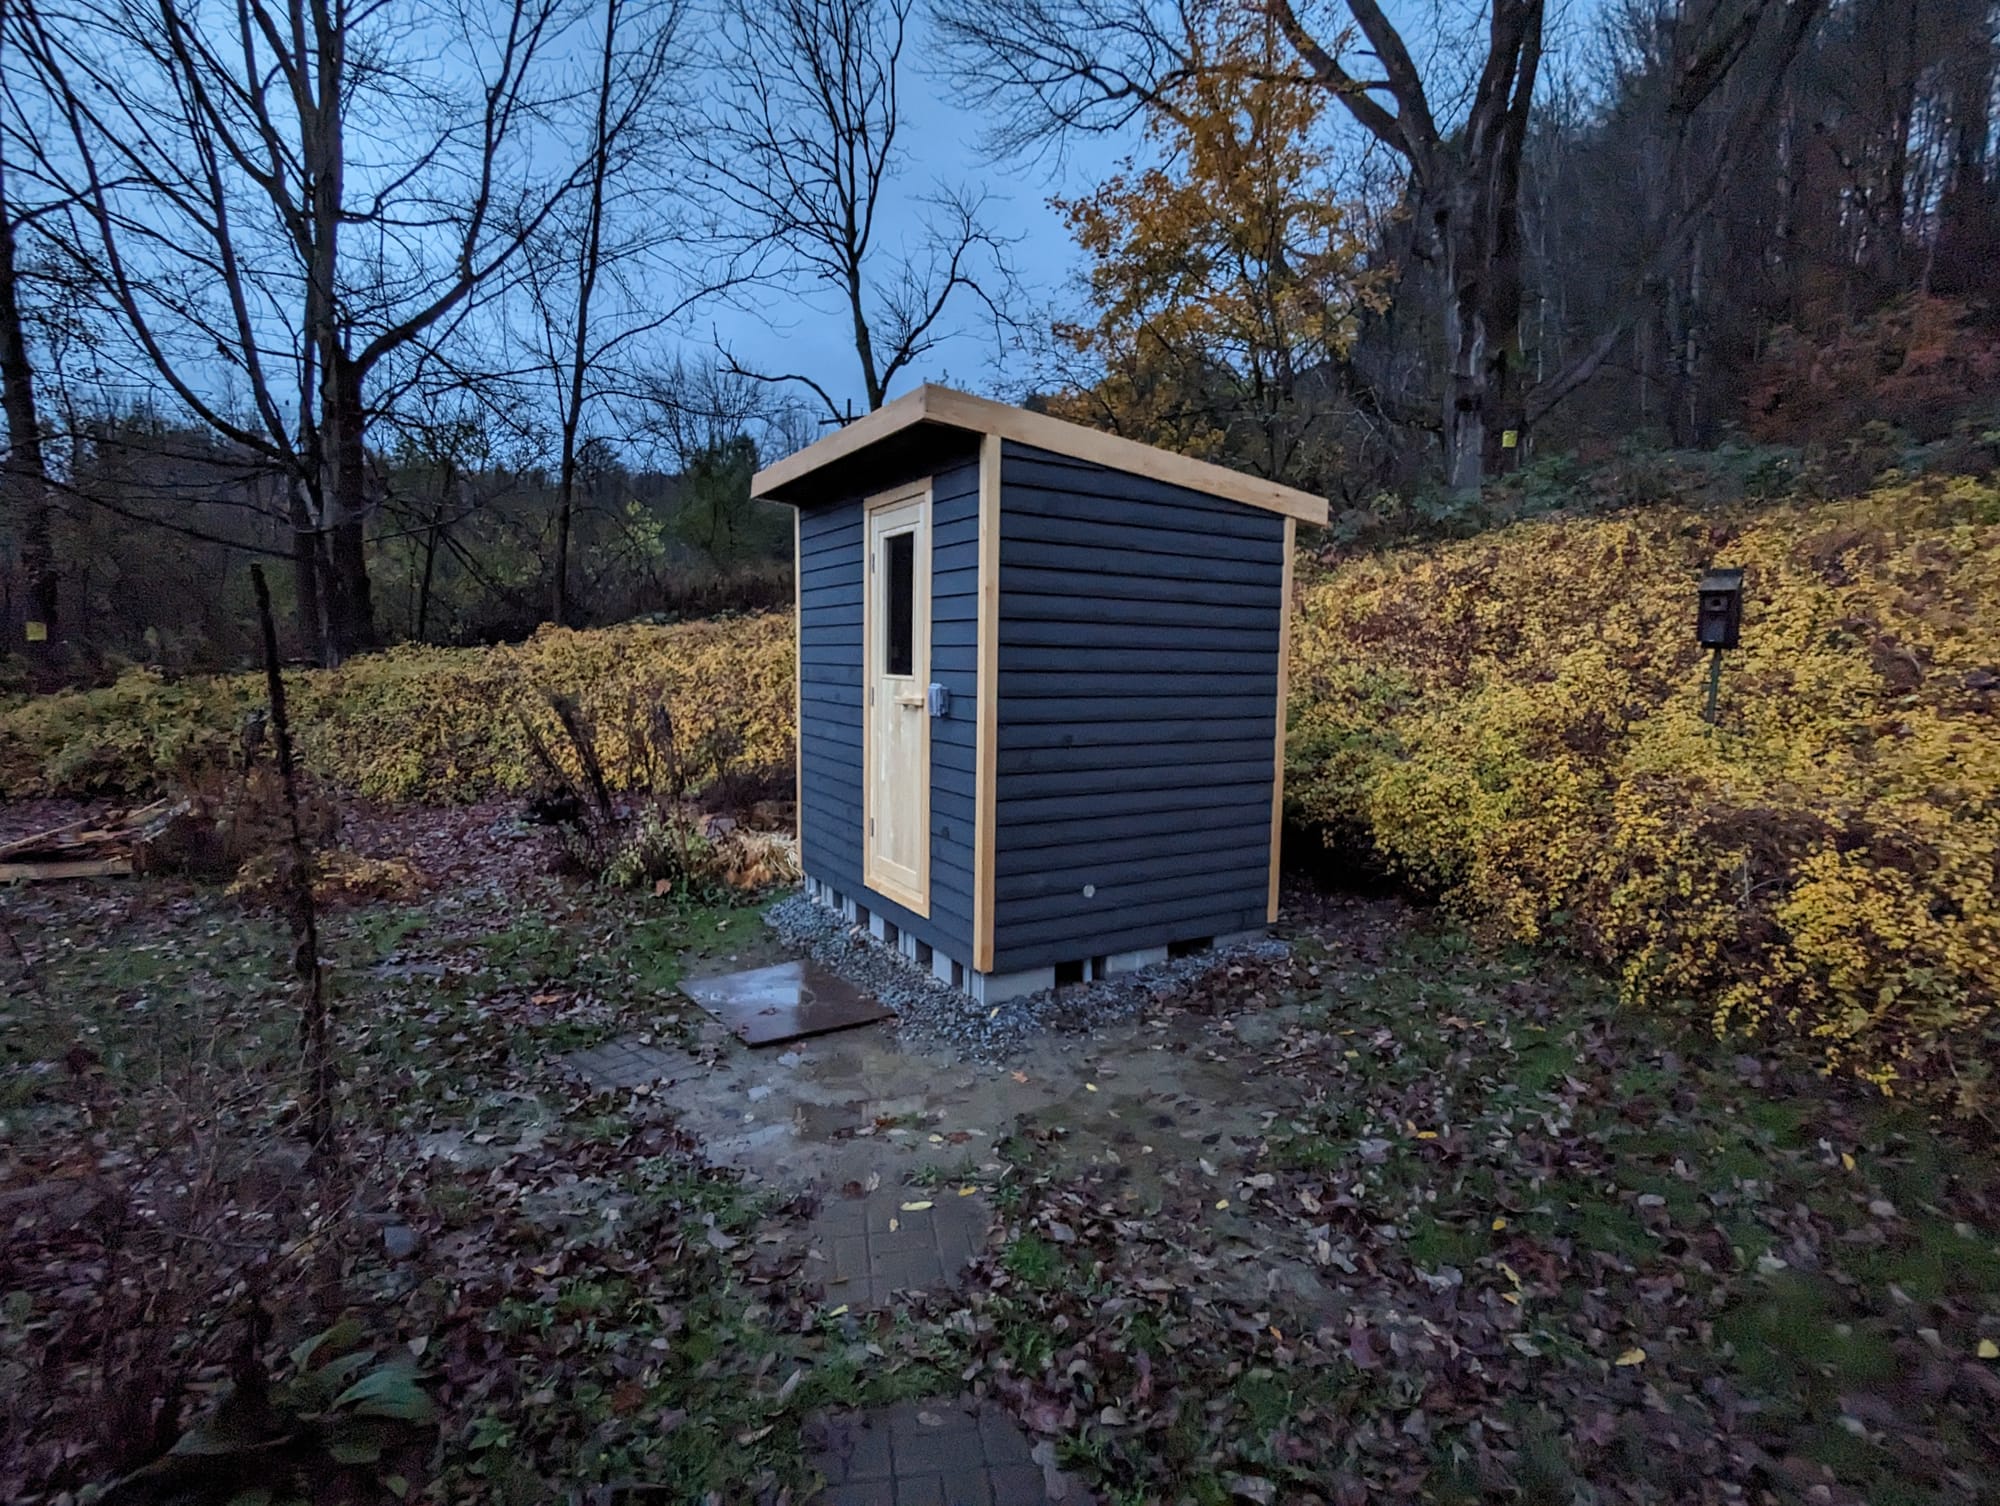
We went with this dark grey color and added all the siding.
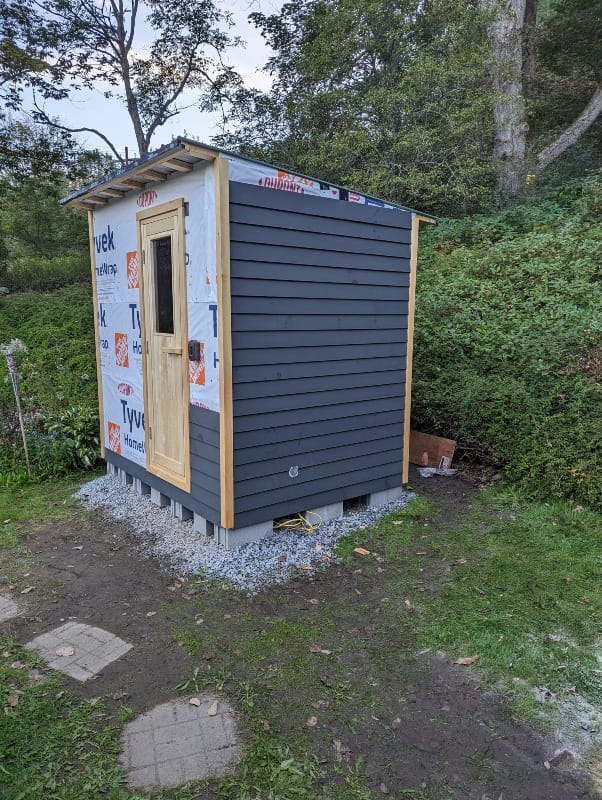
Lastly, we added pine trim on the edges and around the roof. We were finally done with the sauna except for a step and to fix our lawn, haha.
Materials and Costs
I kept good track of all the expenses necessary to build the sauna and go over them below. But before I do, here are some notes:
- I had quite a few tools already that I didn't factor in to the cost (e.g., circular saw, radial arm saw, sanders, etc.).
- I received a heavy discount on the cedar tongue and groove (~30%). I spent about $1,600 on T&G, but it could be even higher for someone else.
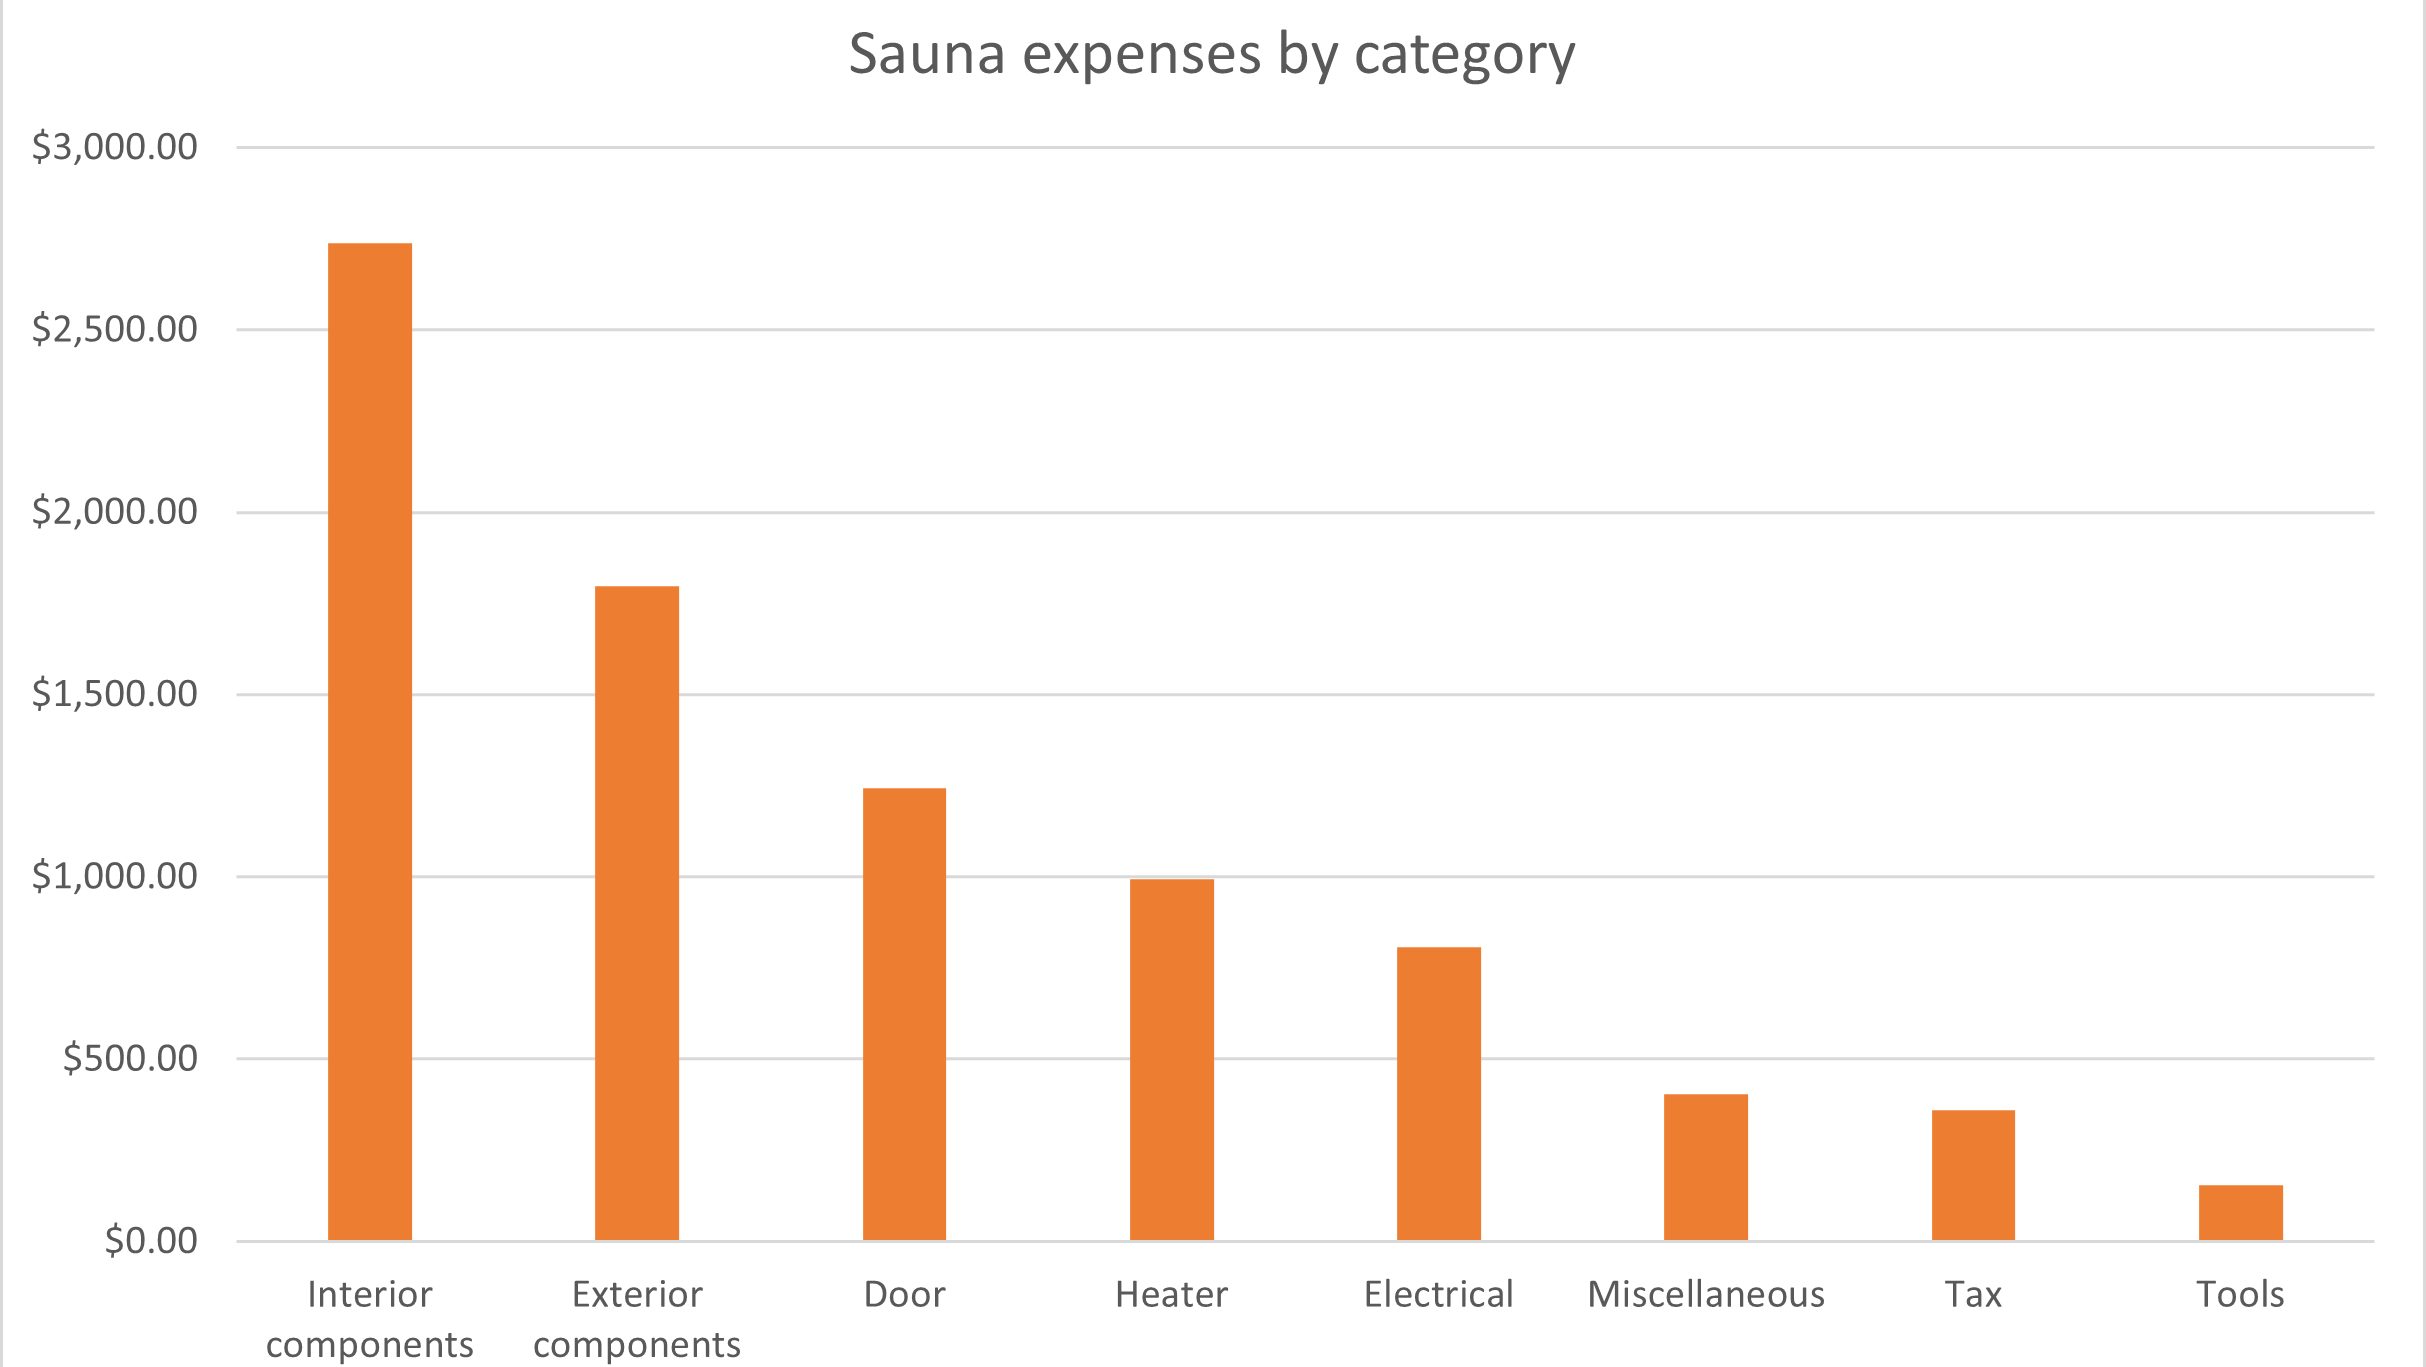
The total cost of the sauna came out to almost exactly $8,500. I categorized all of the expenses and plotted the results (see below). The largest expenses were the cedar tongue and groove ($1,600), door ($1,250), heater ($1,000), and pine siding ($470). The rest of the costs added up from small expenses and the average tax was only about 4%. If you wanted to save money on the build, you could find a cheaper door or build it yourself. You could also choose a cheaper siding option. Though, I should say the rest is basically non-negotiable.
Special Thanks
A special thanks to all those who helped including Amanda, Jake, Riley, and Glenn for writing such a good book.
